filmov
tv
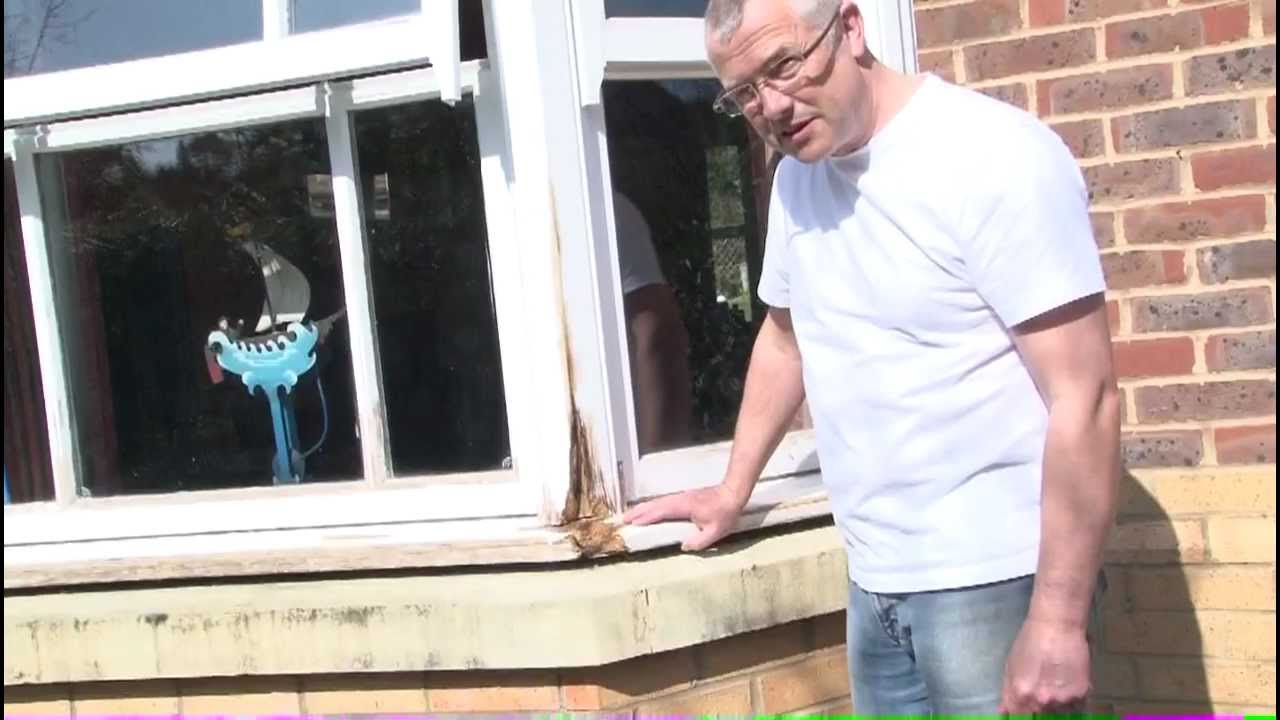
Rotten Window repair from wet rot
Показать описание
Window repair from wet rot
 0:06:12
Rotten Window repair from wet rot
 0:07:39
How to Repair a Rotted Window Frame | Fix Rotted Window Sill From Outside
 0:06:09
How to repair a rotten window frame. How to repair rotten wood.
 0:46:05
How to Replace Water Damaged Window Sill and Trim
 0:07:48
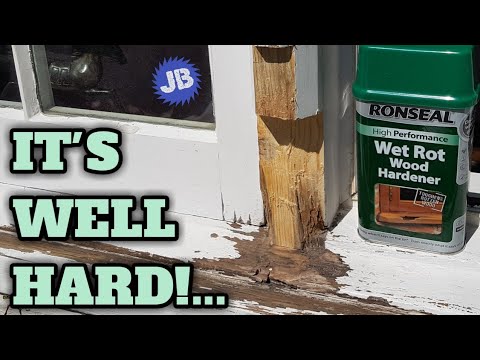
Using Ronseal Wet Rot Wood Hardener on this rotten window before filling it.
 0:06:07
How to Repair Rotten Windows and Windows that Rub
 0:10:10
Rotted window sill repair with PC Products
 0:10:36
THE TRUTH ABOUT WOOD ROT (You need to watch this!!)
 0:00:39
Rotten wood repair
 0:03:31
How to Fix Rotted Wood with Epoxy | This Old House
 0:20:20
How to repair a rotting window
 0:08:19
How to repair Wet rot windows Rambling on Painting and English Life
 0:08:55
Home Short Tips #2 | How to Repair a Water Damaged Windowsill
 0:17:45
Rotten Window repairs from wet rot using epoxy
 0:06:36
Leaky Windows - How to fix
 0:06:13
Repairing my Rotten Window Sill
 0:07:44
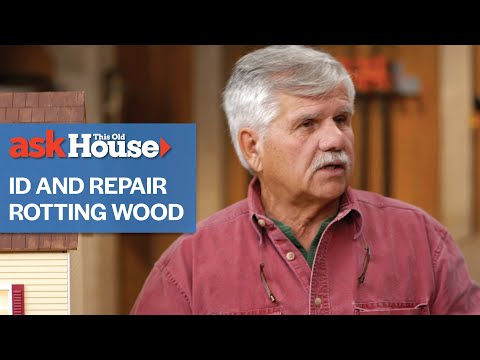
How to Identify and Repair Rotting Wood | Ask This Old House
 0:06:03
How to repair a rotten window sill. How to repair rotten wood.
 0:30:41
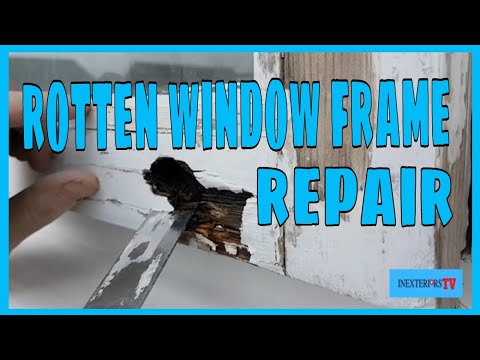
REPAIRING ROTTEN WINDOW FRAMES
 0:09:42
How to rot repair, How to use Bondo and How-to Dustin...Bonus!
 0:07:57
How to Fix Wood Rot 4 of 4
 0:12:51
How To Repair WOOD ROT and Water Damage With ABATRON
 0:09:48
Rotten Window Sash Repair
 0:01:22
How to fix a leaking window frame with Flex Shot
Комментарии