filmov
tv
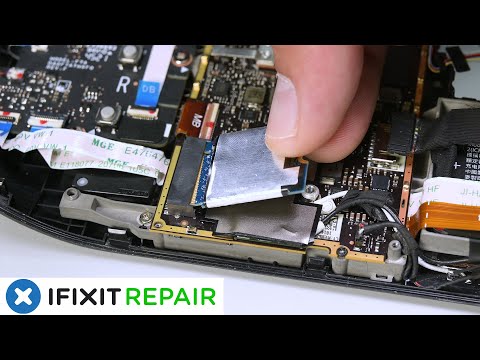
Upgrading the Steam Deck in Under 60 Seconds!

Показать описание
The Steam Deck base model is priced very well but it comes with a slow eMMC drive and a low amount of storage! So I decided to upgrade to a NVME SSD for something faster and more space!
Follow me on Social Media:
Follow me on Social Media:
 0:21:05
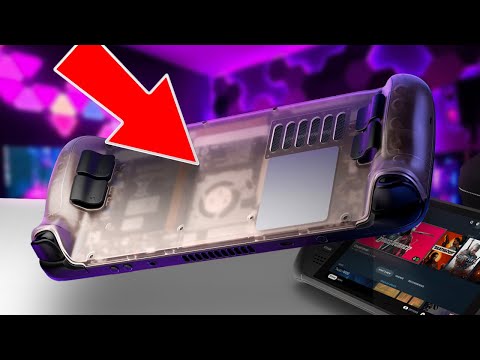
Five Steam Deck Upgrades under $100
 0:00:57
Upgrading the Steam Deck in Under 60 Seconds!
 0:04:25
Easy Steam Deck SSD Upgrade!
 0:07:49
I Upgraded The Steam Deck - 16GB vs 32GB of RAM.
 0:19:29
The ULTIMATE Steam Deck
 0:05:46
Steam Deck SSD Replacement: Get it Done in 20 Minutes!
 0:16:20
Valve's new move won't last! Steam Deck Update!
 0:06:38
Upgrade Your Steam Deck
 0:15:40
Playstation Portal NO LONGER NEEDS PS5! - HUGE UPDATE TODAY - PSP 2
 0:23:28
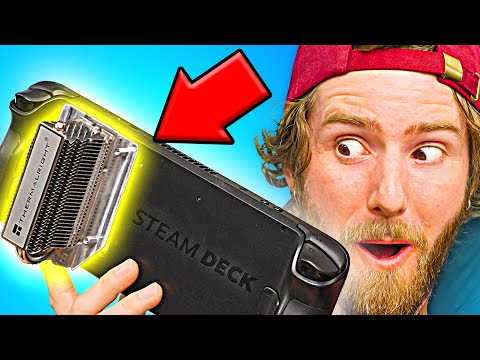
I'm shocked how well this worked - Steam Deck Cooler Upgrade
 0:09:28
Upgrading The 64GB Steam Deck On A Budget!
 0:08:50
Steam Deck SSD Replacement is EASY
 0:05:47
A Steam Deck with 32GB of RAM is something else.
 0:04:43
How to Upgrade or Replace the SSD In Your Steam Deck OLED!
 0:12:46
the 64GB version of Steam Deck is PERFECT! + 2TB SSD Upgrade Guide
 0:08:22
5 Steam Deck Upgrades You Should Do
 0:09:30
The Ultimate Steam Deck Storage Upgrade!
 0:00:13
PlayVital Steam Deck Accessory Upgrades 💪
 0:11:08
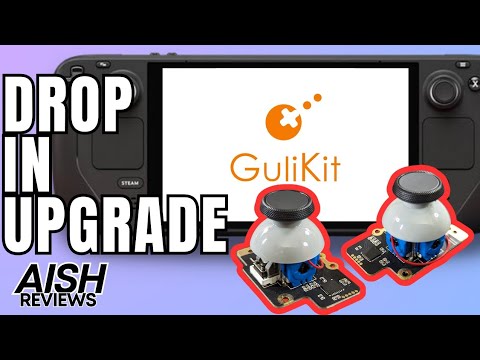
Upgrade Your Steam Deck with GuliKit's NEW Solder-Free Hall Sticks
 0:09:23
Give your Steam Deck a BIG storage upgrade! (EASY TUTORIAL)
 0:00:27
Steam Deck 2TB SSD Storage Upgrade!
 0:16:23
Steam Deck 32GB RAM Upgrade
 0:08:23
Steam Deck SUPPORTS 3rd Party Display UPGRADES!
 0:13:01
Steam Deck OLED vs LCD - Worth Upgrading?
Комментарии