filmov
tv
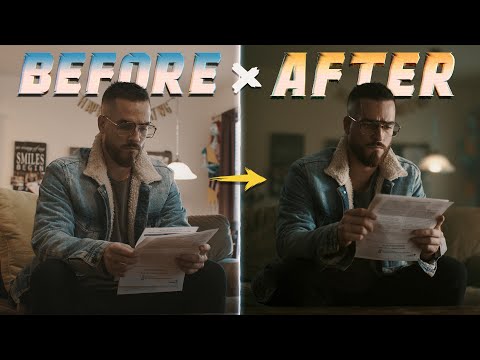
How to get the CINEMATIC LOOK in Premiere Pro Tutorial

Показать описание
If you’re looking for a faster checkout with Paypal or Credit Card (US Customers) check out my Sellfy Store where you can find a lot of Bundles, Cinematic LUTs, Lightroom Presets and more Filmmaking Assets with huge Discounts up to 50%.
______________________________________________
🎞 HOW TO USE LUTs ON YOUR VIDEOS
You can use LUTs in almost every Video editing software like Adobe Premiere Pro, Final Cut Pro X or DaVinci Resolve or any other program that supports 3D .cube files. In most programs you can do so by adding a LUT Effect to your clip and then add the .cube LUT to your footage. No matter which camera you are using, my Cinematic LUTs work with almost any mirrorless camera like the Sony A7SII, Canon EOS R, EOS R5 or Panasonic S1.
In this way you can improve your color grading and aesthetics while also saving a lot of time at color grading your videos. Find out more about how LUTs work here:
______________________________________________
🎥 MY FILMMAKING AND PHOTOGRAPHY GEAR
Beginner Setup on Amazon
My Canon Filmmaking Setup on Amazon
______________________________________________
🖥 CHECK OUT SOME OF MY OTHER VIDEOS
How to get the Cinematic Look in Adobe Premiere Pro
LIVE FOR THE MOMENT | Portugal Road Trip
Yung Sony „12-Bit RAW“ Music Video | Shot on the Canon R5
______________________________________________
Using LUTs in Premiere Pro
In Adobe Premiere Pro it's even easier to apply a LUT to your footage. Simply select the clip or adjustment layer in your timeline that you want to add your look to and click on the COLOR TAB in the upper menu. This opens up LUMETRI COLOR on the right side of the program which lets you change all kinds of settings for color grading your videos.
If you want to add a stylized look you should select your .cube LUT in the CREATIVE TAB under LOOK. If you first need to convert your footage to the Rec.709 color space (for example if your footage is shot in a flat picture profile like LOG) you should add your conversion LUT to the BASIC CORRECTION.
______________________________________________
Using LUTs in Final Cut Pro X
If you want to use LUTs in Final Cut Pro you need to search for CUSTOM LUT within the Effects tab and drag it over onto your clip or adjustment layer. FCPX does not include native adjustment layers but don't worry. You can download my FREE ADJUSTMENT LAYERS for Final Cut Pro X.
After applying the effect you can find the Custom LUT tab within the Video Inspector as shown above. There you can select your LUT and change the color space as well as the Mix which is basically the intensity of your LUT. For example: If your image is too contrasty, lower the Mix to 70% to decrease the LUT intensity.
🤖 ChatGPT für Unternehmer & Selbständige aus Deutschland:
Über 5000 Prompts für Online-Marketing, Sales, Recruiting, Agenturgeschäft und Web-Entwicklung - So automatisierst du 2000+ Aufgaben deines Business mit der Hilfe von AI.
Комментарии
 0:11:21
 0:16:10
 0:11:34
 0:09:14
 0:02:31
 0:16:01
 0:15:43
 0:10:30
 0:00:48
 0:09:14
 0:04:46
 0:03:51
 0:06:40
 0:05:37
 0:07:57
 0:18:42
 0:14:29
 0:01:41
 0:07:19
 0:00:37
 0:18:27
 0:06:24
 0:03:13
 0:06:06