filmov
tv
How to solder 18650 Li-ion batteries to make a custom-made battery pack (Ebike)

Показать описание
 0:00:20
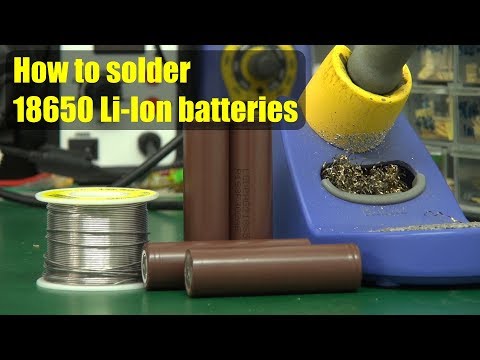
How to solder 18650 Li-Ion batteries
 0:01:55
How to quickly solder 18650 Li-Ion Batteries with a soldering iron
 0:14:19
How to solder 18650 Li-Ion batteries
 0:01:24
how to solder 18650 perfectly every time
 0:07:40
How to solder 18650 Li-Ion batteries
 0:13:03
How to solder 18650 Li-ion batteries to make a custom-made battery pack (Ebike)
 0:02:55
Best Soldering 18650 Lithium Cell Tutorial - NO Welding, Just Solder!
 0:00:36
How To Soldering Lithium Battery
![[2020] How to](https://i.ytimg.com/vi/Zx7d5yJdWp0/hqdefault.jpg) 0:03:08
0:03:08
[2020] How to Solder 18650, AA, 9v, or ANY Other Battery (To Make Battery Packs) | Safe & Quick
 0:00:22
How to solder li-ion battery without overheating
 0:00:58
How to Solder 18650 Li-Ion Batteries Safely without Overheating
 0:01:00
Lithium-ion Battery Soldering Tricks
 0:00:16
How to solder 18650 Li-ion Batteries
 0:09:54
SOLDERING 18650 BATTERY - SAFER & MORE CAREFUL
 0:01:39
3 Easy Steps to Solder 18650 Battery
 0:00:13
Spot Welding 18650 Cell
 0:01:23
The quickest method to solder 18650 cells
 0:04:32
Does soldering 18650 cells kill them??
 0:00:34
How to solder lithium batteries#shorts
 0:06:46
Soldering 18650 Batteries (DO IT RIGHT)
 0:10:43
How To Solder 18650 Battery Cells Correctly Without Spot Welding Tools
 0:00:29
Lithium Cell Soldering How To Solder 18650 Li-Ion Battery
 0:00:19
How to solder 18650 Li-Ion batteries
 0:00:23
18650 lithium battery flux paste welding solder paste vs rosin welding #soldering #shorts
Комментарии