filmov
tv
How to Disable or Remove Hyper-V in Windows 11 (EASY)

Показать описание
In this video, we will show you how to disable or remove Hyper-V in Windows 11, which can be a useful tool for those who need to run multiple operating systems on their device. However, Hyper-V can sometimes interfere with other programs or slow down your system, which is why it's important to know how to disable or remove it when necessary.
We'll start by explaining what Hyper-V is and how it works, so you can better understand why you might want to disable or remove it. We'll then guide you through the steps of disabling Hyper-V in Windows 11, including how to open the Control Panel, navigate to the Programs and Features section, and disable Hyper-V from the list of installed features.
If you want to remove Hyper-V from your system completely, we'll show you how to use the Windows Features settings to remove it from your device. This is useful if you no longer need Hyper-V and want to free up space on your device or prevent it from interfering with other programs.
We'll provide step-by-step instructions and visuals to make the process as easy as possible, even for beginners. By the end of this video, you'll know exactly how to disable or remove Hyper-V in Windows 11, and how to troubleshoot any issues that may arise during the process.
So, if you're looking to improve the performance of your device or simply want to disable or remove Hyper-V, this video is for you. Follow along with our instructions and you'll be able to easily disable or remove Hyper-V in no time!
 0:01:37
How to Disable (or) Uninstall YouTube App on Your Phone || Android Website Tips || #youtube
 0:03:24
Best Way To Turn Off or Disable Windows Defender in Windows 10 (2021)
 0:00:23
Remove Digital Wellbeing And Parental Controls In Samsung | Samsung Digital Wellbeing Disable Kare
 0:00:41
How to disable voice assistant in Android phone, stop a talking phone, disable TalkBack
 0:02:21
Windows 10 - How To Disable OneDrive and Remove it From File Explorer on Windows 10
 0:02:01
Developer Options : How To Disable or Remove Developer Options on Samsung Galaxy - Helping Mind
 0:02:47
How to Disable or Enable Safely Remove Hardware in Windows 10
 0:03:09
Turn Off or Disable Windows Defender in Windows 11/10 (2023)
 0:00:59
How to Disable Fast Startup on Windows 10/11? #howto #disablefast #enablefastboot #windows
 0:05:25
How To Uninstall Cortana in Windows 10 | Permanently Disable and Remove
 0:09:52
ROBLOX FORCED THE BETA APP! NEW METHODS TO REMOVE/DELETE/DISABLE IT!
 0:00:40
How to Turn Off Shorts on YouTube disable YouTube Shorts
 0:04:15
How To Remove Password From Windows 10 | How to Disable Windows 10 Login Password
 0:01:41
How to Disable Xbox Game Bar on Windows 11 / 10 PC
 0:01:22
how to disable google play services | how to deactivate | uninstall google play services
 0:01:50
Samsung Galaxy A50: How to uninstall or disable an app? Tutorial also for A20, A30, A40, A70and A90
 0:02:10
How To Disable Focus Modes On iPhone
 0:04:23
How To Disable Cortana Permanently in Windows 10 [EASY WAY]
 0:00:21
How to Temporarily Disable 360 TOTAL SECURITY
 0:01:39
Guaranteed | How to Disable Adobe Genuine Software Integrity Service 2022
 0:01:48
How To Turn Off Shorts on YouTube | Disable YouTube Shorts
 0:02:10
Kisi Bhi App Ko Disable Se Enable Kaise Kare | How To Enable A Disabled App On Android
 0:00:29
Disable This Android Privacy Setting ASAP!
 0:05:21
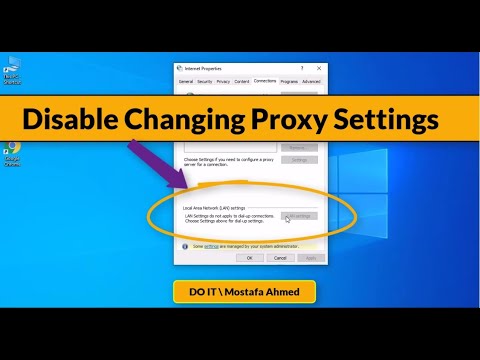
How to Disable Proxy Settings in Windows 10 Permanently
Комментарии