filmov
tv
8 SUPERB Stratagem Tips I Wish I Knew Sooner in Helldivers 2

Показать описание
#helldivers2 #helldivers #helldivers2gameplay
Helldivers 2 Gameplay is fuelled by a wide range of advanced weaponry. Stratagems being one of them! Here are 8 tips and tricks that are centred around the use of Eagles!
There are plenty of weapons in Helldivers 2 to get your teeth into. I think I've covered some of the Best Weapons in Helldivers 2 in this video but you may well know some things I've missed! What are, in your opinion, some of the best weapons in helldivers?
Sound off in the comments with any thoughts!
00:00 - Intro
00:44 - Cluster Strike
02:40 - General Eagle Tips
05:00 - Strafe Run
06:20 - Airstrike
08:06 - Napalm Strike
09:25 - Smoke Strike
10:50 - 110MM Rocket Pods
11:39 - 500KG Bomb
👌Catch me on:
 0:13:17
8 SUPERB Stratagem Tips I Wish I Knew Sooner in Helldivers 2
 0:12:34
7+ EPIC Stratagem Tips I Wish I Knew Sooner in Helldivers 2
 0:00:13
Armors in RPG games be like
 0:00:55
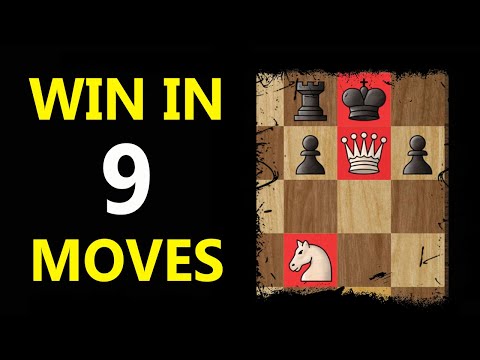
A Mind-blowing Trap | Chess Opening Tricks to WIN Fast #shorts
 0:01:00
Noah's Ark TRAP | Chess Tricks to WIN Fast #Shorts
 0:01:00
INSANE QUEEN SACRIFICE | Chess Opening Tricks to WIN FAST #shorts
 0:01:00
Nimzo-Larsen Trap: Chess Opening Tricks to WIN FAST #Shorts
 0:01:00
English Opening TRAP | Chess Tricks to WIN Fast #Shorts
 0:00:19
Average Student Vs Toppers Student | NEET 2024 Strategy | Padhle NEET
 0:00:51
A Beautiful Queen Trap to Win Fast #shorts
 0:00:53
90% win rate swing strategy tradingview
 0:00:25
This indicator will help you predict market moves in Tradingview #shorts #forex #forextrading
 0:29:48
Helldivers 2 Best Stratagems Post Patch, All 48 Stratagems Explained, Best and Worst
 0:00:17
THE BEST SCALPING INDICATOR ON TRADINGVIEW | STRATEGY | SCALPING | 1MINUTE | #forex
 0:08:04
SUPPORT STRATAGEM SECRETS To Bring Into Your Next Mission! | Orbital Stratagems | Helldivers 2
 0:01:00
Best Queen Sacrifice Ever😳 | Checkmate Trick - Chess #shorts
 0:00:49
REASON #1 - Why Rushing May Be Better Than Maxing in CoC
 0:08:07
Bile Titan Weaknesses Helldivers 2 | How To Kill Bile Titans
 0:00:50
Warren Buffet explains how one could've turned $114 into $400,000 by investing in S&P 500 i...
 0:00:18
Pokémon GO’s #1 strategy you must do
 0:00:58
A Beautiful Checkmate - Knight-Mare #chess #shorts
 0:00:46
The BIGGEST Mistake Chess Players Make #shorts
 0:21:13
⚔️ The 36 Stratagems (Explained with Examples)
 0:00:35
ICT Trader explains why 90% lose in Forex Trading. | Words of Rizdom EP.45 #shorts #ICTTrader #forex
Комментарии