filmov
tv
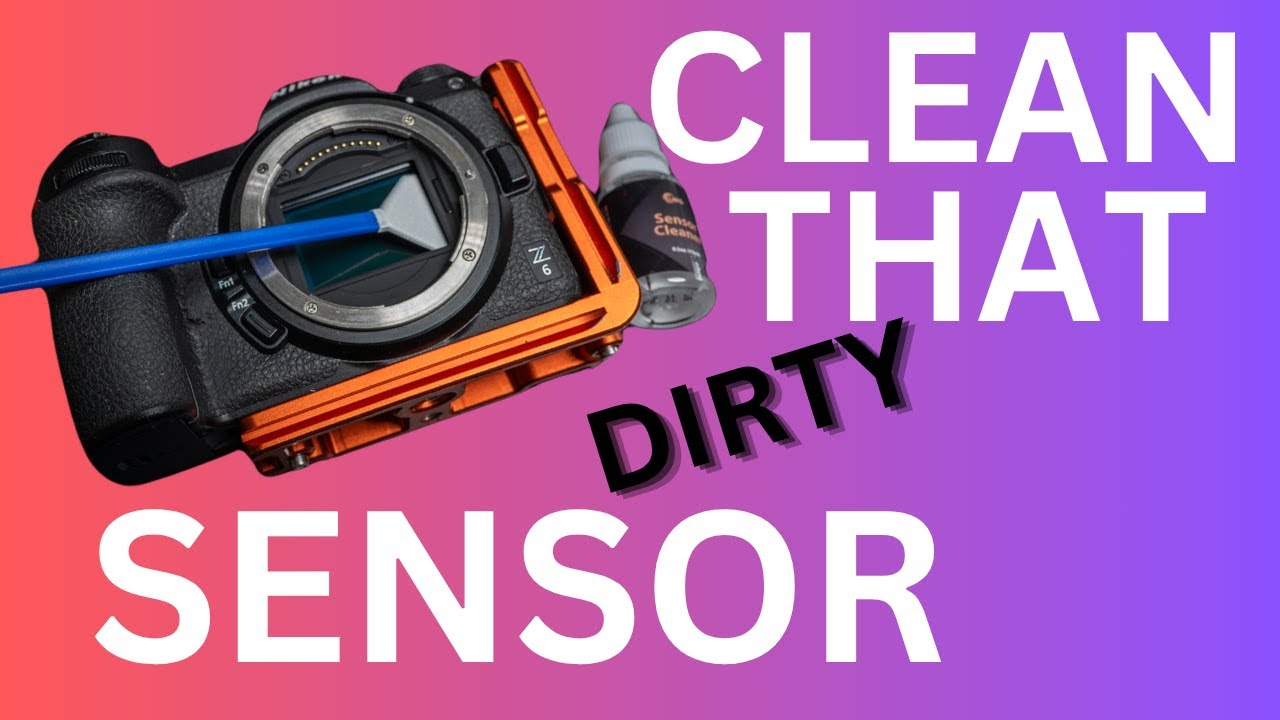
How to Clean Your Camera Sensor Safely At Home Plus Protecting Your Sensor From Dust And Debris.
Показать описание
Over time, dust and debris can settle on your camera sensor, causing dark spots in your images. These are especially visible in bright areas like the sky. If you frequently change lenses or shoot in dusty environments, your sensor is more prone to collecting dust. Cleaning it regularly ensures sharp, spotless photos.
Signs That Your Camera Sensor Needs Cleaning
• Dark spots appear in your images, especially at smaller apertures (f/11, f/16, etc.).
• The spots remain in the same location across multiple photos.
• Air blowing or lens cleaning doesn’t remove them.
If you’ve noticed any of these signs, it’s time to clean your sensor!
What You Need to Clean Your Camera Sensor
Cleaning a camera sensor requires a few specialized tools. Here’s what you’ll need:
✅ Rocket Blower – Removes loose dust particles with a burst of air.
✅ Sensor Cleaning Swabs – Specially designed swabs for full-frame or APS-C sensors.
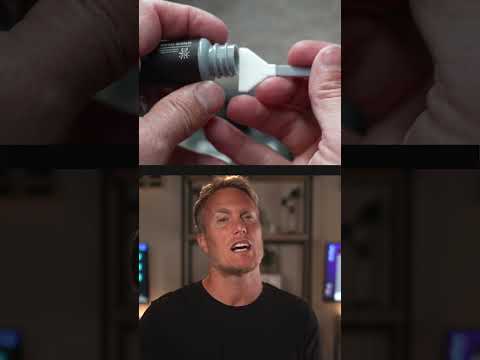
✅ Sensor Cleaning Solution – A gentle liquid designed for sensor cleaning.
✅ Loupe or Sensor Magnifier – Helps you see dust particles clearly.
✅ Lint-Free Gloves (Optional) – Prevents oil from your hands transferring to tools.
Step-by-Step Guide to Cleaning Your Camera Sensor
Step 1: Prepare Your Workspace
• Find a clean, dust-free room with minimal airflow. Avoid areas near windows or fans.
• Wash your hands thoroughly to prevent transferring oil onto the sensor.
• Make sure your camera battery is fully charged, as you’ll need to lock up the mirror in DSLR cameras.
Step 2: Use the Rocket Blower
• Remove the lens and hold the camera facing downward.
• Use a rocket blower to blow air onto the sensor gently.
• DO NOT use canned air, as it can leave residue or damage the sensor.
• If the dust is gone, you’re done! If not, proceed to the next step.
Step 3: Inspect the Sensor
• Use a sensor loupe or take a test shot of a plain white wall at f/16 to check for dust spots.
• If spots remain, you’ll need to do a wet cleaning.
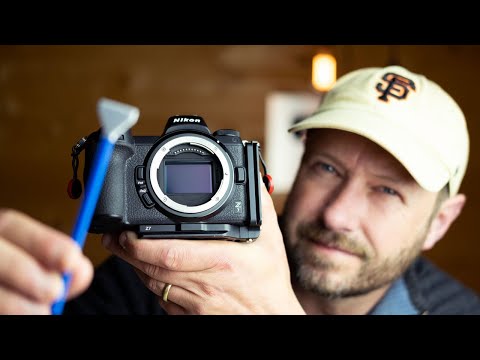
Step 4: Wet Cleaning the Sensor
• Take a sensor swab and add one or two drops of sensor cleaning solution (don’t oversaturate).
• Gently swipe the swab across the sensor in one smooth motion, then repeat in the opposite direction.
• Use a fresh swab if needed, but never reuse a swab to prevent scratches.
Step 5: Check Your Sensor Again
• Take another test shot to see if the dust is gone.
• If needed, repeat the wet cleaning process with a new swab.
Common Mistakes to Avoid
❌ Using too much liquid – This can leave streaks or damage the sensor.
❌ Reusing swabs – Always use a new swab to prevent scratching.
❌ Applying too much pressure – Be gentle to avoid damaging the sensor.
❌ Using unapproved cleaning products – Stick to products designed for cameras.
How Often Should You Clean Your Sensor?
• If you shoot in dusty environments, check your sensor once a month.
• Occasional photographers may only need to clean their sensor a few times a year.
• Always use a rocket blower first before attempting a wet clean.
Final Thoughts
Cleaning your camera sensor at home is easy when done correctly! By following these steps, you can keep your sensor dust-free and ensure crystal-clear images.
Signs That Your Camera Sensor Needs Cleaning
• Dark spots appear in your images, especially at smaller apertures (f/11, f/16, etc.).
• The spots remain in the same location across multiple photos.
• Air blowing or lens cleaning doesn’t remove them.
If you’ve noticed any of these signs, it’s time to clean your sensor!
What You Need to Clean Your Camera Sensor
Cleaning a camera sensor requires a few specialized tools. Here’s what you’ll need:
✅ Rocket Blower – Removes loose dust particles with a burst of air.
✅ Sensor Cleaning Swabs – Specially designed swabs for full-frame or APS-C sensors.
✅ Sensor Cleaning Solution – A gentle liquid designed for sensor cleaning.
✅ Loupe or Sensor Magnifier – Helps you see dust particles clearly.
✅ Lint-Free Gloves (Optional) – Prevents oil from your hands transferring to tools.
Step-by-Step Guide to Cleaning Your Camera Sensor
Step 1: Prepare Your Workspace
• Find a clean, dust-free room with minimal airflow. Avoid areas near windows or fans.
• Wash your hands thoroughly to prevent transferring oil onto the sensor.
• Make sure your camera battery is fully charged, as you’ll need to lock up the mirror in DSLR cameras.
Step 2: Use the Rocket Blower
• Remove the lens and hold the camera facing downward.
• Use a rocket blower to blow air onto the sensor gently.
• DO NOT use canned air, as it can leave residue or damage the sensor.
• If the dust is gone, you’re done! If not, proceed to the next step.
Step 3: Inspect the Sensor
• Use a sensor loupe or take a test shot of a plain white wall at f/16 to check for dust spots.
• If spots remain, you’ll need to do a wet cleaning.
Step 4: Wet Cleaning the Sensor
• Take a sensor swab and add one or two drops of sensor cleaning solution (don’t oversaturate).
• Gently swipe the swab across the sensor in one smooth motion, then repeat in the opposite direction.
• Use a fresh swab if needed, but never reuse a swab to prevent scratches.
Step 5: Check Your Sensor Again
• Take another test shot to see if the dust is gone.
• If needed, repeat the wet cleaning process with a new swab.
Common Mistakes to Avoid
❌ Using too much liquid – This can leave streaks or damage the sensor.
❌ Reusing swabs – Always use a new swab to prevent scratching.
❌ Applying too much pressure – Be gentle to avoid damaging the sensor.
❌ Using unapproved cleaning products – Stick to products designed for cameras.
How Often Should You Clean Your Sensor?
• If you shoot in dusty environments, check your sensor once a month.
• Occasional photographers may only need to clean their sensor a few times a year.
• Always use a rocket blower first before attempting a wet clean.
Final Thoughts
Cleaning your camera sensor at home is easy when done correctly! By following these steps, you can keep your sensor dust-free and ensure crystal-clear images.
 0:05:21
How to clean your Camera
 0:11:13
How to CLEAN your CAMERA SENSOR SAFELY | the easy way
 0:00:29
Don't clean your Camera's Sensor 📷 (Without watching this)
 0:00:45
How To Clean Your Camera Sensor!
 0:00:40
How to Clean A Camera Lens | Photography Tips
 0:00:29
How to Clean a Camera Sensor - Quick and Easy!
 0:09:09
How to CLEAN Your CAMERA LENS - Fast and Easy
 0:01:00
How to clean your CAMERA SENSOR? #diy
 0:08:34
How to Clean Your Camera Sensor Safely At Home Plus Protecting Your Sensor From Dust And Debris.
 0:00:18
How to Clean Camera 📸 Dust Clearly #shorts
 0:00:25
Camera Sensor Cleaning Tutorial
 0:00:30
How to Clean a Camera Lens: The Quick & Easy Way #shorts
 0:00:58
How To Safely Clean a Camera Sensor
 0:00:14
How to clean a dirty lens of a digicam #cameratips #cameratricks #camera #cameracleaning
 0:00:59
lens cleaning tips
 0:02:48
How to Easily Clean Your Camera's Sensor
 0:00:35
How to clean your lens 🪥
 0:13:58
How to clean Lenses & Cameras - a beginners guide to looking after your photography gear.
 0:00:30
How to clean your camera sensor
 0:00:40
How To Clean A Camera | Photography Tips
 0:00:17
How to clean your cameras without leaving the car!
 0:00:29
How To Clean A Camera Sensor
 0:03:36
Camera Cleaning Kit By CamKix - User Guide - How to Clean Your DSLR Camera?
 0:00:23
Quick Camera Lens Cleaning: Keep Your Gear in Top Shape #shorts
Комментарии