filmov
tv
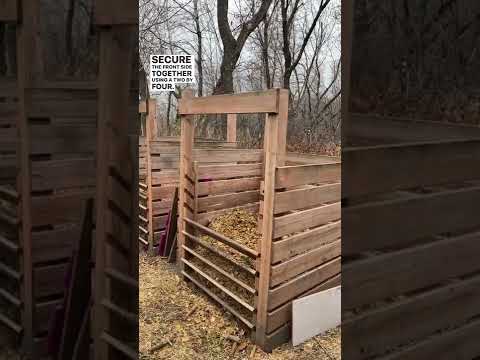
Making Compost bins from Pallets

Показать описание
All explained by Garden Ninja, Manchesters Garden Designer and blogger Lee Burkhill. He's an RHS winning garden designer and expert panellist on BBC Radio Manchester's Saturday morning garden phone in.
There’s usually two main methods of composting garden waste.
Cold composting (small scale) & Hot composting (larger scale)
There’s the small black compost bin method which is known as ‘cold’ composting. You’ll recognise this from those plastic bins you can buy in garden centres and from online shops. It’s referred to as cold composting because the bin never really gets enough critical mass of decomposing matter to create too much heat. This method takes pretty much a full year or so to get to the good stuff.
Then there is hot composting where a compost heap that’s 1m square and above will start to generate some serious heat and thus break down the waste quicker. It means you can get really rich compost far sooner! You do need enough waste to get the critical mass of heat but I’m sure most gardeners who pack their gardens with plants could produce this in a season.
Either method will help you create the lifeforce of most successful gardens home made compost. Compost worked into any soil can help create nutrient rich free draining soil and has a number of garden uses.
WHAT TO PUT IN YOUR COMPOST BIN?
You can compost pretty much any green waste or organic matter. A good rule of thumb is that if it grew from the ground you can compost it! Vegetation, cut back plants, veg peelings, lawn clippings, small twigs, leaves, pond weed etc can all be composted. The smaller the items are the quicker they will compost. I usually mix in some shredded newspaper and cardboard as well to help prevent compost from getting too nitrogen rich and soggy.
Items that you must not compost:
Pet droppings
Meat, fish, eggs or animal products
Plastics
Hair (yuk!)
Liquids
The right mix of carbon and nitrogen-rich greens is essential!
The age old gardeners dilemma about the mix of nitrogen to carbon in your compost bin. Basically, you need to get the right mix of nitrogen (sometimes called greens) and carbon (sometimes called browns). To confuse things many plants contain both. Ie grass has both carbon and nitrogen in it (20:1).
The RHS recommend a ratio of 30:1. Which is 30 parts carbon to 1 part nitrogen. Grass, for example, has 20 parts carbon to every 1 part nitrogen. This ratio used to really confuse me and I’ve found an easier way to compost.
If you’re new to composting start by adding half greens to half browns. Ignore the ratio and go with your inner mother earth. Keep an eye on your compost heap, if it starts to smell, add more brown if it’s going soggy, more brown if it is dry and doing nothing add more green! Soon you will be the compost king or queen.
WHY IS MY COMPOST SMELLY AND SOGGY?
This is a common problem for new composters where their compost heap starts to smell and look worse for wear. 99% of the time it is because of an overload of moisture rich greens. The ammonia which breaks down the green waste super quickly gives off the smell of rotting eggs. Which is horrible. See the example below. This grass clipping pile had been left without aeration or enough browns.
By turning your heap, making sure it’s neither totally sodden or dry and having a mix of browns and greens you can’t go wrong. A well-balanced compost should smell of earth and nothing more. If it’s really wet and smelly then I recommend adding shredded newspaper and cardboard to help absorb the moisture and add some carbon quickly.
Many people use compost for pots and containers as its super nutrient rich, moisture retentive and helps feel these plants throughout the season. The options with compost are endless.
Home made compost is far better in my opinions than shop bought compost. It has a richer texture and you can use it as soon as it’s ready. Shop bought compost may have been in storage for some time and will have degraded by the time you get it. Sometimes you buy it and it’s really dry and crumbly and a grey-brown colour. This is usually when its past it’s best. it should be a dark rich colour and slightly moist.
 0:02:18
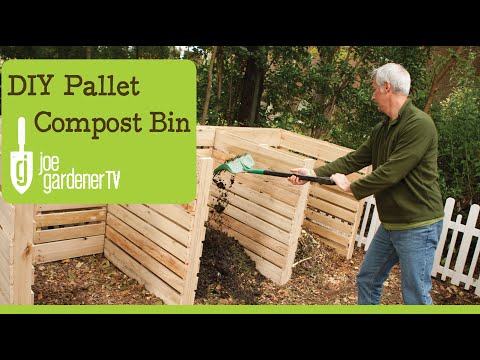
How to Make a Compost Bin for Free Using Shipping Pallets
 0:04:34
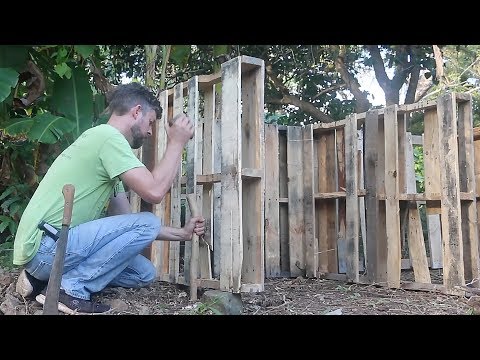
How to Make a Compost Bin from Pallets
 0:08:33
How to Make THE MOST EFFECTIVE Compost Bin from Pallets?
 0:09:30
PALLET COMPOST BINS | Building Our Homestead
 0:08:51
Making Compost bins from Pallets
 0:07:33
How to make a compost bin from pallets
 0:12:47
How to Make Pallet Compost Bins
 0:05:09
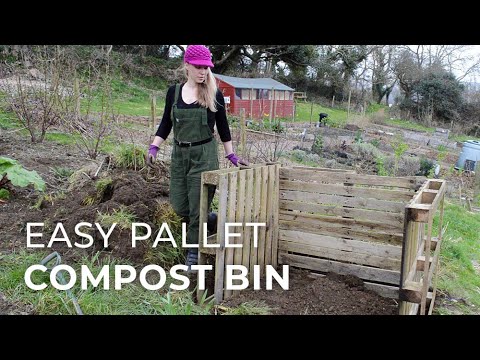
Easy DIY Pallet Compost Bin - How To Build a Compost Bin from Recycled Pallets for free
 0:06:17
Making Compost in 30 Days Using Pallet Wood Bins
 0:05:07
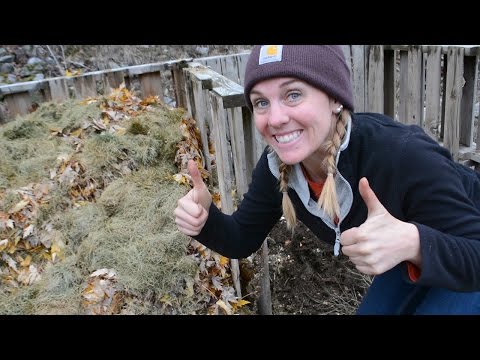
Make a Compost Bin from Old Pallets | Step by Step Guide
 0:07:22
A Super Easy Pallet Compost Pile You Can Build in Minutes (for Free)
 0:09:20
How To Build A DIY Compost Bin - Easy Free Compost Bin From Pallets
 0:11:14
Beautiful DIY Compost Bin Using Pallets (Costs Almost Nothing)
 0:19:30
How to make a compost bin from old pallets
 0:15:03
7 Pallet Compost Bin (DIY)
 0:08:03
Easy to DIY Compost Bin using wood pallets
 0:06:52
Composting 101: Stupid-Easy Compost Making in Piles & Bins
 0:13:36
Building a DIY Pallet Compost Bin
 0:06:43
How to Build an Easy DIY Compost Bin
 0:09:41
DIY Compost Bays using Pallets
 0:14:04
The Perfect Compost Bin !
 0:08:19
Building Compost Bins out of Pallets
 0:10:35
Making compost bins out of pallets
 0:00:51
How to build a compost bin
Комментарии