filmov
tv
How To Offset A Path In Affinity Designer

Показать описание
In this tutorial we'll be going over how to offset a path in Affinity Designer using the handy Contour Tool.
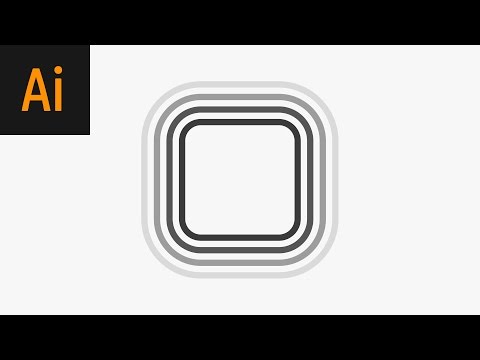
Path offsetting is when you change an object's size by adding or remove surface area rather than changing its overall width and height. This allows you to create things like outlines and borders of negative space.
🔗 RESOURCE LINKS
🎓 EXPLAINER COURSES
▶️ MY OTHER CHANNELS
🎵 MUSIC USED
In Da Mood - Combustibles
 0:00:42
Offset Path Creates Double Lines (SOLVED!) | Adobe Illustrator
 0:03:00
How To Offset A Path In Illustrator
 0:06:42
How to Offset Paths in Illustrator
 0:02:55
Adobe Illustrator: Making a Name with an Offset Path
 0:04:23
How to Offset a Path in Adobe Illustrator
 0:00:51
Illustrator | Adding an Offset Stroke on Text
 0:05:30
Advanced Offset Path Tips & Tricks
 0:06:02
Illustrator OFFSET PATH Tips & Tricks (MUST KNOW)
 0:00:32
Offset path is better✨ #GraphicDesignTips #DesignHacks #OffsetPath #IllustratorTutorial #VectorArt
 0:04:35
2 Methods to Offset Path in Adobe Illustrator
 0:04:59
How To Offset A Path In Affinity Designer
 0:05:20
How to create OFFSET PATH in Adobe Illustrator | Tutorial
 0:04:38
Illustrator Typography TRICK With The Offset Path Function
 0:02:58
How to Create an Offset Path on Text in Adobe Illustrator
 0:03:23
How to Offset a Path in Adobe Illustrator | Illustrator Offset Paths
 0:00:31
offset path use trick #illustration #shortvideo #viralvideo
 0:01:41
Easy How to Use Offset Path - Adobe Illustrator Tutorial
 0:01:25
Different Offset Path on Object VS Ofset Path on Effect Adobe Illustrator
 0:07:17
CLEAN LOGO DESIGNS With Illustrator Offset Path
 0:07:15
How to Use the Offset Path Tool in Adobe Illustrator
 0:02:56
Offset Paths and Bursts in After Effects - Tutorial
 0:01:15
Motion graphics Tutorial for beginners | Offset Path Animation | After Effects Tutorial | In 5 Mins
 0:07:04
How to Use the Offset Path Tool in Adobe Illustrator
 0:07:31
Clean Design With Illustrator Offset Path Tutorial
Комментарии