filmov
tv
15+ 3D Printing Tools You Definitely Need

Показать описание
--
You guys asked for a video all about tools for 3D Printing... so here it is! I hope you enjoy!
The right tool can mean the difference between a fun, quick, high quality project 3d printed, and a frustrating hack job you end up doing over again… And while you might not realize it at first, creating a smooth and enjoyable workflow for your 3D printed projects requires a lot more little tools and accessories than you get in the box with your 3d printer.
In this video I'm going to share all of my favorite tools for 3d printing with you, as well as what they're used for, where you can get them and much, much more. Plus, you'll even see some exciting 3D prints I've been working on in the video.
🎥 IN THIS VIDEO: 🎥
00:00 Introduction
00:49 Cigar Lighters
03:03 Microfiber Rag
03:53 99% Alcohol
04:55 Dish Soap
06:18 Glue Stick
08:01 Hygrometer
08:53 Vacuum Filament Bags & Electric Vacuum
09:41 Reusable Silica Gel Packets
12:28 Deburring Tool
13:25 Pliers
13:53 Flat Cutters
14:33 Ball-Head Allen Key Set
15:39 Low-Profile Wrench
16:32 3D Pen
🛒 RECOMMENDED GEAR: 🛒
🔗 OTHER LINKS 🔗
❤️ LOVED THIS VIDEO? ❤️
▶️ Subscribe to the channel
🔔 Turn on Notifications
🎁 Send a “Super Thanks” (Tip)
✍️ Write a comment below!
👍🏿 Like this video
#3dprinting #3dprinted #diy
 0:19:08
15+ 3D Printing Tools You Definitely Need
 0:15:38
12 more 3D printed tools you need for your workshop
 0:12:00
10 MUST HAVE 3D Printing Tools
 0:18:52
15 Useful 3D Prints: Go From Beginner to Advanced!
 0:16:59
12 3D printed tools you need for your workshop
 0:16:52
3D Printing Tools You NEED (Yes, More!)
 0:10:16
Top 15 SMART USEFUL Things to 3D Print
 0:24:02
50+ Useful 3D Prints You Never Knew You Could Print
 0:47:19
Bambu Lab X1 Carbon Combo - Why It's The BEST 3D Printer (Full Overview)
 0:09:49
Top 10 3D Printable Tools Every Maker Should, Like, Make
 0:28:22
Ultimate Guide to 3D printing
 0:24:54
Make USEFUL 3D Prints with THIS List of Hardware
 0:08:22
3D Printed Tools for 3D Printing
 0:28:23
Best 3D Printing Ideas in 2022 - 3D Printed Trends (Part 2)
 0:21:36
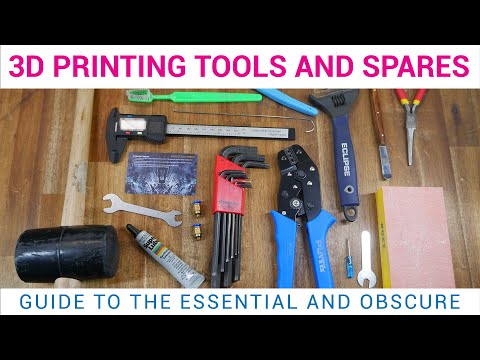
Essential (and obscure) 3D printing tools and spares
 0:10:14
How Easy is 3D Printing ACTUALLY? (Ender 3 S1 Review)
 0:07:19
7+ Advanced 3D Printing Tools
 0:16:49
Build a GIANT⚡⚡15Ah⚡⚡tool BATTERY!
 0:00:39
3D Printing Tool Tip: Best Cutters!
 0:13:09
3D Printing Post-Processing: How to Use Finishing Tools For SLA 3D Printed Parts
 0:10:13
COOL & USEFUL 3D Prints 💯 15 BEST 3D Printing Ideas
 0:00:50
Tools I Use in My 3D Printing Workflow ALL The Time | Use 3D Printing Tools
 0:03:51
Most practical 3D print you've even seen: Thread Boards
 0:18:48
Top USEFUL Things to 3D Print| Best Practical 3D Prints of 2022
Комментарии