filmov
tv
Getting Started with ESP32-CAM| Uploading Code through Arduino UNO in 5 Minutes

Показать описание
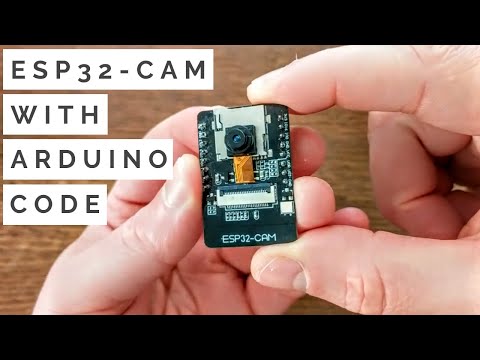
The ESP32CAM is a powerful development board that combines the ESP32 microcontroller with a camera sensor, allowing developers to easily create projects that utilize both WiFi connectivity and image capture. In this guide, we will walk you through the process of getting started with the ESP32CAM and uploading code using an Arduino Uno.
Materials Needed:
ESP32CAM Development Board
Arduino Uno
USB Cable
Breadboard (optional)
Jumper Wires
Step 1: Preparing Your Arduino Uno
Before we can begin uploading code to the ESP32CAM, we need to prepare our Arduino Uno. First, connect your Arduino Uno to your computer using a USB cable. Open the Arduino IDE on your computer and select “Arduino Uno” under the “Tools” “Board” menu. Also, make sure that the correct serial port is selected under the “Tools” “Port” menu.
Step 2: Connecting Your ESP32CAM to the Arduino Uno
Next, we need to connect our ESP32CAM to the Arduino Uno. To do this, we will use jumper wires to connect the following pins on the ESP32CAM to the corresponding pins on the Arduino Uno:
ESP32CAM 5V to Arduino Uno 5V
ESP32CAM GND to Arduino Uno GND
ESP32CAM U0TXD to Arduino Uno RX
ESP32CAM U0RXD to Arduino Uno TX
ESP32CAM IO0 to GND
Note that IO0 needs to be connected to GND to enable the ESP32CAM to enter programming mode.
If you are using a breadboard, you can use it to make the connections easier to manage.
Step 3: Uploading Code to the ESP32CAM
Now that we have our Arduino Uno and ESP32CAM connected, we can begin uploading code to the ESP32CAM. We will use the Arduino IDE to write and upload code to the ESP32CAM.
 0:08:22
Getting Started Programming ESP32-CAM With ESP32-CAM-MB Micro USB Programmer Serial Converter Loader
 0:11:35
ESP32-Cam Quickstart with Arduino Code
 0:07:28
Getting Started with ESP32-CAM| Uploading Code through Arduino UNO in 5 Minutes
 0:24:55
ESP32-CAM - Guide to making YOUR first DIY Security Camera
 0:14:04
ESP32 CAMERA MODULE - Getting Started & Tips for Error Free Usage
 0:26:31
ESP32-Cam Complete Guide
 0:14:03
Getting Started with ESP32 CAM || With the solution for Fatal Error || Rudra DIY Crafts
 0:08:31
ESP32 CAM Video Streaming on Web Server || Getting Started with ESP32 Camera Module
 0:14:35
How To Make ESP-32 CCTV Camera - DIY
 0:10:11
ESP32 CAM Getting Started | Face Detection
 0:10:05
How to setup and use ESP32 Wi-Fi Camera || ESP32 CAM Getting Started || Face Detection
 0:27:07
How to setup and use ESP32 Cam with Micro USB WiFi Camera
 0:08:11
How to Setup and Program ESP32 Microcontroller– Complete Guide
 0:05:07
ESP32-Cam Programmer an Easy Way To Upload Your Code / AI Thinker ESP32 Camera
 0:19:50
Getting Started with ESP32 - Step-By-Step Tutorial
 0:03:52
ESP32 Cam programming (get started) step by step
 0:19:01
Getting Started With ESP 32 CAM | AI Thinker Wifi Camera Module
 0:05:53
How to program ESP32 CAM using Arduino UNO
 0:08:58
Programming The ESP32 Cam Using USB To TTL Converter Module
 0:04:03
Setting up an ESP32 with Arduino IDE
 0:19:50
ESP32 Camera - Arduino Core basic example
 0:12:47
ESP32 Cam code upload using Arduino Uno | ESP32 Camera Webserver for monitoring and streaming
 0:00:15
Make an IP camera with esp32-cam | Upload recording to your FTP
 0:47:57
Introduction to ESP32 - Getting Started
Комментарии