filmov
tv
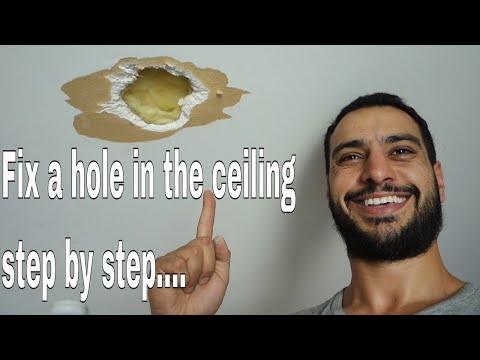
How To Fix Ceiling Holes – Your DIY Guide

Показать описание
SHOPPING LINKS 👇
Faithfull Plasterers Trowel
Refina Plastering Brush
ForgeFix Drywall Screws
Preciva Professional Foaming Gun
Soudal Champagne Gap Filler Expanding Foam
Cotton Dust Sheets
________________________
🛠 Summary
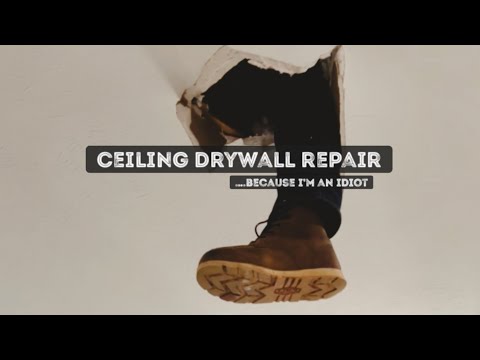
🔧 Causes of Ceiling Holes – Holes can occur due to plumbing leaks, accidental footfalls, or ageing ceilings. The video demonstrates various repair techniques.
⚡ Electrician-Caused Holes – Often, electricians cut into ceilings for wiring but leave them unrepaired. These must be carefully fixed without damaging cables.
🔩 Choosing the Right Screws – Short, corrosion-proof screws are preferred to avoid hitting electrical cables and ensure stability.
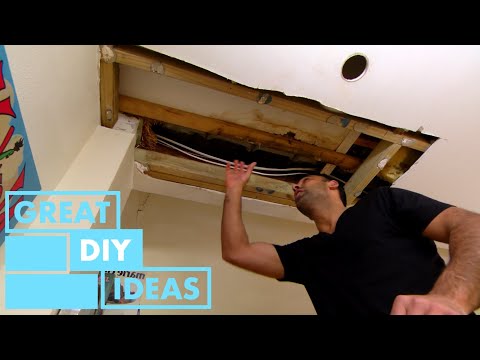
📝 Marking Joist Positions – Before placing plasterboard, marking joist positions helps in securely screwing the patch into place.
💦 Foam Application & Drying – Expanding foam fills gaps; water spraying accelerates curing and improves adhesion.
🔪 Trimming Foam Before Plastering – Excess foam should be cut back to avoid rough patches in the plaster finish.
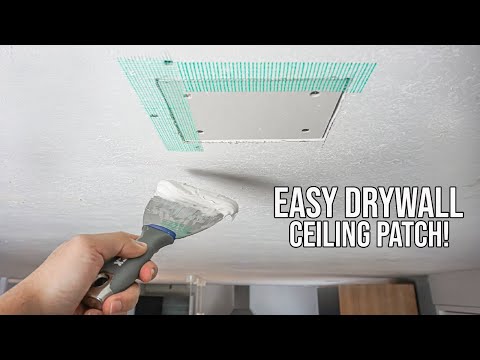
🩹 Scrim Tape vs. Plaster – Scrim tape can sometimes cause ghosting, so joint-filling compounds or multi-finish plaster are recommended for a smooth finish.
🏚 Lath & Plaster Ceilings – These older ceilings can detach over time. Applying diluted PVA helps rebind them and prevents sudden collapses.
🚑 Preventing Ceiling Collapse – Pouring a PVA mixture over old plaster from above (if accessible) helps to reinforce weak sections and preserve decorative mouldings.
📊 Insights Based on Numbers
▶ 3:1 PVA to Water Ratio – A mix of three parts water to one part PVA can be poured over old lath-and-plaster ceilings to strengthen them.
▶ Short Screws are Essential – Longer screws risk piercing electrical cables, leading to extensive repairs.
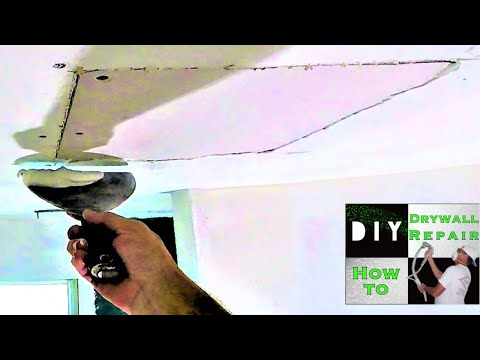
▶ Multiple Coats of Paint & Plaster – Applying two coats ensures a polished, seamless ceiling finish.
==========================================
#diy #plastering #homeimprovement
🛒 As an Amazon Associate, we earn from qualifying purchases
◾ Out of respect to our sponsors and followers, we'll remove comments that do not follow expected standards of politeness and decency.
Faithfull Plasterers Trowel
Refina Plastering Brush
ForgeFix Drywall Screws
Preciva Professional Foaming Gun
Soudal Champagne Gap Filler Expanding Foam
Cotton Dust Sheets
________________________
🛠 Summary
🔧 Causes of Ceiling Holes – Holes can occur due to plumbing leaks, accidental footfalls, or ageing ceilings. The video demonstrates various repair techniques.
⚡ Electrician-Caused Holes – Often, electricians cut into ceilings for wiring but leave them unrepaired. These must be carefully fixed without damaging cables.
🔩 Choosing the Right Screws – Short, corrosion-proof screws are preferred to avoid hitting electrical cables and ensure stability.
📝 Marking Joist Positions – Before placing plasterboard, marking joist positions helps in securely screwing the patch into place.
💦 Foam Application & Drying – Expanding foam fills gaps; water spraying accelerates curing and improves adhesion.
🔪 Trimming Foam Before Plastering – Excess foam should be cut back to avoid rough patches in the plaster finish.
🩹 Scrim Tape vs. Plaster – Scrim tape can sometimes cause ghosting, so joint-filling compounds or multi-finish plaster are recommended for a smooth finish.
🏚 Lath & Plaster Ceilings – These older ceilings can detach over time. Applying diluted PVA helps rebind them and prevents sudden collapses.
🚑 Preventing Ceiling Collapse – Pouring a PVA mixture over old plaster from above (if accessible) helps to reinforce weak sections and preserve decorative mouldings.
📊 Insights Based on Numbers
▶ 3:1 PVA to Water Ratio – A mix of three parts water to one part PVA can be poured over old lath-and-plaster ceilings to strengthen them.
▶ Short Screws are Essential – Longer screws risk piercing electrical cables, leading to extensive repairs.
▶ Multiple Coats of Paint & Plaster – Applying two coats ensures a polished, seamless ceiling finish.
==========================================
#diy #plastering #homeimprovement
🛒 As an Amazon Associate, we earn from qualifying purchases
◾ Out of respect to our sponsors and followers, we'll remove comments that do not follow expected standards of politeness and decency.
 0:06:16
Drywall Repair: The BEST Ceiling Hole Patch Is...
 0:10:04
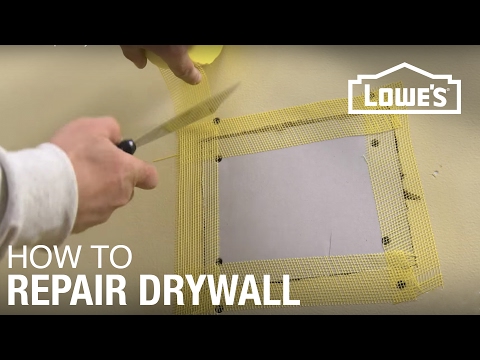
How To Repair A Drywall Ceiling Hole From Start To Finish | DIY For Beginners!
 0:00:33
How to repair ceiling drywall
 0:06:24
How To Fix Ceiling Holes – Your DIY Guide
 0:03:08
How to Patch and Repair a Hole in the Ceiling | DIY | Great Home Ideas
 0:00:31
How to Patch Pot Light Holes/Smaller holes in drywall EASIEST way possible!
 0:01:00
Drywall Ceiling Repair Tips - #shorts
 0:02:33
How To Fill Holes In A Wall or Ceiling Quickly & Simply! - Patch Kit
 0:15:39
How to repair a drywall ceiling hole fast and easy!
 0:01:00
How to Fix Small Holes in Drywall #diyprojects #drywall #holes #spackling #easyfix #primer #painting
 0:00:48
How To Patch Ceiling Holes#ceiling #patchwork #repairing
 0:00:10
The EASIEST Way to Fix a Hole in Your Drywall - tips #diy #youtubeshorts #woodworking ##wall #holes
 0:00:22
✨ Drywall patch hack
 0:00:52
How to patch hole in ceiling. #shorts #drywallrepair #ceiling
 0:18:53
How to repair a hole in ceiling - drywall plasterboard
 0:01:01
How To Repair Large Drywall Hole In Ceiling. #short #drywallrepair #ceiling #howto #diy
 0:00:45
How to patch a drywall hole
 0:00:52
Spray Foam Drywall Patch, How To Fix Lots Of Holes Fast!
 0:00:59
🏠🔧 Quick Home Fix! How to Repair Small Holes in Drywall Rapidly 🚀💨 #shorts #drywall
 0:00:05
How to patch large hole in ceiling - How to repair drywall patching process with skip trowel texture
 0:03:10
How to Repair Drywall
 0:01:34
🔥 How to Fix a Small Hole in DRYWALL Panels 🛠️
 0:00:42
How to repair a big hole in drywall
 0:00:16
Leak ceiling fix || Ceiling drywall
Комментарии