filmov
tv
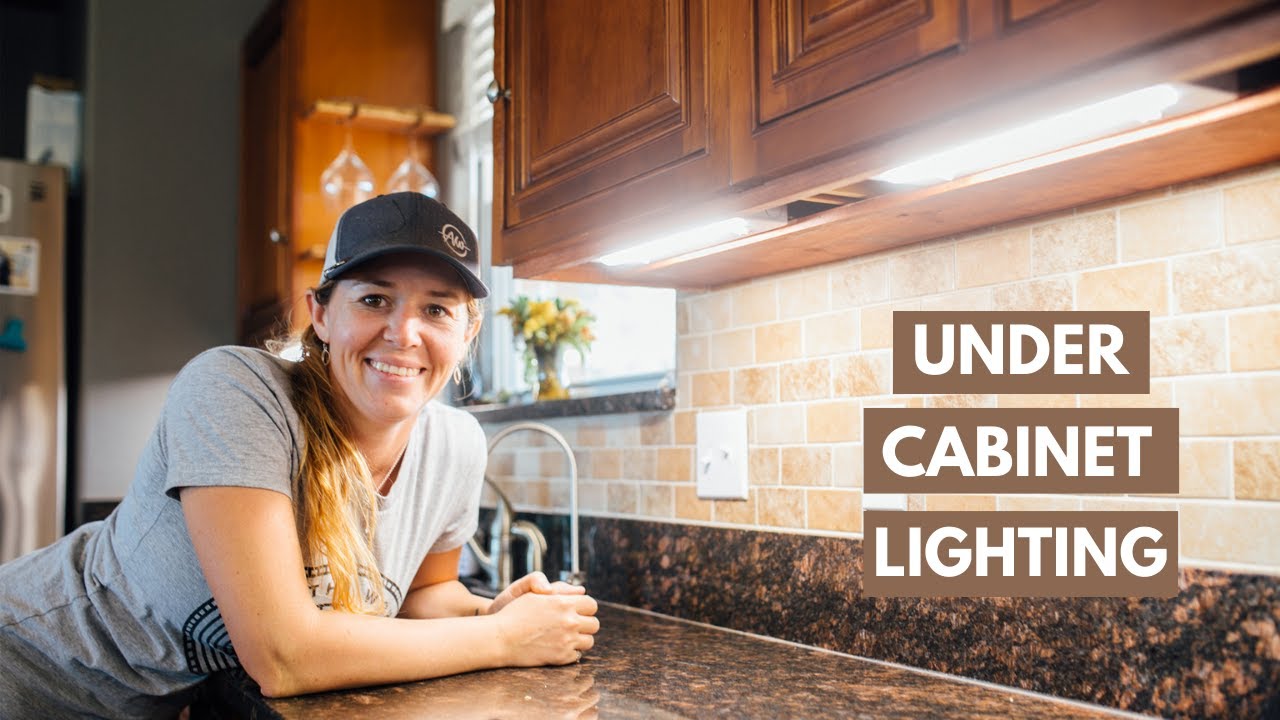
Install Under Cabinet Lighting | One Day Kitchen Improvement
Показать описание
Want to support me? Support the companies that support me:
Things I Used in This Project:
 0:14:04
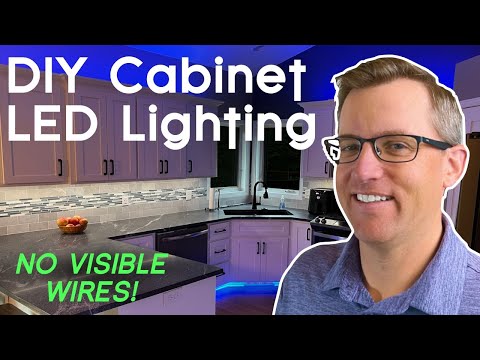
Ultimate Guide to DIY Cabinet LED lights - full install
 0:02:55
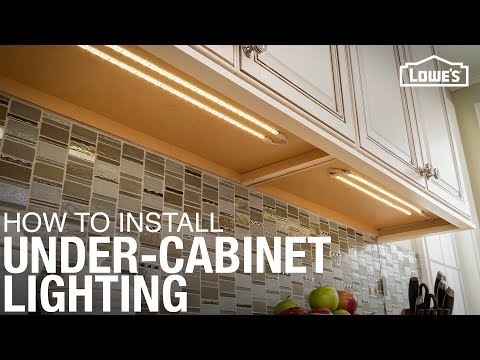
How to Install Under Cabinet Lighting
 0:12:11
DIY Under Cabinet Lighting - Full Walkthrough
 0:08:31
Install Under Cabinet Lighting | One Day Kitchen Improvement
 0:13:02
How to Install LED Under Cabinet Lighting
 0:05:40
How to Install Undercabinet Lighting and Power | All About Lights | Ask This Old House
 0:08:22
Kitchen Under Cabinet Lighting - No Plugs! Hardwired installation
 0:09:50
DIY Kitchen Under Cabinet Lighting
 0:00:56
How to Install Under Cabinet LED Lighting #undercabinetlighting #ledtape #homedecor #diyproject #diy
 0:12:14
How To Install Under Cabinet LED Strip Lights with LIFX Z Strips
 0:14:36
Under Cabinet Lighting - EASY and AFFORDABLE!
 0:23:30
No Shoulder Shadows: Under-Cabinet Lighting
 0:07:04
How To Install Under Cabinet Lighting - DIY
 0:14:34
How to Install LED Under and Above Cabinet Lighting Hooked to a Wall Dimmer Switch
 0:21:56
Easy Kitchen Upgrade! Install UNDER CABINET Lights in Minutes With No Tools
 0:08:13
LED Strip Lighting Installs: Beginner, Intermediate and Expert Level
 0:03:46
💡Easy & Affordable Under Cabinet LED Lighting Solution-No Wiring & Rechargeable!
 0:04:14
How to Install Under Cabinet LED Strip Lights
 0:00:15
Under Cabinet Lighting in less than 2 minutes! 💡
 0:05:02
Ikea Skydrag - Cheap, Easy to Install Cabinet HomeKit Lighting
 0:13:38
EASY - How to Install UNDER CABINET LIGHTING - Inexpensive ! - (Hardwired)
 0:15:43
How to install LED Strip Lights – Under Cabinet Lightstrips for your Smart Home!
 0:01:01
My favorite under cabinet lighting! Update your electrical outlet to blend in with your backsplash!
 0:15:02
Installing Low Profile Under Cabinet LED Lighting
Комментарии