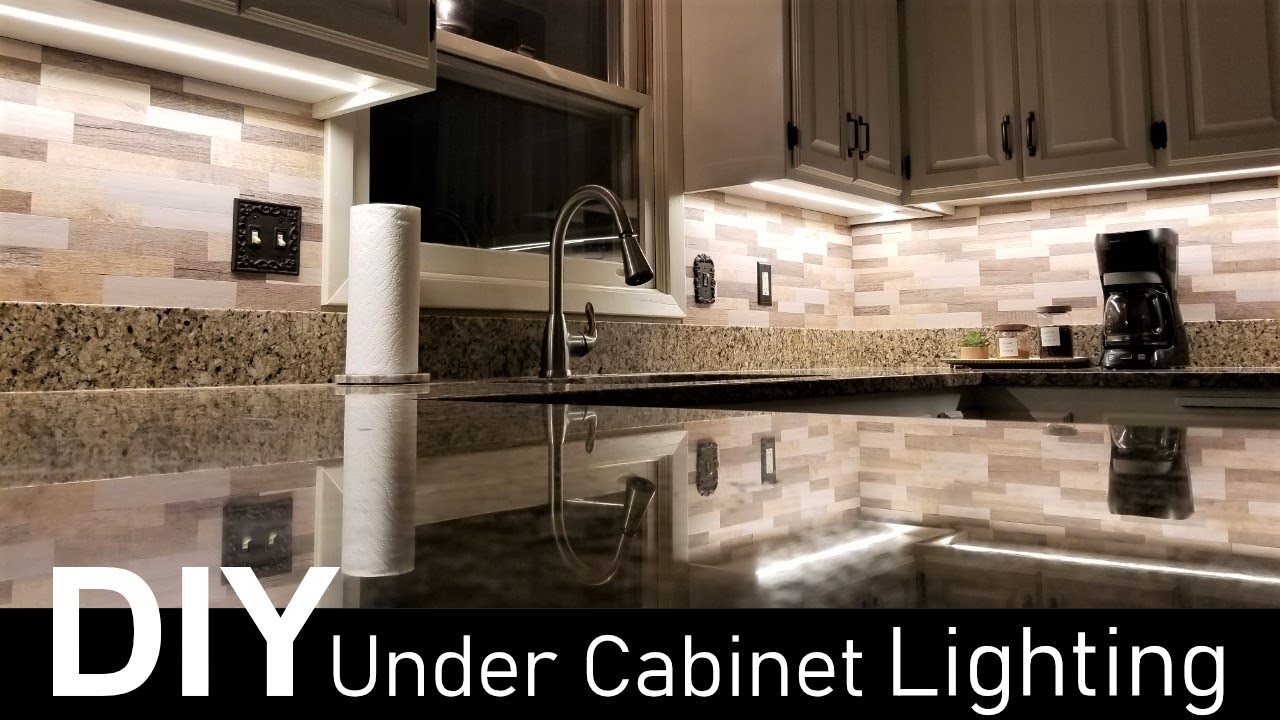
DIY Under Cabinet Lighting - Full Walkthrough

preview_player
Показать описание


=============================
Support My Channel Directly:
==============================

Other Videos I Have Made:

Other LED Tutorial Videos:

Unboxing Videos:

The best way to help support my channel is to like, comment, make sure your subscribed and share my videos with as many people as you can. The other way is to use my links above as I get a small % at no extra cost to you if you buy something. Thank you all for the support!
Рекомендации по теме
Комментарии
Автор


Support My Channel Directly:


The best way to help support my channel is to like, comment, make sure your subscribed and share my videos with as many people as you can. The other way is to use my links above as I get a small % at no extra cost to you if you buy something. Thank you all for the support!

ChrisMaherDIY
Автор

Electrician here, install a outlet inside your cabinet right above your outlet. Just use a cut in box. That way you dont have the ugly cable showing. You could easily fish a wire straight up and into your cut in box. No wires showing. Just my 2 cents

johnnyrico
Автор

This is an awesome video. I did this exact project about 10 yrs ago in my previous home. The products have upgraded a bit since then, so this is a great start for me doing it again in my current home. Thank you!

RABuffat
Автор

I think by far the best video on LEDs for DIYers

KohlHosein
Автор

this is exactly what I did the first thing after buying my house, it makes a huge difference. IMO every kitchen should come with this

cks
Автор

Tips from my last install: Put the LEDs 1-2" away from the front lip of the cabinet underside. Use the face frame edge to top the light juuuust before the counter edge and prevent the light from spilling over the counter onto the floor. This will prevent ugly shadow lines on the floor and cabinet fronts. Also by putting the LEDs on the front edge they will illuminate the fronts of objects on your counter and produce a softer illumination of the backsplash. It's also harder to see directly when crouched down. An angled track can also change the distribution of the light. I carved a notch out of the cabinet bottoms instead of a hole through their joints. This produces a seamless line and light when seen in the reflection of the counter. The COB "dotless" LED strips are 100% worth it especially seen in a shiny countertop reflection. Keeping the last LED from running right up against the wall on the end of a bank of cabinets also dulls the "hot spot" effect.

I prefer to use the controllers that take a dimming 120V source as the dimmer control for the 12-24V output. This means a handsome dimmer-paddle switch (e.g. Lutron) is a one-touch control for all aspects of the light (except programming obv.).

frederf
Автор

I'm a couple minutes into the video but just had to come down here and say thank you. What a time to be alive with so much knowledge at our fingertips

JoeMcBroom
Автор

Been wanting to add under cabinet light to my house for some time. Finally got around to working up the nerve to learn to solder and got the remainder of the items. Just recreated this in my kitchen and love how it turned out. Appreciate the great videos and tutorials. Keep up the good work. God Bless!

DavidHansen
Автор

for added effect i also ran the same lighting under the bottom cabinets in the kickboard space so you get a floor wash. Works really well. I concealed my power supplies on the top of my cabinets and ran the cabling behind the cabinets. You can use a fused spur to permanently wire in and get rid of the ugle black cable in your install. Works like a charm. Nice vid

Brett_is_Veng
Автор

There's a lot of great information in this video. I'm going to replace some old florescent fixtures under my cabinets: this video definitely made my project easier.

comptonhomeboy
Автор

Thank you for this video. I just used your instructions and the equipment in your description to give my cabinets a beautiful face lift. I appreciated the help!

johngreen-
Автор

Well done sir. The under the cabinet lights are a huge improvement.

briandurkin
Автор

Can't wait to knock this one out. Only suggestion I can make is put a junction box in the cabinet and run some romex from the plug you used up into the cabinet. Then you don't need to cut all the connectors and all the wires are hidden inside. Great job, cheers!

TrraLt
Автор

I think I will add an outlet to the inside of my cabinets first:) thanks for the great Videos!

chucksw
Автор

This is awesome! I need to replace our 19 year old halogen under cabinet lights and this is perfect. I really like the aluminum channel and diffuser.

jmcguire
Автор

Hi Chris, another top video and tutorial. Them WAGO'S can be a godsend can't they!.
I hope you are all well 🇺🇸🇬🇧

-djs
Автор

Thanks, Chris, great video. FYI any 120VAC connections/splices must be made in an approved box.

Hunn
Автор

wow so impressive! I found myself saying, I could do that! I'm a total nube with electrical stuff, so thanks so much for sharing.

risaoram
Автор

Great video and filled with info that will save me hours of trials and errors -thank u!

paullight
Автор

Hey Chris, I'm based in UK and have been watching and following your channel for a while. I'm taking inspiration from you and will be doing my own room at home soon as I'm buying my first house.
Thank you for showing us how easy this work is. And your links are a godsend haha

So big up from Liverpool UK

beemerrobbie
welcome to shbcf.ru