filmov
tv
Robotics Programming: Servo Control for Arduino

Показать описание
Today’s episode of robotics programming explores fine servo control. We are going to combine a servo with an ultrasonic sensor to enable our robot to "see" obstacles at various angles relative to the robot.
First we assemble the components using a breadboard. We see how to use the battery power combined with a capacitor to ensure that the servo has enough juice to move. After completing the hardware build, we will dive into code to control the servos movements so that our Ultrasonic sensor will be steady to get accurate readings. In order to accomplish this, we must both stop the servo for the correct amount of time, but also manage set angles that we are going to be taking the readings from to ensure we know where our obstacles are.
Throughout this series we will be introducing topics on building and programming an autonomous mobile robot! You can follow along with each lab adding amazing new behaviors to you robot projects and learning the algorithms and tuning techniques that produce incredible robots! We will be exploring reactive algorithms such as PID, Potential Fields and A*. Along the way you will learn how to program behaviors such as object following, wall following, standing / balancing, go-to goal and object avoidance. This series is intended to allow you to follow along with your own robot.
This video series is meant to help anyone interested in programming robots follow along. You do not need to use the same robot as I do. Any mobile robot can run these same algorithms, you just have to tune the robot differently.
Chapters:
0:00 Introduction
0:24 Hardware Used
1:27 Hardware Assembly
2:20 Wiring
7:13 Initial testing
9:17 Servo Positioning Code
19:28 Testing / Tuning
21:47 Conclusion
#codingcoach #arduinorobot #roboticsprogramming
Links to hardware:
Robot used
Other robots, batteries and tools (Amazon Affiliate links)
Batteries:
 0:22:15
Robotics Programming: Servo Control for Arduino
 0:00:28
Arduino DIY MeArm 4DOF Wooden Robotics Robot Arm Kit + SG90 / MG90s Servo Motor
 0:00:31
Servo Calibration using Raspberry Pi and Python
 0:00:15
Test with Adafruit PCA9685 servo driver
 0:00:58
Yahboom 24-channel dual PWM servo control debugging board for DIY smart robotics
 0:08:14
Learn Robotics Programming | 10. Using Python to Control Servo Motors
 0:03:46
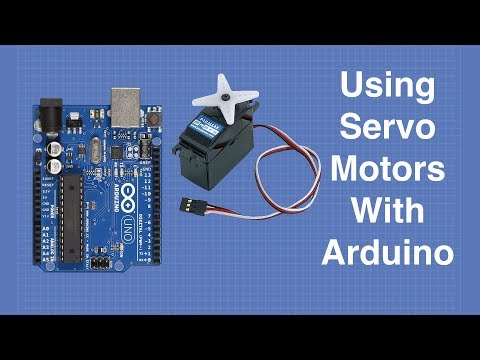
How to Control a Servo With an Arduino
 0:05:17
Arduino tutorial 7- How to control Servo motor with Arduino (code explained) | using servo library
 0:06:50
ESP32-Powered Spider Robot for Robotics Learning
 0:10:32
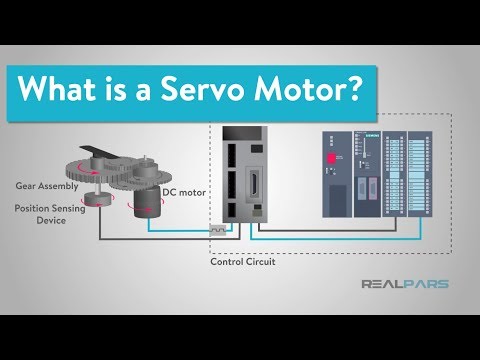
Introduction to Servo Motors and Motion Controllers
 0:04:15
Quick Guide to Servos
 0:03:41
SR-04 Servo Recorder Programming tutorial for animatronics and robotic control
 0:12:56
How to Use Servo Motors with NO Programming! - Hotwire Servo Tutorial
 0:25:56
The Ultimate Guide to using Motors in Robotics (including ROS, Raspberry Pi)
 0:07:41
DIY Servo Robotic Arm | Record and play | Arduino projet
 0:15:45
What is a Servo Motor and How it Works?
 0:04:42
Continuous Rotation Servo Motors and Arduino (Lesson #11)
 0:00:16
Gesture-Controlled Servo with Python and Arduino #electronics #arduinotraining
 0:08:17
Joystick controlled Servo Robotic Arm using Arduino [with CODE explained] | Micro Servo Robotic Arm
 0:04:15
16 channel servo controller with Arduino | PCA9685 16 channel PWM servo motor driver tutorial
 0:43:06
Using Servo Motors with Arduino
 0:10:41
PCA9685 16-Channel 12-Bit PWM Servo Motor Driver with Arduino.
 0:00:21
Multiple Servo Motor Control #servo #multiple #robot #robotics #arduino #diy #electronic #howto
 0:09:16
How to correctly connect a Servo Driver - Servomotor with any plc?||Complete Guide
Комментарии