filmov
tv
How to change rear brake pads / rear brake pad set on VW GOLF 5 (1K1) [TUTORIAL AUTODOC]

Показать описание
How to change rear brake pads / rear brake pad set on VW GOLF 5 (1K1) 1.6 Hatchback 10.2003–02.2009 [TUTORIAL AUTODOC]
Brake pads on AUDI A3 Hatchback (8P) (05.2003 - 08.2012) / SEAT Altea (5P, 5P1) (03.2004 - 2012) / SEAT Leon II Hatchback (1P, 1P1) (05.2005 - 12.2012) / SKODA Octavia II Hatchback (1Z3) (02.2004 - 06.2013) / VW Jetta Mk5 (1K2, 1KM) (08.2005 - 10.2010) cars should be replaced, as a rule, according to one and the same procedure.
However, there can be slight differences due to specific features of the vehicle design.
🔝 Top brands that produce brake pads: RIDEX; STARK; BREMBO; BOSCH; ATE.
📲 Buying via app is always cheaper than on the website!
🛠️ The tools you need to replace rear brake pads:
- wire brush
- WD-40 spray
- brake cleaner
- anti-squeal paste
- copper grease
- combination spanner No.13
- drive socket No.13
- wheel impact socket №17
- brake caliper wind back tool
- torque wrench
- crow bar
- wheel chock
Was this video helpful? Give it a thumbs-up and share it with your friends!
Have a look at other videos on our channel:
📢 AUTODOC in social media:
#autodoc #autodoctutorial
Disclaimer:
This video is intended for informational purposes only and does not guarantee achievement of a specific result.
It is recommended that you entrust the installation to highly skilled technicians to ensure the best result.
This video only contains tips and recommendations that could be helpful when carrying out car repairs or replacing parts. AUTODOC is not liable for any harm, injury or property damage incurred while carrying out repairs or replacements, that are a result of incorrect use or misinterpretation of the provided information. This video is for informational purposes only and does not guarantee achievement of a specific result. The user is personally liable for incorrect use of repair equipment, tools or car parts, in particular, when this use poses the risk of injury. AUTODOC strongly recommends being careful and adhering to the safety rules when doing any repair or replacement. Keep in mind that using low quality auto parts does not guarantee the proper level of road safety.
© 2019 AUTODOC GmbH All rights reserved
 0:21:43
How to Change Rear Brake Pads
 0:18:40
How to Change Front and rear Brake Pads and Rotors (Complete Guide)
 0:07:29
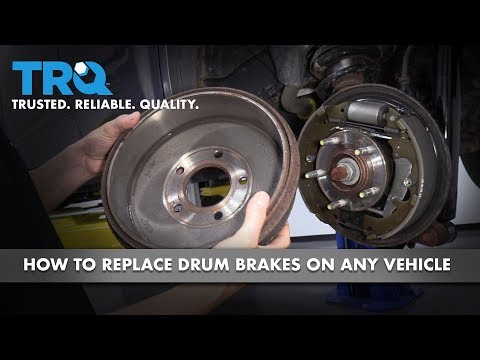
How to Replace Drum Brakes on Any Vehicle
 0:18:52
How to Change Rear Brake Discs & Pads
 0:09:55
How To Change Replace Brake Pads Easy Simple
 0:22:00
The ULTIMATE Guide on How to Replace Drum Brakes
 0:14:21
How to Replace Brake Pads and Rotors (COMPLETE Guide)
 0:03:49
How to change rear brake pads VW GOLF 6 (5K1) [TUTORIAL AUTODOC]
 0:13:29
Most Common Brake Installation Mistakes!
 0:07:28
How to change rear brake pads NISSAN MICRA 3 TUTORIAL | AUTODOC
 0:07:22
How to change rear brake discs and rear brake pads on VW / SKODA / AUDI TUTORIAL | AUTODOC
 0:01:12
Mazda 3 & CX-30 (2019-2023)Rear E-Brake Disengagement & Maintenance Mode (For Rear Brake Cha...
 0:08:21
How to replace Rear Brakes with Electronic Parking Brake for Toyota
 0:05:06
How to change rear brake pads with electric park brake using no scanner tools
 0:00:45
Easy brake pad replacement
 0:04:00
How to change rear brake pads on AUDI A3 2 (8PA) [TUTORIAL AUTODOC]
 0:10:03
how to change rear brake discs and pads without vcds passat b8 | inlocuire discuri si placute spate
 0:26:23
How to Replace Rear Brake Calipers On Any Car!
 0:07:32
How to change rear brake discs and rear brake pads on VW PASSAT B6 [TUTORIAL AUTODOC]
 0:19:08
Ford Taurus: Rear Brake Job.....Kind Of
 0:06:55
How to Replace the rear brake pads on the Jeep Cherokee 2014 to 2019
 0:08:17
How to change rear brake discs and rear brake pads on HONDA JAZZ 1 TUTORIAL | AUTODOC
 0:03:12
How to Replace the rear brake pads Ford Edge 2007 - 2014
 0:05:43
How to change rear brake pads / rear brake pad set on VW GOLF 5 (1K1) [TUTORIAL AUTODOC]
Комментарии