filmov
tv
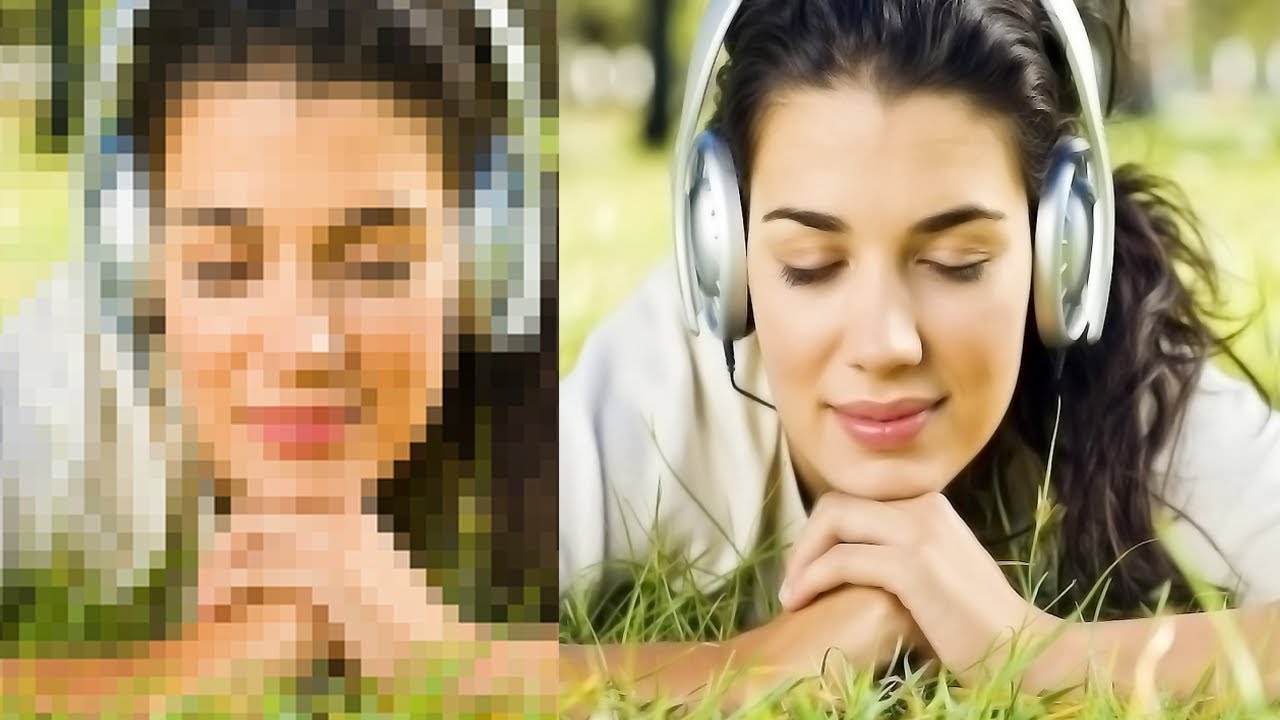
How to Depixelate a Images in Photoshop
Показать описание
Today we will discus about "How to depixelate a picture in photoshop/how to convert a low resolution Photo in to High Resolution and good quality image. /remove pixels from a photo during Big/large size use.
Low to High Quality/Resolution Photo/Depixelate Image in Adobe Photoshop CC & CS6" step by step in this photoshop tutorial.
By the way, Don't Forget To Subscribe For Free Photoshop Tutorials
Let's move forward:
Step#1
Open the image in Adobe Photoshop. If the picture that you want to depixelate is on its own Photoshop layer, make sure that you click to select that layer in the Layers window.
Step#2
Click "View"and then "Actual Pixels" so that you get a clear view of the extent of the pixelation.
Step#3
Go to "Filter" and then "Noise" on the main menu. Select "Despeckle." This option helps to smooth out the pixels in your image.
Step#4
Press the CTRL and F keys two or three times to further despeckle the image. If you despeckle the image any more than four times, it will probably start to blur past recognition.
Step#5
Perform a Smart Blur on the image as an alternative to help get rid of pixelation. Go to the Filter menu and choose the "Smart Blur…" option. Set the radius at about 1.5 pixels and the threshold at about 15 pixels, then hit "OK." You can always go back and adjust these settings by pressing the CTRL + Z keys.
GET IN TOUCH:
 0:01:01
How to Depixelate a Images in Photoshop
 0:03:21
how to depixelate images in photoshop
 0:02:02
How to Depixelate a Images in Photoshop
 0:09:37
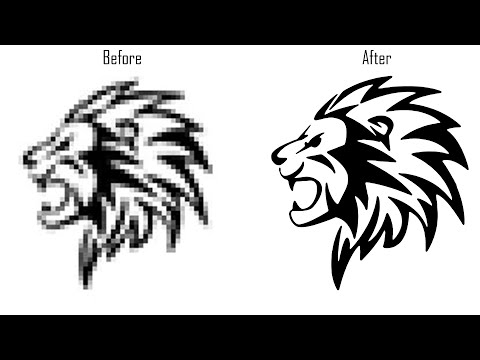
Best 3 FREE Image Upscalers in 2024 + Comparison!
 0:01:46
How to Depixelate Images in Photoshop
 0:02:07
Two Minute Photoshop Tutorial : Convert a Low Resolution Graphic into a High Resolution Graphic
 0:00:49
How to Depixelate images in illustrator 2024 | Smooth image in illustrator
 0:10:40
3 Simple Steps How to depixelate images and Convert Low Quality Image into High Quality
 0:06:19
Easily Convert Low To High Resolution Photos In Photoshop
 0:00:40
Fix blurry icon/logo make sharp edge-[Photoshop tutorial] quick and easy
 0:06:18
How to depixelate images And Convert Into High Quality Photo in Photoshop
 0:01:25
Photopea Tutorial - How to Selectively Pixelate any Image
 0:05:09
How to depixelate images and convert into High Quality photos in Photoshop cc
 0:02:46
Convert LOW Resolution Graphic to Razor Sharp Vector in Photopea
 0:07:34
How to depixelate images and convert into High Quality photos in Photoshop
 0:05:28
Improve Photo Image Quality | Low to High Resolution - Photoshop Tutorial
 0:01:44
How To Fix Soft Low Resolution and Pixelated Edges in Photoshop
 0:04:58
BEST WAY TO CONVERT LOW RESOLUTION TO HIGH RESOLUTION in PHOTOSHOP !!
 0:03:26
The Best Image Upscale AI (100% Free)
 0:00:47
How to Improve Image Quality | Low to High Resolution
 0:02:22
how to Depixelate images in Photoshop | Photoshop 2023 | Convert Into High Quality Photo
 0:03:50
Best Free AI Photo Enhancer! Fix Blurry/Pixelated Images With this FREE Ai Tool!
 0:08:30
How to depixelate images and convert into High Quality photos in Photoshop cc
 0:02:42
How to depixelate images and convert Low to High-Quality photos #depixelate #photoshoptutorial
Комментарии