filmov
tv
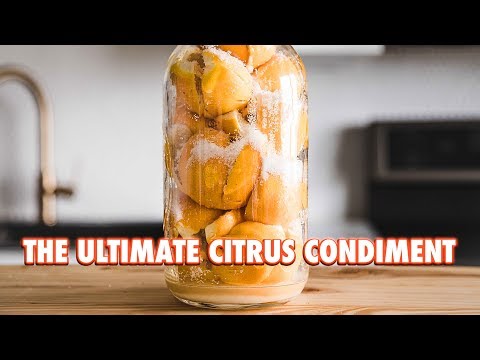
DIY Preserved Lemons Made Easy 🍋

Показать описание
Craving a burst of citrusy goodness? DIY Preserved Lemons is a perfect option!
The Instructions:
Choose lemons that are firm and free from blemishes. Wash them thoroughly to remove any dirt or wax
Cut off the stem ends of the lemons
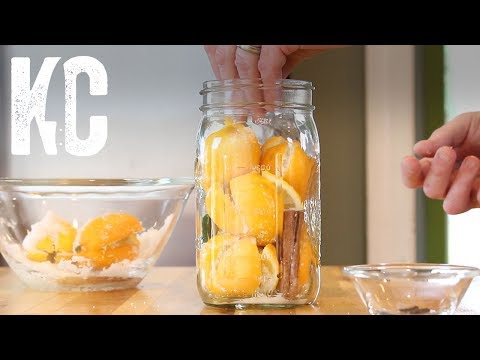
Cut each lemon into quarters stopping about ¾ of the way through. The quarters should remain attached at the base, creating a flower-like shape
Open up each lemon and sprinkle coarse salt inside. The general formula is a tablespoon of salt per 1 lemon
Place the lemons in a clean and dry glass jar (preferably sterilised)
Press the lemons down to release some juice. The lemons should be fully submerged
If your lemons are not juicy enough, squeeze additional lemons to extract fresh juice. This helps create the brine that preserves the lemons
Wipe the rim of the jar to remove any salt or lemon juice, then seal it (but not too tight)
Store the sealed jar at room temperature in a dark place for 3-4 weeks to allow the lemons to ferment and develop their flavor
Periodically check if the lemons are fully submerged in the brine and press them if needed
Once the lemons are ready, it’s more convenient to keep them in smaller jars.
The preserved lemons can last for several months if stored properly in the fridge
When ready to use, remove the pulp. You can also rinse the lemons under cold water to get rid of excess salt
Preserved lemons are an incredibly versatile ingredient that adds a burst of unique, tangy flavor to a variety of dishes
Incorporate these preserved gems into sauces for a distinctive twist or infuse them into cooking proteins such as chicken or fish for an aromatic touch
Chop them up and add to green salads for a zesty kick. It can also become a secret ingredient in your potato salad
Surprisingly, they can even elevate some desserts. Consider adding them to lemon shortbread cookies to enrich this sweet treat with subtle savory notes
The Instructions:
Choose lemons that are firm and free from blemishes. Wash them thoroughly to remove any dirt or wax
Cut off the stem ends of the lemons
Cut each lemon into quarters stopping about ¾ of the way through. The quarters should remain attached at the base, creating a flower-like shape
Open up each lemon and sprinkle coarse salt inside. The general formula is a tablespoon of salt per 1 lemon
Place the lemons in a clean and dry glass jar (preferably sterilised)
Press the lemons down to release some juice. The lemons should be fully submerged
If your lemons are not juicy enough, squeeze additional lemons to extract fresh juice. This helps create the brine that preserves the lemons
Wipe the rim of the jar to remove any salt or lemon juice, then seal it (but not too tight)
Store the sealed jar at room temperature in a dark place for 3-4 weeks to allow the lemons to ferment and develop their flavor
Periodically check if the lemons are fully submerged in the brine and press them if needed
Once the lemons are ready, it’s more convenient to keep them in smaller jars.
The preserved lemons can last for several months if stored properly in the fridge
When ready to use, remove the pulp. You can also rinse the lemons under cold water to get rid of excess salt
Preserved lemons are an incredibly versatile ingredient that adds a burst of unique, tangy flavor to a variety of dishes
Incorporate these preserved gems into sauces for a distinctive twist or infuse them into cooking proteins such as chicken or fish for an aromatic touch
Chop them up and add to green salads for a zesty kick. It can also become a secret ingredient in your potato salad
Surprisingly, they can even elevate some desserts. Consider adding them to lemon shortbread cookies to enrich this sweet treat with subtle savory notes
 0:05:27
 0:26:30
 0:02:36
 0:00:28
 0:06:12
 0:05:37
 0:00:43
 0:03:52
 0:07:13
 0:13:06
 0:09:33
 0:12:33
 0:00:59
 0:01:36
 0:07:38
 0:03:54
 0:00:26
 0:00:41
 0:00:58
 0:00:31
 0:01:29
 0:00:49
 0:01:00
 0:05:52