filmov
tv
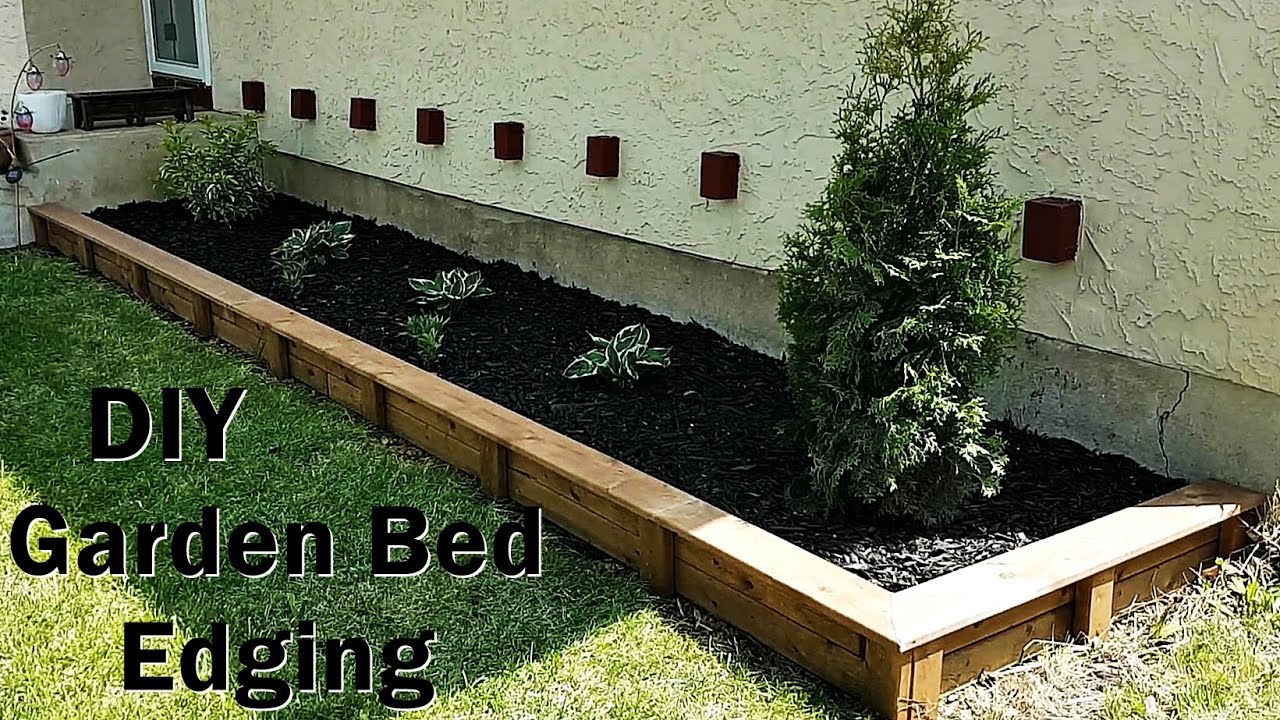
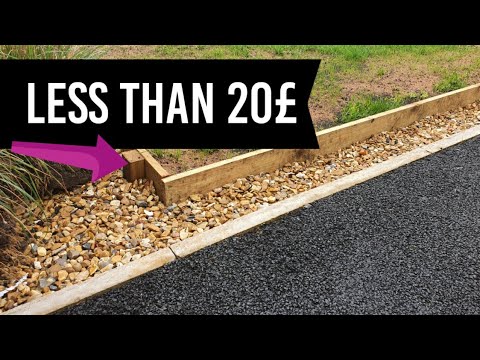
DIY Garden Bed Edging anybody can do
Показать описание
Let's build a simple garden edging! Something that anybody can do and have great results, and at the same time time is different and unique from all the stone bed borders. Nothing more than some construction adhesive, a couple 2x4's, different length 4x4's, and some 5/4 deck boards for the top.
Help support the channel and the things I can show by using the links below, it costs nothing to use them, but helps me out so I can help you!
Use Code CANADIYAN at checkout for a discount!
- Tools/Materials Used (affiliate)
For Canadian Buyers:
For USA Buyers:
**************************************
Jesse Does DIY links:
Other Channel with Slade:
 0:10:18
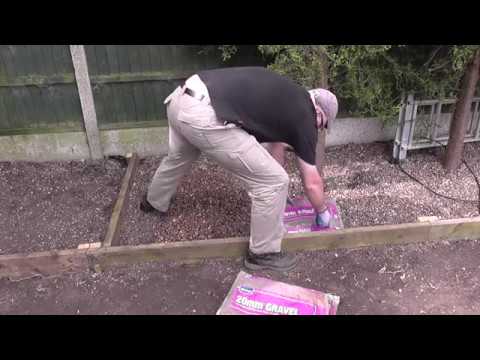
DIY Garden Bed Edging anybody can do
 0:11:04
Ultimate DIY garden edging that will last forever
 0:03:04
DIY Garden Bed Edging Anybody Can Do| Easy Garden Bed Edging Designs| Garden Edge Border Design Idea
 0:08:53
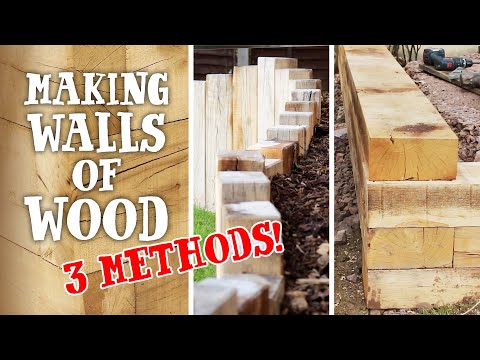
TIMBER SLEEPERS - 3 Ways to Build Walls and Raised Beds
 0:03:37
Raised Planter Bed Designs Ideas| DIY Garden Bed Edging Anybody can do| Flower Bed Makeover For Home
 0:12:51
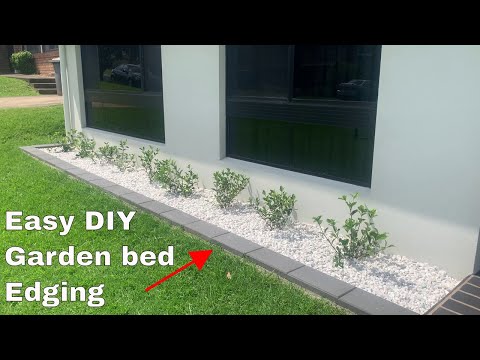
How to make a garden bed edging - Easy DIY
 0:06:39
Easy Garden Bed Edging
 0:00:23
Quick Backyard Upgrade - Beuta Faux Stone Edging
 0:04:26
Easy Garden Edge Border for Beginners / Lawn Edging DIY | The Carpenter's Daughter
 0:14:32
Garden bed Edging nice DIY anyone can do it/ backyard easy way/Sydney Australia 2022❤️👍🏾🌺✅...
 0:12:15
Lumber Dealers Hate This Raised Garden Bed Hack!
 0:18:09
DIY Cinder block Raised Garden Bed and Fountain
 0:03:52
Edging a border.
 0:05:37
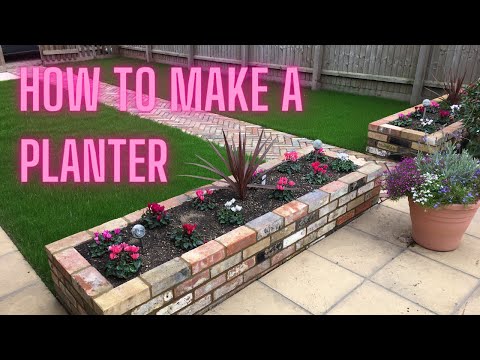
How to make a brick raised garden planter
 0:08:37
DIY: How To Make Basic Garden Edging / How To Make A Basic Garden Border
 0:11:38
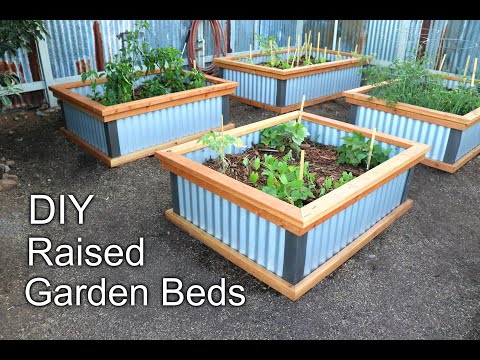
Beautiful DIY Raised Garden Beds in 3 MIN! - How to Build
 0:06:16
DIY Landscape Paver Edging Installation - Step-by-Step Guide
 0:08:22
DIY Raised Garden Bed for Beginners Using Planter Blocks (No Nails)
 0:05:59
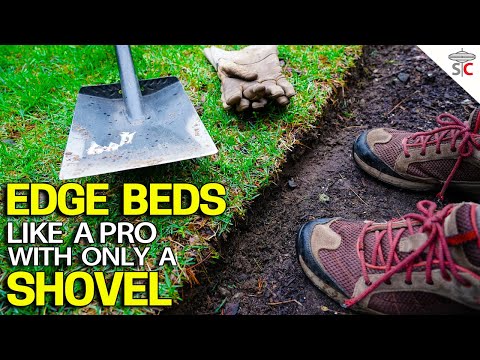
Edge Beds Like a Pro Using Only a Shovel - BEST Technique for GREAT results
 0:08:49
Front Yard Garden Bed Makeover! Raised Stone Flower Bed Transformation from Start to Finish!
 0:04:43
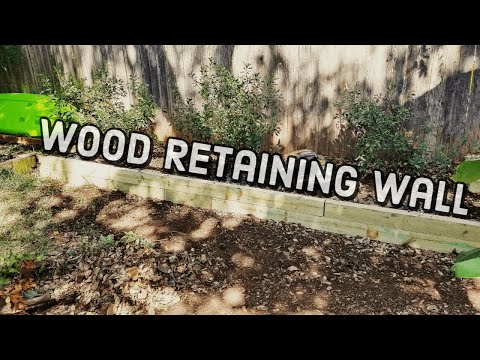
How to Build a Timber Retaining Wall (CHEAP & EASY)
 0:07:55
How To Build A Raised Garden Bed | Cheap And Easy
 0:09:10
EASY Lawn Edging Installation - Garden Wood Edge Ideas
 0:10:48
How to Build a Raised Bed CHEAP and EASY, Backyard Gardening
Комментарии