filmov
tv
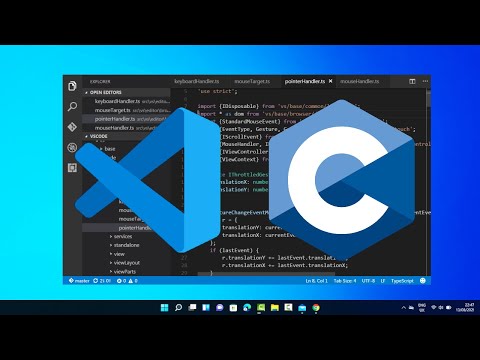
How to Run C in Visual Studio Code on Windows 10 | Best Code Editor

Показать описание
Title: **How to Run C Programs in Visual Studio Code on Windows 10: A Step-by-Step Guide**
Description: Ready to write and run C programs in Visual Studio Code on your Windows 10 machine? Our step-by-step guide will walk you through the setup process, ensuring you have the necessary tools to start coding in C. Whether you're a beginner or an experienced developer, this tutorial will help you set up a C development environment on Visual Studio Code.
🔹 Learn how to set up and run C programs in Visual Studio Code on your Windows 10 computer.
🔹 Understand the benefits of using Visual Studio Code for C development.
🔹 Follow our easy-to-follow instructions to install C-related extensions and compilers.
🔹 Explore tips for configuring your environment and writing your first C program.
🔹 Join us as we demonstrate the process, ensuring users of all levels can start coding in C with Visual Studio Code.
**Running C Programs in Visual Studio Code on Windows 10:**
1. **Install Visual Studio Code:**
2. **Install C/C++ Extension:**
- Open Visual Studio Code and go to the Extensions view by clicking on the square icon on the sidebar.
- Search for "C/C++" and install the extension provided by Microsoft.
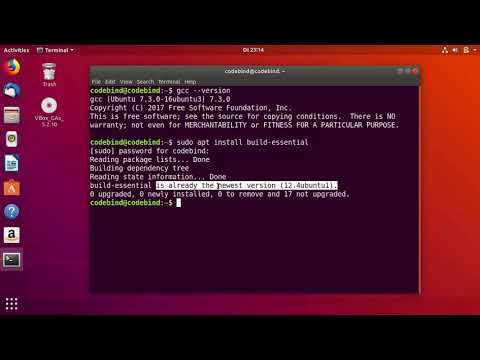
3. **Install a C Compiler:**
4. **Create a New C File:**
- In Visual Studio Code, create a new C file by clicking on "File" - "New File" and saving it with a .c extension (e.g., hello.c).
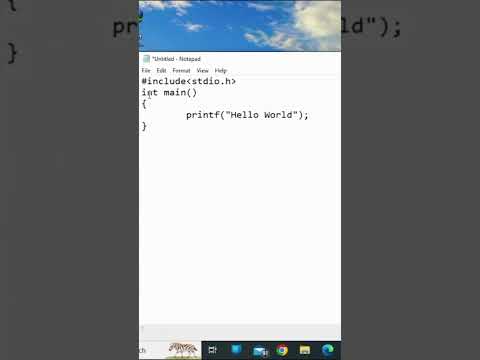
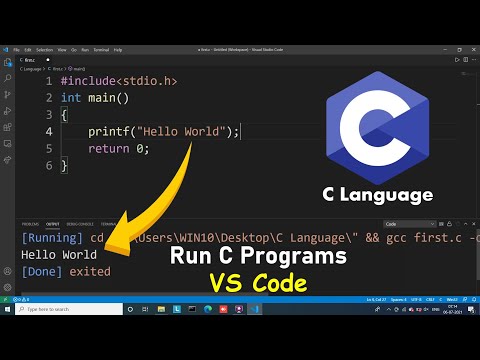
5. **Write Your C Code:**
- Write your C code in the newly created .c file.
6. **Compile Your Program:**
- Open the integrated terminal in Visual Studio Code by clicking "View" - "Terminal."
- Navigate to the directory where your C file is located.
- Compile your program using the GCC compiler with the command: `gcc -o output_file_name source_file.c` (e.g., `gcc -o hello hello.c`).
7. **Run Your Program:**
- After successful compilation, run your C program by entering `./output_file_name` (e.g., `./hello`) in the terminal.
**Benefits of Running C Programs in Visual Studio Code:**
- **Integrated Development Environment:** Visual Studio Code provides a powerful, integrated environment for coding and debugging.
- **Extensibility:** Customize your C development environment with extensions and add-ons.
- **Cross-Platform:** Write and run C code on Windows 10 with ease.
By following our comprehensive guide, you'll be able to set up and run C programs in Visual Studio Code on your Windows 10 computer, opening up a world of possibilities for C coding and development.
Don't forget to like, share, and subscribe for more valuable coding tips, tech insights, and programming tutorials. Start coding in C with Visual Studio Code on Windows 10 confidently using our step-by-step tutorial!
Hashtags: #VisualStudioCode #CProgramming #TechTutorial #CodingOnWindows #DevelopmentEnvironment #CodeEditor #TechInsights #CCompiler #TechGuides #CDevelopment #TechSolutions #ProgrammingKnowledge #CodingAdvice
Description: Ready to write and run C programs in Visual Studio Code on your Windows 10 machine? Our step-by-step guide will walk you through the setup process, ensuring you have the necessary tools to start coding in C. Whether you're a beginner or an experienced developer, this tutorial will help you set up a C development environment on Visual Studio Code.
🔹 Learn how to set up and run C programs in Visual Studio Code on your Windows 10 computer.
🔹 Understand the benefits of using Visual Studio Code for C development.
🔹 Follow our easy-to-follow instructions to install C-related extensions and compilers.
🔹 Explore tips for configuring your environment and writing your first C program.
🔹 Join us as we demonstrate the process, ensuring users of all levels can start coding in C with Visual Studio Code.
**Running C Programs in Visual Studio Code on Windows 10:**
1. **Install Visual Studio Code:**
2. **Install C/C++ Extension:**
- Open Visual Studio Code and go to the Extensions view by clicking on the square icon on the sidebar.
- Search for "C/C++" and install the extension provided by Microsoft.
3. **Install a C Compiler:**
4. **Create a New C File:**
- In Visual Studio Code, create a new C file by clicking on "File" - "New File" and saving it with a .c extension (e.g., hello.c).
5. **Write Your C Code:**
- Write your C code in the newly created .c file.
6. **Compile Your Program:**
- Open the integrated terminal in Visual Studio Code by clicking "View" - "Terminal."
- Navigate to the directory where your C file is located.
- Compile your program using the GCC compiler with the command: `gcc -o output_file_name source_file.c` (e.g., `gcc -o hello hello.c`).
7. **Run Your Program:**
- After successful compilation, run your C program by entering `./output_file_name` (e.g., `./hello`) in the terminal.
**Benefits of Running C Programs in Visual Studio Code:**
- **Integrated Development Environment:** Visual Studio Code provides a powerful, integrated environment for coding and debugging.
- **Extensibility:** Customize your C development environment with extensions and add-ons.
- **Cross-Platform:** Write and run C code on Windows 10 with ease.
By following our comprehensive guide, you'll be able to set up and run C programs in Visual Studio Code on your Windows 10 computer, opening up a world of possibilities for C coding and development.
Don't forget to like, share, and subscribe for more valuable coding tips, tech insights, and programming tutorials. Start coding in C with Visual Studio Code on Windows 10 confidently using our step-by-step tutorial!
Hashtags: #VisualStudioCode #CProgramming #TechTutorial #CodingOnWindows #DevelopmentEnvironment #CodeEditor #TechInsights #CCompiler #TechGuides #CDevelopment #TechSolutions #ProgrammingKnowledge #CodingAdvice
 0:01:41
 0:02:30
 0:00:58
 0:03:10
 0:01:59
 0:21:56
 0:01:38
 0:05:39
 0:23:53
 0:04:31
 0:03:58
 0:13:20
 0:09:46
 0:12:03
 0:11:03
 0:00:33
 0:10:56
 0:11:52
 0:04:34
 0:01:55
 0:04:52
 0:02:00
 0:06:01
 0:08:35