filmov
tv
RESTful API User Authentication with NodeJS

Показать описание
In this tutorial I will show you everything you need to implement your own little user authentication server.
Video Courses, Project Templates, Community & the Support you deserve to learn Ionic!
#############################
#############################
You can also find me
#############################
Video Courses, Project Templates, Community & the Support you deserve to learn Ionic!
#############################
#############################
You can also find me
#############################
 0:31:36
RESTful API User Authentication with NodeJS
 0:06:12
API Authentication: JWT, OAuth2, and More
 0:02:18
Session vs Token Authentication in 100 Seconds
 0:35:34
RESTful API User Authentication with AngularJS
 0:11:20
RESTful APIs in 100 Seconds // Build an API from Scratch with Node.js Express
 0:05:21
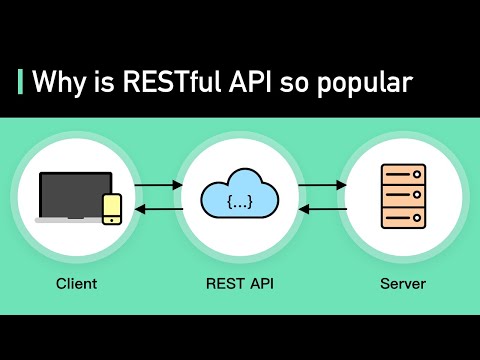
What Is REST API? Examples And How To Use It: Crash Course System Design #3
 0:28:16
Django Rest Framework Authentication 🔒 ✅ Scalable Auth in 27 minutes [2023]
 0:09:12
What is a REST API?
 1:34:10
🚀Microservices Marathon: Live Coding with GitHub Codespaces, MicroProfile & Jakarta EE ☁️
 0:14:34
WordPress REST API Authentication: Application Passwords
 0:00:26
Node.js JWT Authentication #authentication #jwt #api #nodejs #tutorial #javascript #coding
 0:00:59
JWT as session token || How JWT is used to manage HTTP session?
 0:00:20
Login API Method for JWT Authentication #dotnet #dotnetcore
 0:09:47
Top 12 Tips For API Security
 0:01:00
How to authenticate REST APIs? || Different methods of authenticating REST APIs
 3:07:07
APIs for Beginners - How to use an API (Full Course / Tutorial)
 0:00:16
Four Rest API Authentication Methods Every Software Engineer Must Know.
 0:15:58
Advanced JAX-RS 22 - REST API Authentication Mechanisms
 0:02:34
Make your first REST API call to ServiceNow (using Postman + Basic Authentication)
 0:49:47
The Complete Guide To Building A REST API With Node, Express, TypeScript & MongoDB + Authenticat...
 0:00:16
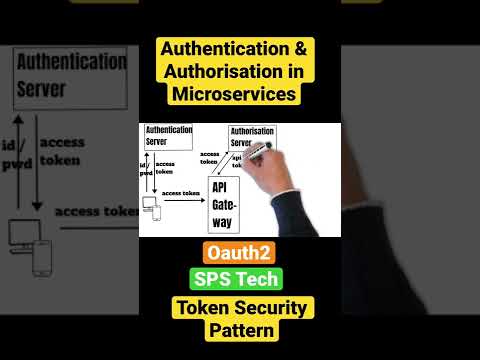
Authentication & Authorisation in Microservices Short
 0:10:24
Build a RESTful API with Django: User Authentication and Login/Logout Functionality
 0:18:38
What Is A RESTful API? Explanation of REST & HTTP
 0:00:34
REST API Authentication With Refit (explained simply)
Комментарии