filmov
tv
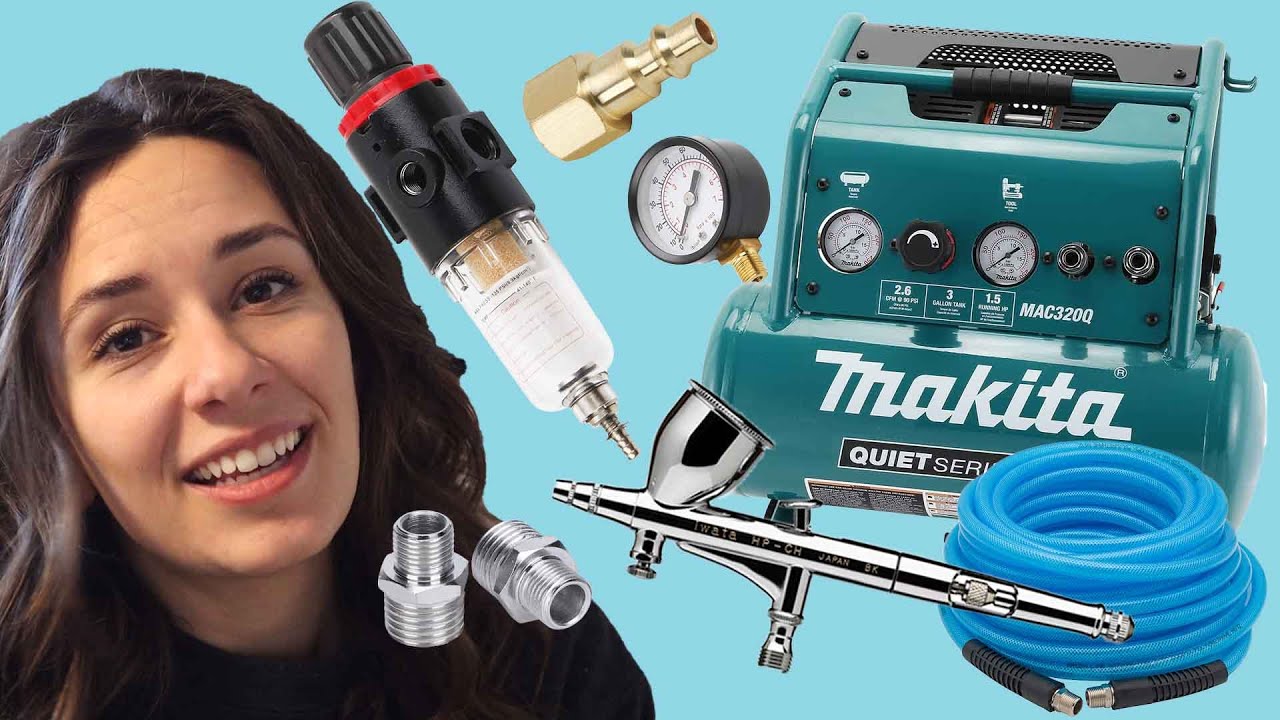
HOW TO Set Up your SHOP or HOBBY AIR COMPRESSOR for AIRBRUSH a Beginners Guide!
Показать описание
• •DeeJayBe • Darynn Bednarczyk • •
Model Horses•Customizing•Tutorials
• AIRBRUSH COMPRESSOR GUIDE •
• AMAZON STORE •
*As an Amazon affiliate, I make a small commission on these links*
• BUSINESS INQUIRIES •
• COLOURING BOOK •
• TOOLS •
Size #0 - Good for traditional hairing and markings
Size #00 - Good for Fine Traditional hairing, intricate markings, eye detailing
Size #000 - Good for Stablemate Hairing, eyes, small micro detail.
Rubber/Wax Sculpting Tools:
Embossing Tool:
• SOCIAL MEDIAS •
• WEB •
•INSTAGRAM•
• ART •
• DESIGN •
• Thank for Watching! •
 0:01:57
How To Set Up Your First Yoyo (Everything You Need To Know)
 0:03:23
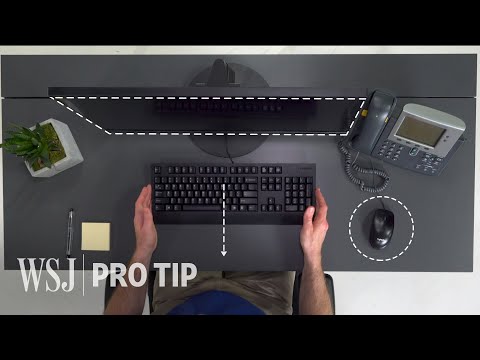
Ergonomics Expert Explains How to Set Up Your Desk | WSJ Pro Tip
 0:03:37
How To Setup Your iPhone For The First Time!
 0:02:16
How to pair and set up your Apple Watch | Apple Support
 0:01:49
How to set up your Echo Dot 3rd Gen | Amazon Echo
 0:37:53
I built my PC, now what? - How to set up a PC, the last guide you'll ever need!
 0:07:51
How To Set Up Your Midi Keyboard and Drumpad
 0:14:22
Working from Home: How to Set Up Your Workspace
 0:05:23
Set Up Your Payout Account To Get Paid on Facebook | Facebook Payment Account kaise add kare
 0:00:56
How To PROPERLY Set Up Your Gaming PC ! #shorts
 0:12:57
Upgrade your setup for Free! 10 tips and tricks to improve your Setup!
 0:40:28
Day in the Life with iPhone 16 Pro Max | iOS 18 Setup, Camera Tips & MagSafe Must-Haves
 0:04:04
How to set up your Nest Wifi
 0:11:43
How To Set Up Your Kit Ergonomically - Drum Lesson
 0:01:17
How to set up your work email with Outlook
 0:39:59
How to Start a YouTube Channel - Beginners Guide (2024)
 0:02:35
How To Set Up your Smart TV
 0:02:52
How to Set Up Your Playstation VR
 0:00:55
How to set up a Brita Pitcher
 0:03:55
How To Set Up Your Bike
 0:02:27
How to Set Up Your Gym Rings
 0:00:59
How to Set Up Your Bass (in under 60 seconds)
 0:02:37
How To Set Up Your Drum Kit | MusicGurus
 0:03:38
How to Set Up Your Ring Video Doorbell | Ring
Комментарии