filmov
tv
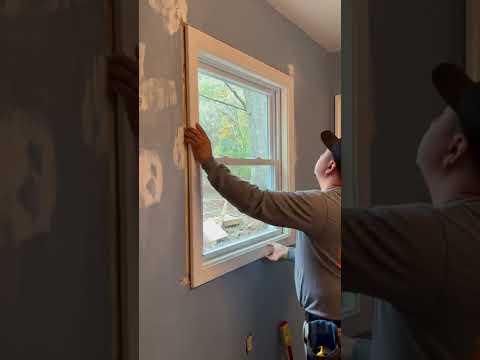
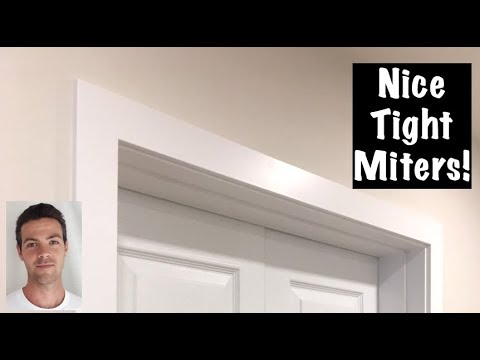
Step-By-Step Installing Casing On An Interior Door

Показать описание
I just finished hanging this door at the warehouse.
Now let’s install the casing.
I start by making marks on the upper left and right side of the jamb a ¼” out for the reveal.
Then I measure and cut the first leg at a 45-degree angle.
I like to install the piece that goes against the hinges first.
I use my 18-gauge brad nailer to shoot 1¼” brads through the casing into the door jamb.
Then I switch to my 15-gauge trim gun to nail the casing to the wall.
The ¼” reveal keeps the casing away from the hinges.
Next, I cut a 45 on the left side of my header piece.
Instead of measuring the length of the header piece- I just make a mark on the right side where the reveal is.
I use glue on the joints for a strong bond.
Now I measure the leg on the right-side and cut it to length at a 45-degree angle.
Sometimes I have to play with this cut making it a 46 or a 44 til I get it to fit just right.
Because I had to pull the casing out at the top to make a tight joint, I slid a shim behind it before nailing it off.
This sometimes is needed when the wall is out of plumb.
The gap on the side will get caulked to the wall.
Let me know if you think I nailed it. @hausplans
#build #howto #carpentry #trim #trimwork #casing #interiordoor #construction #diy #contractor
 0:01:00
Step-By-Step Installing Casing On An Interior Door
 0:08:02
How To Install Door Trim Casing For Beginners! DIY Molding Install Made EASY!
 0:04:03
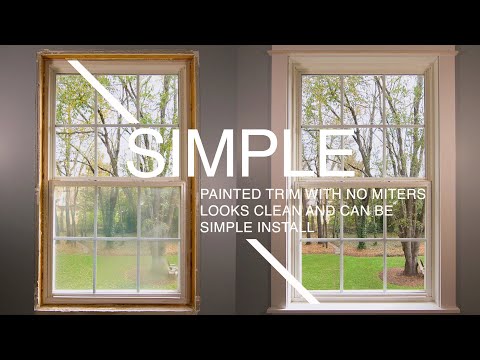
How To Build Out A Window Casing | how to build a window casing 2024
 0:07:48
Installing Interior Window Trim | Beginner
 0:25:58
How to Picture Frame a Window - EASY Casing Trim Install
 0:11:16
Window & Door Casing Installation Secret #1... Proud Drywall or Jamb??? Just Roll The Miter
 0:12:15
How to Install Window Casing and Interior Trim
 0:01:00
PVC Casing Patti Light Fitting #electricalelectricianwireman
 0:01:00
Shop me casing wiring kaise karen ✓ dukan me casing wiring kaise karen ✓ casing wiring kaise karen...
 0:08:33
The Easiest Way to Install Window Casing and Trim
 0:05:00
How to Install Casing like a PRO
 0:08:58
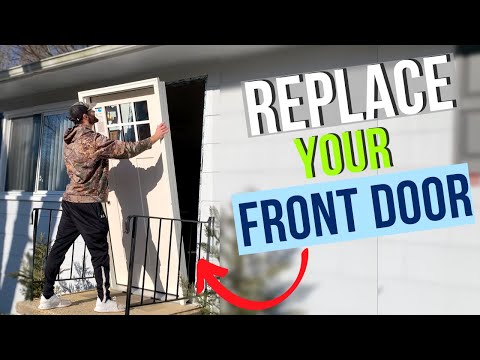
DIY Front Door Replacement (How to Replace a Front Door Step-by-Step)
 0:08:47
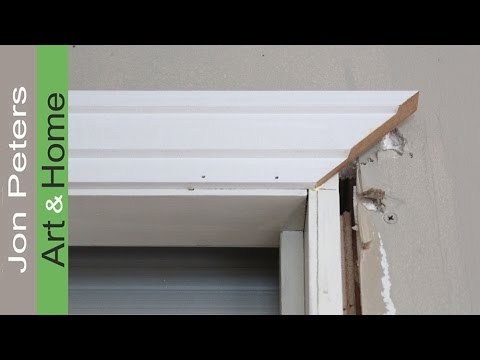
How to Install Window & Door Trim - Casing Made Simple
 0:19:52
Traditional Door Casing Masterclass - Full Pro Carpentry Tutorial
 0:00:26
How install windows casing! #carpenter #diy #remodeler #installation
 0:04:54
How to fit an internal door frame part 2: fitting the new door frame
 0:24:09
How to Replace Door Casing for Beginners | Easy Door Trim Replacement
 0:02:35
How to Install Door Trim | The Home Depot
 0:00:31
How To Make&Install 🇬🇧architrave 🇺🇸(Casing)#diy #shorts
 0:00:15
Installing casing
 0:13:24
HOW TO INSTALL DOOR CASING
 0:00:31
Easy way to install windows casing! #windowinstallation #trim #windowcasing
 0:04:04
How to Install Door Trim/Casing
 0:20:23
How to build and install window casing
Комментарии