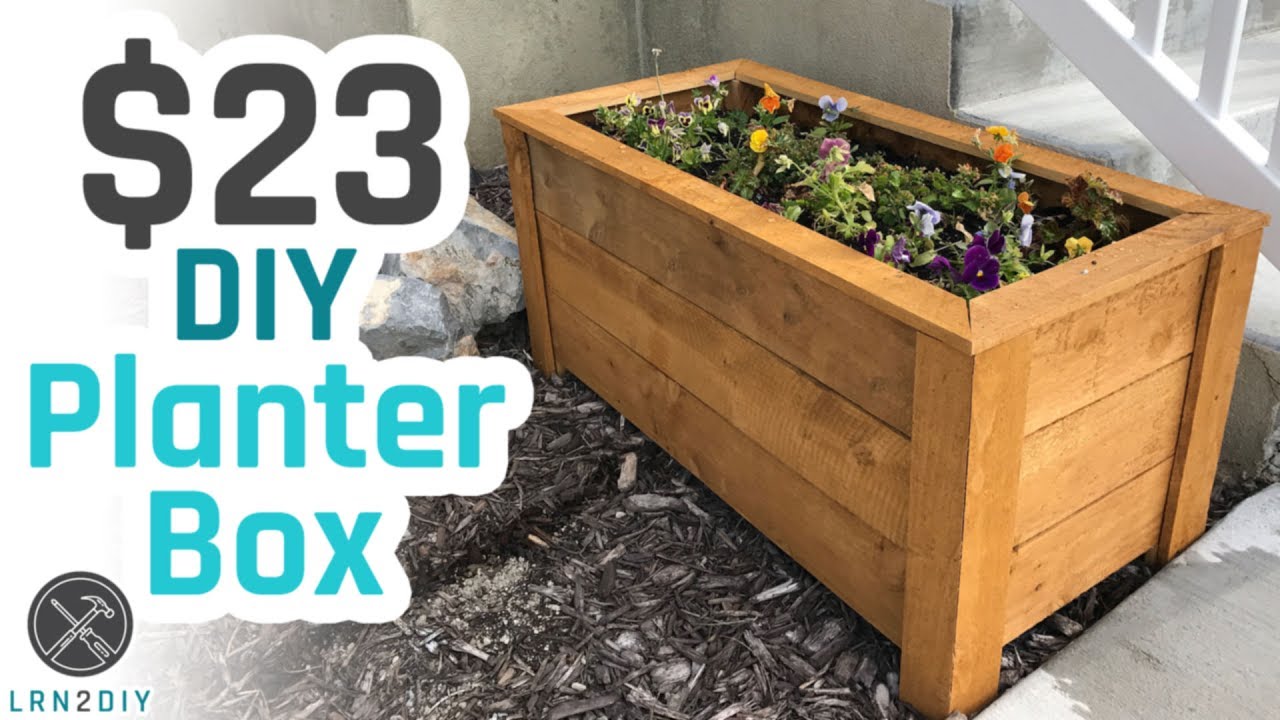
$23 DIY Planter Box

preview_player
Показать описание
Learn how to build a great looking Planter Box with less than $23 of materials! #diy #planterbox #plants

COMPANION ARTICLE AND PLANS:

PRODUCTS IN THIS VIDEO:

TWO FREE AUDIOBOOKS!

EQUIPMENT:
Рекомендации по теме
Комментарии
Автор

November 2021 Update: Lumber prices have been all over but I just checked at the local Home Depot and the cost for this project has gone from $23 to $27 - still a great deal for what you get. Also, you can do this entire project with a circular saw and a drill if you don't have the other tools. The nails are nice but you can screw the trim in place for even stronger results, no brad nailer necessary. Ours are now 4.5 years old and still looking and working great, right in front of our house!

LRNDIY
Автор

I was hesitant taking advice from a man in flip flops, this tutorial is great and very thorough. Thank you.

rage
Автор

This is a DIY project that an novice can actually do that results in a great-looking and sturdy product! Just came from another channel where the guy said "You only need a miter saw and a drill", then proceeded to use $20k worth of equipment, ugh. Thanks for sharing!
Edit: I built two of these over the weekend. This was my first real-deal carpentry type project since high school. The end results turned out really well! I used pine instead of cedar, so the material cost was about $19. The stain/sealer I'm going to use cost twice as much as the planter!

MrStormchaser
Автор

This is awesome! My 1st attempt didn't turn out quite as beautiful, because I didn't have a nail gun and tried using 2x2 (forgetting that 2x4 doesn't mean 2" x 4"). This is the perfect project for a 1st timer! I learned so much in the mistakes I made. Thank you.

niralipatel
Автор

I've been making this planter box and sell them EVERY year. Thanks

jeremar
Автор

Okay guys and gals, I spent about 30 minutes trying to work this out and finally got it. I'll explain the formula first and then just leave the formula at the bottom so if you don't feel like reading, skip to the bottom.

To get the exact point to set your fence at to rip a board in half at a 45° bevel, you have to consider the material width (W), Material Thickness (T), and Blade width (B) First you have to find the amount of waste that will be sawdust from the blade. You might think it would just be the thickness of the blade but it's not. Angling the blade creates more waste because geometrically speaking, the hypotenuse is always longer than the other 2 sides. So to find the exact waste: sqareroot(B²+B²). Although, a simpler way to do this is to divide blade width by 0.707. Most blades are about ⅛" thick so for simplicity's sake well go with .125" for "B". With the aforementioned formula (.125÷0.707) the waste from the blade will be 0.1768".

Now you subtract that from the Material Width (W) to get total usable width. In this video the boards are 5½" wide so subtracting the blade waste leaves about 5.323". Since you're cutting it in half, divide that by 2: (2.6615").

Now some table saws allow you to angle the blade toward the fence while most modern saws (like the dewalt DW7485) only angle away from the fence.. So if you're angling the blade AWAY from the fence you will SUBTRACT half the material thickness from the previously calculated board half: (2.6615-(⅝÷2))=2.349 which is about 2 and 11/32).
And if you're angling the blade TOWARD the fence, you have to ADD instead subtract: (2.6615+(⅝÷2))=2.974 which is approximately 2 and 31/32.

TLDR;
WHEN ANGLING THE BLADE AWAY FROM THE FENCE:
[(W-(B÷0.707))÷2]-(T÷2)
Where W=material width, B=blade width, and T=material thickness.

WHEN ANGLING THE BLADE TOWARD THE FENCE:
(W-(B÷0.707))÷2]+(T÷2).

You must type this formula into a scientific calculator otherwise the parentheses are not taken into account. If you don't have one you'll have to follow the order of operations (PEMDAS) to manually get the numbers.

Hope this proves as useful for you as it is for me.

ARMYStrongHOOAH
Автор

Great video. I used the idea for something a little different than a planter though. If you smooth everything and add a lid this works great as a kid's toy box. I also changed the dimension a little to fit the space in my son's room. It ended up being 33"w x 16"d x 16.5"h. The lid was made just like the base, but pickets overhang slightly to make it center itself on the top. I'll also eventually figure out how to add hinges to make it easier for him to get into it.

bmlkohs
Автор

I’ve made two of these from this tutorial now and here’s what I’ve learned. It’s difficult to not split vertical parts of the frame because of all of the screws going into it if you don’t have a brad nailer (like me). Also, it doesn’t need to be perfectly straight as the four corner coverings will make it look squared away anyways.
All in all a good project for someone new to this stuff like myself.
Also, I bought a table saw at harbor freight for $150. Great investment as I can do a bunch of these types of projects now.
Thanks for the video!

talex
Автор

Just a recommendation for this rod you doing this. I am starting all new raised garden beds in my yard, about 8-10 of them. Some are 1’ some 2’ and some 3’ high. I learned a great idea. You can put organic materials in the bottom to create air circulation for microbes to stay alive and keep the roots healthy. I would cris-cros some 1”-2”-3” branches at the bottom, maybe some smaller sticks, handful of leaves. It saves space if you have a large raised garden bed and it won’t be so compacted where it can’t get air circulation for roots. I’m using 3 layers of cardboard at the bottom of my beds instead of cloth. This is all new to me. I’m a right in the ground gardener until my tree roots have taken over my yard and I love my trees and never want to cut the roots and weaken my trees. Good luck

signsofautumn
Автор

I made 18 of these a few years ago as Christmas gifts and people are still asking me to make more and offering to pay for them even. This was an awesome project and makes a great gift, because to buy one from a outdoor project type store would be around $75 a piece.

chrisubben
Автор

I ended up making it and just hammering small galvenized finishing nails instead of using a nail gun! It turned out great. Thanks for the video.

nutterbutter
Автор

That is an absolutely fantastic way to bring color and flowers to your home!

kxgwsrx
Автор

The subtle Mountain View flex is my favorite part of this whole video 😂 801 represent!

espressoveins
Автор

I saw this video for the first time months ago. Finally came back and made one of these this evening. Awesome project and super fun!

adamcochran
Автор

build two of these this past week with a screw gun and a handsaw. Bit of a workout, but they turned out great! Thanks for the blueprints and video. Fun project...good for the soul!

cjcoman
Автор

Even two years later... Even though prices have changed.
This is a great project!
It also, gives us an "excuse" to buy those tools we really "need". LOL!

rmgar
Автор

Todays lumber prices, it is now like $95.

frankmarkovich
Автор

This cost me about $40 bucks for the wood, water sealer, and nails. It was such a huge savings. Similar pieces go for $200 on wayfair. It’s a huge savings and gave me something to do while at home the last few months. Thanks!

eamcbmsc
Автор

Just did this today but made it 8 ft wide and put 4 Italian cypress trees in for our patio. Came out awesome. Thank you so much!

zomarz
Автор

Built it today. It turned out pretty well. I am happy with the first one but I feel I can do better. A couple of things; when attaching the siding boards make sure you go from the top of the box. When I split the top cap board it was 2 3/4 inches for the 45 degree cut.

jamesmcdonald