filmov
tv
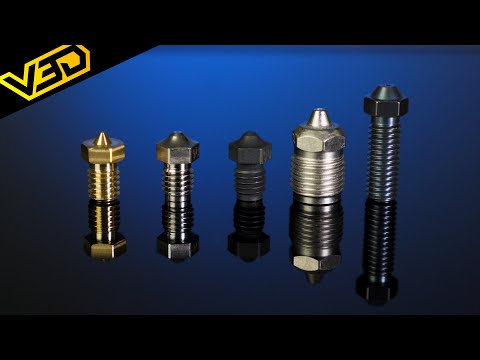
3D Printing with Nozzles - Ender 3 V2

Показать описание
Amazon Links
22 Pieces 3D Printer Nozzles MK8 Nozzle 0.2mm, 0.3mm, 0.4mm, 0.5mm, 0.6mm, 0.8mm, 1.0mm with Storage Box for 3D Printer Makerbot Creality CR-10
Package include: totally 22 pcs MK8 nozzles in 7 sizes, 2 x 0.2mm, 2 x 0.3mm, 10 x 0.4mm, 2 x 0.5mm, 2 x 0.6mm, 2 x 0.8mm, 2 x 1.0mm
Parameter: input diameter 1.75mm; output diameter 0.2mm, 0.3mm, 0.4mm, 0.5mm, 0.6mm, 0.8mm, 1.0mm; out thread: M6
Applicability and compatibility: fit for 3D Printer Makerbot Creality CR-10, MK8 Makerbot Reprap Prusa I3, compatible with all 1.75mm PLA ABS 3D printer
Premium material: the 3D printer nozzles are made of high quality brass material, sturdy and durable, connect with M6 out thread, easy to install
As an Amazon Associate I earn from qualifying purchases
 0:11:48
3D Printer Nozzles Explained
 0:07:11
3D Printing Nozzle Comparison // 3D Printing Accessory
 0:18:08
Choosing the BEST Nozzle Size For Your 3D Printer!
 0:12:22
3D Printer Nozzles - Everything you need to know
 0:13:23
BIG nozzles - HOW they (can) make your 3D prints STRONGER
 0:14:41
3D Printing with Nozzles - Ender 3 V2
 0:00:52
3D Printing Micro 0.2mm Nozzle Clear Filament 🤔
 0:09:22
This 3D printer nozzle actually does what it says!
 0:00:21
3D Printer Nozzle in Macro Slow Motion | ASMR Engineering 🖨️✨
 0:00:29
Is this the FANCIEST 3D Printer Nozzle? #3dprinting #3dprinter
 0:00:13
How to unclog a Bambu Lab A1 3D Printer? #noclogger #3dprinter #3dprinting #bambulab #3dprinters
 0:00:36
Easy Bambu A1 Nozzle Swap
 0:01:01
What is the BEST 3D Printer Nozzle Size? #3dprinting #3dprinter #3dprinted #filament #bambulab
 0:00:29
The best nozzles for 3D printing #shorts
 0:00:56
Try This 3D Printer Nozzle Brush! It's Oddly Satisfying For The Bambu Lab P1S!
 0:06:40
3D print bigger, faster and stronger with a larger nozzle
 0:00:20
Bambu Lab P1s Nozzle Wiper MOD - 3D Printing PETG
 0:00:40
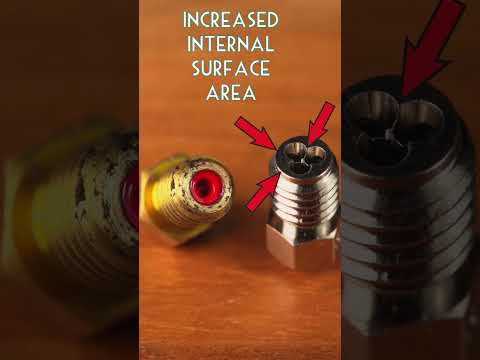
Can Dual Color Filament Survive CHT Nozzle??? 🤔
 0:00:19
0.2mm Nozzle - Detailed but Tiny Model #3dprinting
 0:00:16
Real diamond 3d printer nozzle: Diamondback #3dprinting
 0:01:00
One Of The Coolest 3D Printer Mods (3DO Nozzle Camera)
 0:18:27
Expensive Vs Cheap 3d printer nozzles - let's look inside.
 0:03:00
Multi-color 3D Printing with Bambu Lab H2D Dual Nozzle
 0:00:29
Prusa Core One Nozzle Replacement
Комментарии