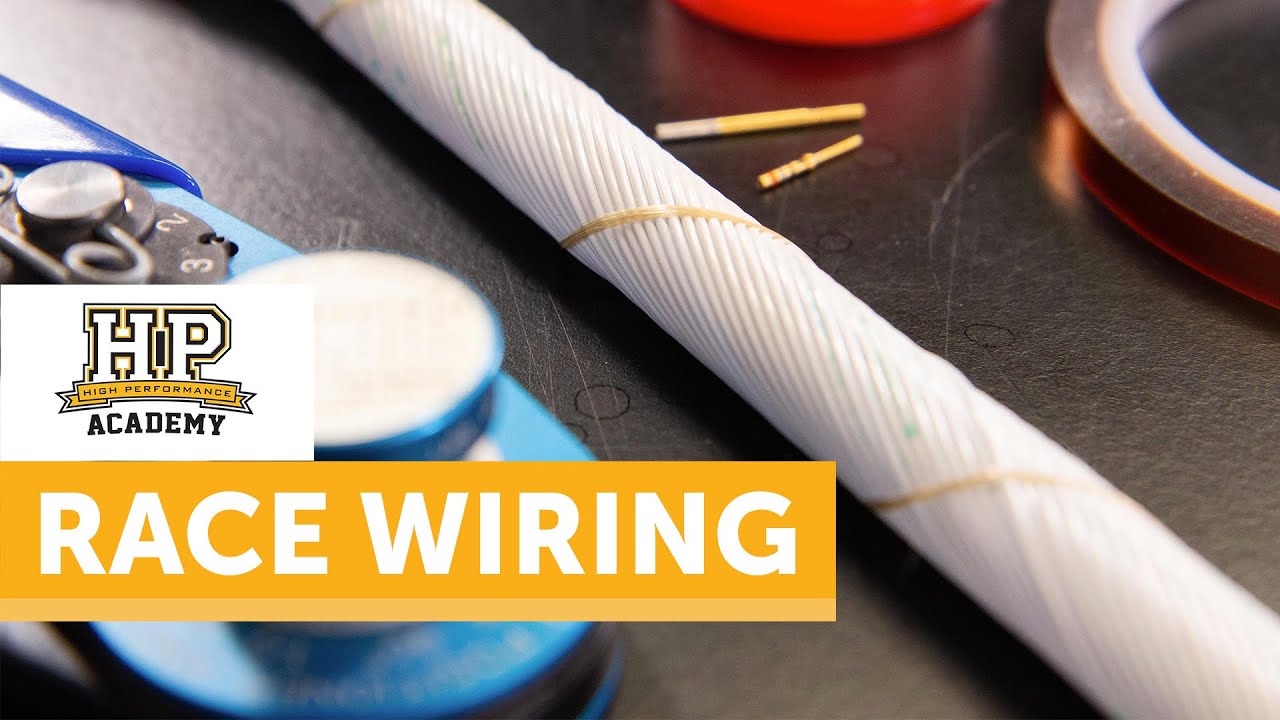
What IS Concentric Twisting? | Motorsport Wiring [#TECHTALK]

preview_player
Показать описание

Ever wondered what goes into laying up a concentrically twisted harness and why it is a go-to technique for wiring harnesses used in professional motorsports like Formula 1, MotoGP and many more?

Get $50 off your next HPA course purchase with this coupon: 3NADNF

Concentric twisting has a number of advantages when it comes to reliability and durability, but they do come at a cost which Andre explains in this [TECH TALK] on the use of concentric twisting in a wiring harness.

As well as the detail behind this method, wiring stripping and connector crimping are also covered to give you all the knowledge you need to decide if this is a technique you would like to employ in your own wiring projects, and if not, understand why it is used by others.

TIME STAMPS:
0:00 - Intro
0:50 - Breaking down a Concentrically Twisted Harnesses
2:15 - The Advantages
3:55 - The Disadvantages
4:58 - Stepping up the layers
6:16 - Connectors used
7:58 - Crimp Tooling
8:49 - Which Positioner do I use?
9:24 - Stripping the wire and the correct tool for the job
11:43 - Stripping & Crimping demonstration
13:10 - Inserting the crimp into the connector
14:26 - What if I insert the crimp in the wrong place?
15:04 - Loops on the back of the connectors?
16:46 - Performing Strain relief loops
17:16 - Another tip for your harness
19:35 - The setup
21:35 - Building the Harness
24:04 - Completed Layer
24:39 - Summary
25:00 - Do you want to learn more about concentric twisting?
25:21 - Outro

Courses Mentioned:

#highperformanceacademy #learntotune #concentrictwisting #dontletthesmokeout #wiring101 #twistedworld
Рекомендации по теме
Комментарии
Автор

TIME STAMPS:
0:00 - Intro
0:50 - Breaking down a Concentrically Twisted Harnesses
2:15 - The Advantages
3:55 - The Disadvantages
4:58 - Stepping up the layers
6:16 - Connectors used
7:58 - Crimp Tooling
8:49 - Which Positioner do I use?
9:24 - Stripping the wire and the correct tool for the job
11:43 - Stripping & Crimping demonstration
13:10 - Inserting the crimp into the connector
14:26 - What if I insert the crimp in the wrong place?
15:04 - Loops on the back of the connectors?
16:46 - Performing Strain relief loops
17:16 - Another tip for your harness
19:35 - The setup
21:35 - Building the Harness
24:04 - Completed Layer
24:39 - Summary
25:00 - Do you want to learn more about concentric twisting?
25:21 - Outro

hpa
Автор

Thank you - Finally a video I can show my clients when they ask why harnesses cost so much... your videos are always appreciated

FTGMotorsports
Автор

Fascinating and overwhelming at the same time. This is definitely skilled labour!

slik
Автор

There is a lot of crossover between motorsport and aviation, this is one thing I'm so glad that doesn't. That being said it looks amazingly effective for the task. Daniel's kits and cannon plugs are ubiquitous in the aviation industry.

MrZacharyMc
Автор

As someone that does this everyday, this is definitely one of the better explanations I've seen :)

PRTEGE
Автор

And I just thought my OCD had OCD. Fantastic job, fantastic information.

jeffwooton
Автор

This is so awesome, thank you for opening my eyes to a new hobby and passion. I swear, one day, I will own a shop that does custom carbon fiber molds, engine tuning, fabrication, paint and refinishing, and now wire looms. This is why I love to work on cars, your craftsmanship can directly represent your passion. Awesome video.

Master_Psyper
Автор

A tool that would help with wire management while twisting is a set of combs. Have a tight fitting comb at the loose end, and a loose fitting comb so that you can slide it down the length of the wires while twisting. Between the pinned end, the tight comb, and the sliding loose comb, you've more or less created a mechanism that'll recreate how ribbon cables hold themselves neatly together, except with individual wires.
Assuming you find a comb technique that works for you, you can easily scale your twisting process up from 6 wires at a time to larger amounts, if not the entire bundle itself. Though the twisting technique is entirely different, it'd be more efficient to take the bundle and loosely spiral it along the length of the conductor, then start tightening the bundle at the pinned end and work your way down to the loose end until the twist is tight. Benefit of service loops is that they allow enough extra wire to where the tight comb doesn't need removed during the process, tighten the twist, remove one conductor from the comb at a time, loop, and pin.
The only concern is the introduction of branches along the cable, though due to how combs are designed, it would be easy enough to remove the branching conductors from a primary comb setup and transfer them to a secondary comb setup. Bit of wire management gymnastics later, and you'll end up with a good branch. Personally, I try to keep as many of the outer conductors within the branch as possible, makes things a lot neater. I've also found that flexible plastic rod with the same diameter as your jacketed conductor gauge can be a suitable dummy wire, for when branches don't like to play nicely and take up a significant amount of a twist layer; at a much, much cheaper price than the wire itself, and when you have branches, there's really no need for a conductor to fill dead space, as you can't future proof that dead space when the combined connector is already full and there isn't going to be any communication between the two branches.

xaytana
Автор

I'm an apprentice at renault/alpine f1, this is very hard to learn but I want to get it right, watching your videos in my downtime, a lot of it is just experience though.

nickpierpoint
Автор

Nice job. Quality wiring always saves time in the end. I've built hand layered instrumentation harnesses for use on military test vehicles in the past and have been told off for the extra time it takes but I've never had to rework anything that wasn't destroyed by a Squaddie's boot.
One of my 'just knock us up a quick bit of wiring, it's only going to be used for a couple of days' was still in service after two and a half years. Main thing I learned was that TE, Racal, Raychem and the rest really know how to charge. Buy more than a handful if MIL38999 connectors and the cost of the DMC tool pales by comparison!

davidquirk
Автор

This is the manliest macrame that I've ever encountered, it makes all the manufacturers harness look like a bowl of spaghetti. Thanks for taking the time to do these incredibly through and well thought through videos. Like, subscribed, and working my way through all of your vids.

codyzellner
Автор

One of best race tech channels hands down if not the best

villedocvalle
Автор

Fun fact, this is about 90% the same as aviation harnesses minus the concentric twisting and a couple other minor things :)

mikemacnaughton
Автор

I understand the need for flexibility for ease of installation, but the wrapping requires a significant amount of additional wire, increasing both weight and length which I would expect to be unwanted in the industry. In the aerospace industry we use either full scale mockups, form boards or AR to layup a harness that fits perfect and uses the least amount of wire (Saves mass and minimizes voltage drop). Obviously if there is specific flex needed to accommodate a bending route (around a mechanism), the harness is built for that purpose. Love the videos!

nicks
Автор

The Daniels is the only tool used for avionics crimping. It’s recognized industry wide as the standard. Anyone who is not using this crimper is not doing work you want to be a part of. There are just certain tooling which is essential to accomplish high quality, high reliability work and the Daniels is it. Enjoyed the handwork in this video. Yes, it is labor intensive. The best wiring harnesses always are. In high end work, this is how this grade of work is measured. Stay safe mates!😊👍🏻😷

markphilpot
Автор

Pardon my French but holy fuck I love this channel! When my project is starting to frustrate me I watch these vids and know my finished result will leaps and bounds above the cars next to me. Great job

durkashurpala
Автор

Finally a video I've been hoping for, late on the trigger but still got here! As always HPA killin it!

BUZDRIFT
Автор

the wire harness will be more flexible, but there are few instances where this is useful. The usual goal is to provide plenty of points of support for a harness to minimize any flexing. Might be useful for wiring that has to cross a mechanical pivot.. maybe to bring wheel signals back to the chassis? Of course, in that case the number of wires would be minimal and there wouldn't be any reason to do this stuff.

SkyhawkSteve
Автор

Your harness connectors and DMC tooling are actually for the Aerospace industry & military applications originally. (Also, they're not cheap!!) But I've thought about doing this on a project vehicle. Simple plug and play, and water-proof connectors. Good video, thank you!

Also, in aerospace connectors, when stripping the wire, usually around 4mm-6mm of wire length exposed so when you crimp it into the pin, you'll have a .5-1mm gap of wire showing, so the insulation doesn't show, like you stated here.

We also used Thermal strippers. That helped get a clean strip and consistent strip length as there was an adjustable stop/block on the strippers.

Using isopropyl alcohol helps with insertion and removal. Especially if you have some stubborn connectors (it happens, especially on removal)

BrianMartin
Автор

You just got a new subscriber, because of your excellent detail trying to achieve the highest quality. You just help me improve and up my game even better than what it was by adding your knowledge to my knowledge thank you !.👍

coldfingersub