filmov
tv
Autodesk Maya 2018 - Stylized Cannon Speed Modeling

Показать описание
Autodesk Maya 2019 - Stylized Ship Cannon Timelapse Video.
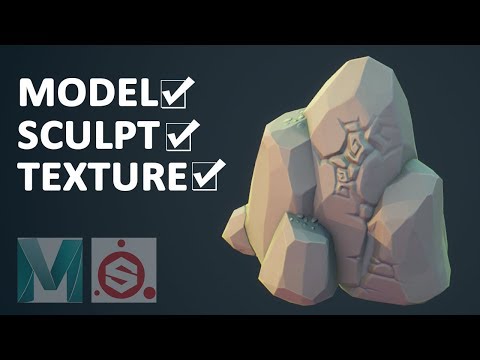
This video shows a timelapse video on how to model a stylized Cannon model. Autodesk maya was used to model, Zbrush to sculpt, and Substance Painter for texturing. It took about 60 minutes to make.
-------------------------------------------------------------------------------------------------------------
It's as easy as drag and drop. Click on the link to get $10 towards a pro account.
-----------------------------------------------------------------------------------------------------------
Special Thanks to my Patreons! :
Zheng
-------------------------------------------------------------------------
________________________________________________________________________________
Learn how to model a Soda Can.
Here's a list of useful shortcuts used in maya.
W- move
E- rotate
R- scale
G- repeat last command
q - exit tool
b- soft selection
shift + . - grow selection
alt + b - change background color
f - fit to selection
ctrl + a - open attribute editor/channel box
ctrl + delete - deletes an edge loop( 2014 version and up only)
1 - standard mode
2- subdivision mode with cage
3- subdivision mode
4- wireframe
5 - shaded mode
6- texture mode
--------------------------------------------------------------------------------------------------------------------
Questions are welcomed, but please refer to the video time-frame when asking video specific questions, thank you
--------------------------------------------------------------------------------------------------------------------
#AutodeskMaya
#SubstancePainter
#Stylized3D
Music :
Licensed under Creative Commons: By Attribution 3.0
Комментарии
 0:12:04
 0:03:40
 0:03:40
 0:11:52
 1:00:39
 0:07:19
 0:06:26
 0:07:27
 0:11:42
 0:00:49
 0:02:21
 0:08:23
 0:07:01
 0:13:52
 1:40:30
 0:11:48
 0:06:43
 0:33:45
 0:10:10
 0:11:29
 0:06:26
 0:02:15
 1:43:16
 0:23:33