filmov
tv
DIY | HOW TO INSTALL PEEL & STICK VINYL TILE BACKSPLASH

Показать описание
#peelandstick #backsplash #art3d
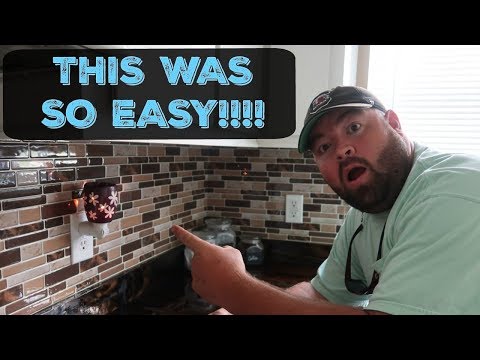
Want the look of a tile back splash, But the simplicity of a diy project? This is the video to watch. I show how easy it is to accomplish this look. This is perfect for someone who isn't sure what they want, Might change it up in the future or live in an apartment or rental.
*Disclaimer: This video description contains affiliate links. That means that I am awarded a small commission for purchases made through them, at no added cost for you.
Art3d has used this video in many of their online advertisements.
#fentertainment #diy #backsplashideas
 0:33:25
DIY Mini Split Install - All the Things Nobody Shows You
 0:04:26
How to Install Your Own MrCool DIY Ductless Mini Split Heat Pump
 0:15:01
How to Install a DIY Mini Split Air Conditioning and Heat Unit. MR COOL 24K Split Unit
 0:09:44
DIY Ductless Mini Split Install - MrCool Unit
 0:07:48
DIY | HOW TO INSTALL PEEL & STICK VINYL TILE BACKSPLASH
 0:09:57
How to Install a Mr Cool 18,000 BTU AC in Just 1 Day!
 0:10:02
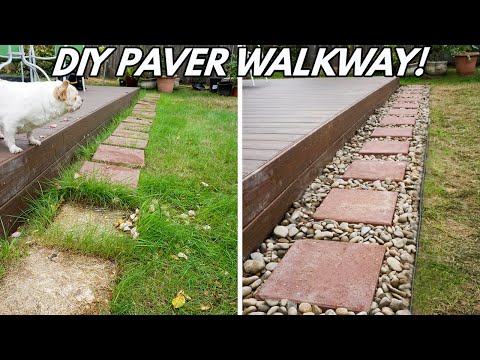
DIY How To Install A Paver Walkway For Beginners!
 0:07:53
Install window tints at home perfectly - Inspire DIY Kent Thomas
 0:24:45
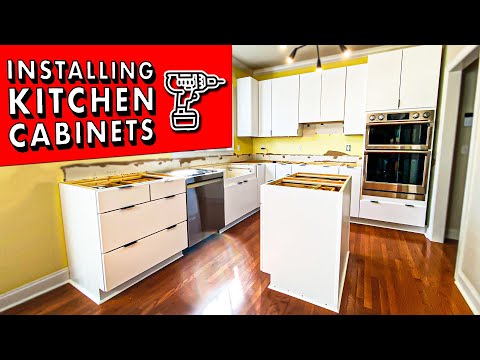
How To Install PERFECT KITCHEN CABINETS (DIY GUIDE)
 0:06:06
How to install window tint at home with Inspire DIY Kent Thomas
 0:10:10
How to Install Vinyl Plank Flooring as a Beginner | Home Renovation
 0:14:48
How To Install Gutters For Beginners! Easy DIY Home Project!
 0:08:34
How to Install Wainscoting | DIY Board and Batten
 0:02:43
How to Install a DIY Metal Roof
 0:11:23
How to install DIY SEAMLESS GUTTERS // Not So Tiny House Build 18
 0:23:57
How to Install Solar Panels - a COMPLETE DIY Guide
 0:10:13
Install your own AIR CONDITIONING in 4 HOURS! DIY Mini Split MR COOL
 0:12:53
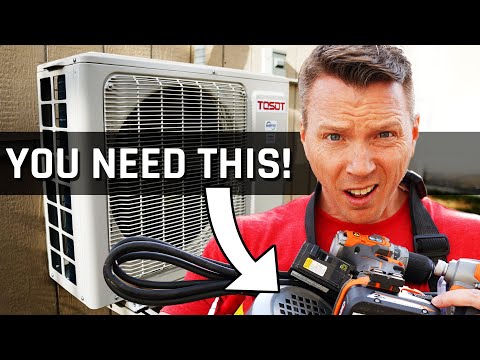
Don't Install A DIY Mini Split Without THIS TOOL!
 0:04:28
How to Install Sod | A DIY Guide
 0:10:17
How To Install Baseboard Like A Professional With No Gaps! DIY Pro Tips And Tricks For Beginners!
 0:13:32
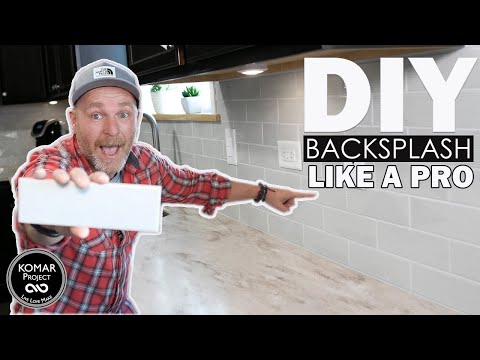
How to Install a Subway Backsplash Tile!! Everything You Need to Know In One Video!!! DIY
 0:00:49
Installing a concealed shower for the bathroom. #plumbing #electrican #plumber
 0:27:25
How to INSTALL KITCHEN CABINETS (and remove them)! // DIY Kitchen Remodel Pt. 1
 0:23:58
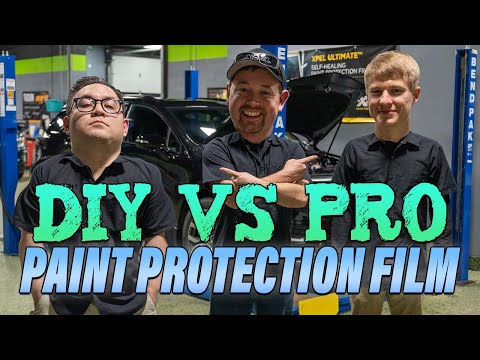
🤔 DIY VS PRO | BEGINNER vs PRO Paint Protection Film Install
Комментарии