filmov
tv
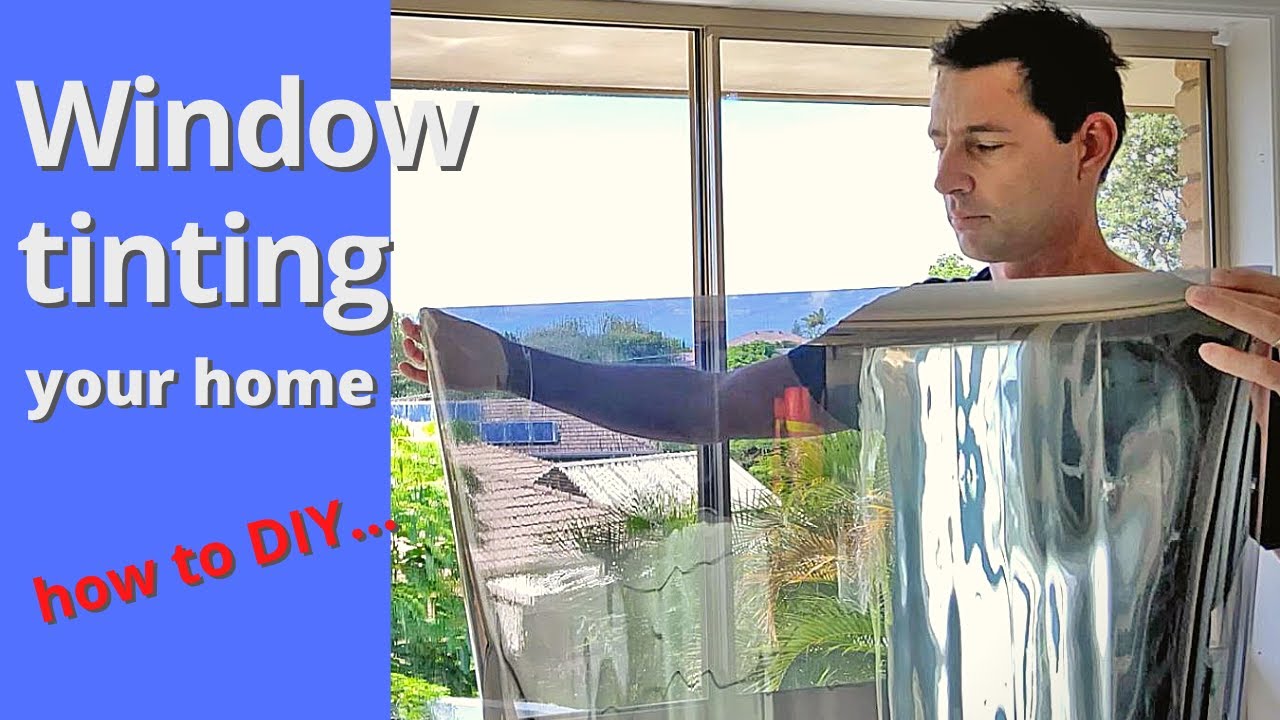
How to install window tint at home with Inspire DIY Kent Thomas
Показать описание
Install House window tints like a professional would for the cost of… materials and your time, follow these 6 Steps to get window film installed at home
step 1; Make sure the windows are really clean especially around the edges
step 2; Do a clean of the windows like you would normally do using a lint-free cloth, I found old t-shirts are good for this just don't use a window cleaning product with ammonia as this will interact with the adhesive of the window film.
step 3; Measure the windows remembering to add an inch or two to the window size and this will be trimmed off later
step 4; Spray the water and baby shampoo mix liberally onto the window
step 5; Spray some more of your baby shampoo mix on the new tint so that the squeegee will glide over the surface easily, This is a firmer squeegee than the normal window cleaning one and it can be bought for about $7 where you get the window tint from.
step 6; Clean the window as you normally would and ....Done!
The stuff and things I use, when clicked these links will take you directly to Amazon or an eBay site, InspireDIY is an Amazon associate/eBay Affiliate. Using these links does not impact the price in anyway for you, but InspireDIY may be able to earn from recommendations.
I used Mirror Window Film like these
These videos are intended to provide information and inspiration only. If you choose to imitate, duplicate or copy anything you may have observed in these videos, you do so at your own risk. Kent Thomas & Inspire DIY do not take any responsibility for any action taken as a result of the information or advice on this YouTube channel (or other platforms) and shall not have any liability in respect of any injury or damage that may result.
Kent Thomas/Inspire DIY disclaims any control over, relationship with, or endorsement of views expressed by any third party, including but not limited to, sponsored partners, featured guests in any episodes, or other YouTube (or other social platform) users. Any unsponsored links to other websites are provided only as a convenience, and not an endorsement of those pages by Kent Thomas/Inspire DIY. Kent Thomas/Inspire DIY encourages you to read the privacy statements of any third-party websites.
Kent Thomas/Inspire DIY does not warrant the accuracy, completeness, or usefulness of the information available on this YouTube page or any other social media platforms. Nothing contained in or provided though this YouTube page, website or social media platforms is intended to constitute advice or to serve as a substitute for the advice of a building or construction professional, or local government, council laws and building codes. Any reliance you place on such information is strictly at your own risk.
 0:06:06
How to install window tint at home with Inspire DIY Kent Thomas
 0:08:41
How To Tint Windows - Window Tinting For Beginners - Learn To Tint Windows - Tint Training Classes
 0:04:40
How Car Windows Are Tinted | Insider Cars
 0:03:48
How to Tint a Window (UNDER 5 MINUTES)
 0:07:53
Install window tints at home perfectly - Inspire DIY Kent Thomas
 0:00:52
Learn Tint in 60 seconds #windowtint #tint #tintingwindows #glass #cars #diy #diycrafts #walmart
 0:07:37
How To: Properly Apply Window Tint
 0:12:16
Learn To Tint Home & Office Windows Like A Pro
 0:00:58
Try out RPFILMS and start installing today!🙌🔥 #windowtint #tint #ppf #paintprotectionfilm
 0:14:41
WINDOW TINTING: HOW TO TINT WINDOWS (FOR BEGINNERS)
 0:18:41
how to install window tinting - DIY easy
 0:01:01
How to apply window tint ⚡️
 0:08:09
How To Get That PERFECT Window Tint Install
 0:15:06
DO NOT TRY Car Window Tinting until you watch this - PROFESSIONAL TINT TRAINING | TINT COURSE
 0:08:11
How to Tint Your Windows
 0:02:59
How to Tint HOME Windows | Mirror Tint
 0:06:46
HOW TO TINT CAR WINDOWS / EASY STEPS TO TINT WINDOWS
 0:17:47
How To Tint Your Windows | Walmart Black Magic Window Tint
 0:18:51
Professional Mexican Shows How To Tint A Window From Start To Finish
 0:04:06
How to Install apply window tint film Precut kit on a car suv truck side door windows
 0:10:22
How to tint residential Flat Glass like a pro By: Best Reflections Window Tinting
 0:09:43
How to Tint ANY Door Window
 0:04:02
How To Install Window Film - DIY At Bunnings
 0:17:39
Home Window Tinting: The Ultimate Guide
Комментарии