filmov
tv
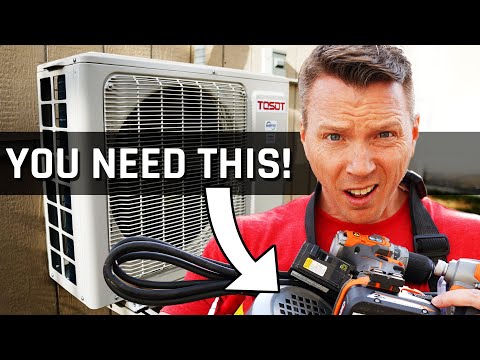
DIY Mini Split Install - All the Things Nobody Shows You

Показать описание
Installing a Mini Split is totally doable, but there are several things that all of the other videos gloss over. This is a TRUE, STEP BY STEP tutorial, baby. #minisplit #tosot #heatingairconditioning
🎬 CHECK OUT THESE RELATED VIDEOS! 🎬
📦 PRODUCTS IN THIS VIDEO 📦
USE COUPON CODE 💰"LRN2DIY"💰 to save $100 on TOSOT orders!
👍 WANT TO HELP SUPPORT THIS CHANNEL? 👍
👕 LRN2DIY SHIRTS, HOODIES & MORE 👚
📸 MY FILMING GEAR 📸
🕶 SOCIAL MEDIA 🕶
📲 MORE DIY GOODNESS 📲
Check out our many projects and plans at
📲 WANT TO LEARN MORE ABOUT 3D PRINTING? 📲
All things 3D Printing at The 3D Printing Zone
📚 TWO FREE AUDIOBOOKS! 📚
 0:33:25
DIY Mini Split Install - All the Things Nobody Shows You
 0:08:11
DIY Mini Split Install: 3 Regrets After 1 Year of Use
 0:18:43
Complete DIY Mini Split Installation | New Mr Cool 4th Gen Unit
 0:53:28
DIY Mini Split Install: Mr. Cool, Multi Zone System.
 0:09:44
DIY Ductless Mini Split Install - MrCool Unit
 0:16:37
Mini Split Install So Easy A Handyman Can Do It | No Need For HVAC Company | THE HANDYMAN |
 0:16:45
I Saved $2000 Installing My Own Mini Split
 0:11:16
DIY Mini-Split Install: I did NOT expect this...
 0:15:01
How to Install a DIY Mini Split Air Conditioning and Heat Unit. MR COOL 24K Split Unit
 0:14:46
This MINI-Split AC System Changed My Life | Learn How To Install One Yourself
 0:13:57
DIY Mini Split Step by Step Install: Save Thousands of Dollars...
 1:08:07
DIY Mini-Split Heat Pump, Full Installation, 2021
 0:19:47
Budget Mini Split Installation for Beginners! w/ Vacuum Pump and Gauges
 0:10:13
Install your own AIR CONDITIONING in 4 HOURS! DIY Mini Split MR COOL
 0:17:14
DIY MULTI-ZONE Ductless MINI SPLIT Installation in New Construction!
 0:07:09
How to Install a Ductless Mini-Split Air Conditioner | This Old House
 0:18:52
Mr Cool DIY 4th Gen 12000btu Mini Split Full Install
 0:08:25
How to Install a Wall-Mounted Mini-Split | Ask This Old House
 0:15:44
Installing My Own Mini-Split Heat Pump, DIY
 0:12:11
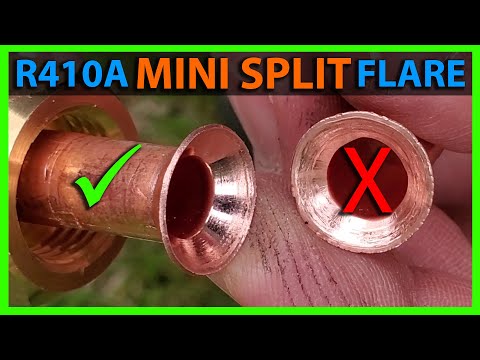
How To Make an R410A Flare for a Mini Split AC Unit Installation
 0:16:34
HVAC Pros Don't want you to See This! Pioneer Mini Split DIY INSTALL
 0:45:02
How To Install A MrCool DIY Ductless Mini Split YOURSELF! - FAST and EASY!
 0:18:42
MrCool DIY Mini Split Install
 0:06:51
Mr Cool DIY Mini Split (1 Year Review)
Комментарии