filmov
tv
LG Washer Door Boot Seal Replacement AGM30030702

Показать описание
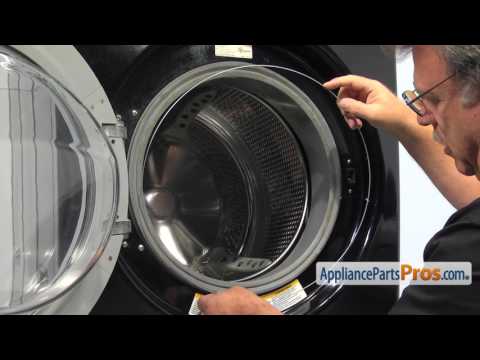
This video provides step-by-step repair instructions for replacing the washer door boot seal in an LG washer (Model WM4000HBA). The most common reason for replacing this part is if it's missing or broken.
Learn how to troubleshoot your washer:
This replacement video is applicable to the following brands:
LG
Connect With Us!
Don't forget to like and comment on this video and subscribe to our channel!
 0:13:28
LG Washer Door Boot Seal Replacement AGM30030702
 0:06:00
Replace LG Front-Load Washer Door Boot Seal #MDS47123604
 0:04:01
💰Save That Money! With This Washer Spring Expansion Removal Tool! DIY 😎
 0:08:00
How to Replace the Door Seal on an LG Washing Machine
 0:02:36
How To: LG/Kenmore Washer Outer Door Gasket Clamp 2W20017E
 0:08:04
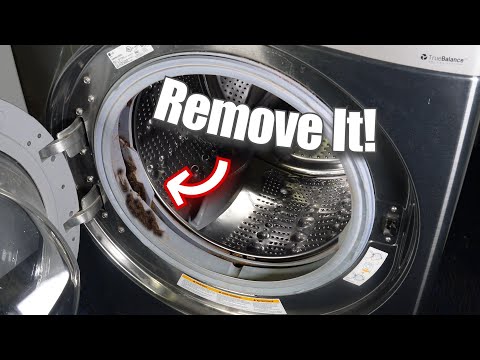
How to Remove Mold from a Washing Machine Door Seal
 0:13:14
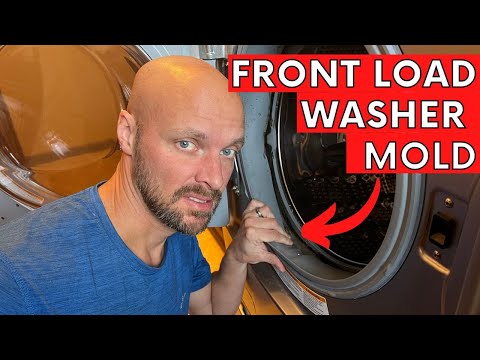
Replacing A Moldy/Leaky Door Gasket On A LG Washer
 0:09:09
How to CLEAN Front Loading Washer Rubber Gasket
 0:11:04
How to replace Door Boot Seal Gasket part # 4986ER0004F on your LG Kenmore Washer
 0:04:06
Fixing a tear in the door gasket/seal/bellow on a front load washing machine
 0:01:18
LG Electronics 4986ER0004F Washing Machine Door Boot Gasket with Drain Port Review
 0:00:50
LG Washer Replace Door Boot Seal Retaining Ring #2W20017E
 0:07:29
How to temporarily patch a leaking washing machine front seal
 0:23:35
Kenmore LG Washer Door Boot Seal Replacement|Removal|Front Load Washer|Bellow
 0:09:53
✨ LG WASHER DOOR GASKET REPLACEMENT-FASTER THROUGH THE FRONT TECHNIQUE ✨
 0:06:31
How to Clean or Replace an LG Washing Machine Door Gasket / Seal
 0:03:57
Frigidaire Washer Door Boot Seal Replacement #5303937187
 0:12:56
LG Kenmore Washer Door Boot Seal Replacement Fix Leaking
 0:09:50
✨ Kenmore Front Load Washer - Door Boot Replacement ✨
 0:05:09
LG/Kenmore Front-Load Washer Leaking? Door Boot Seal #4986ER0004F
 0:13:19
Kenmore Elite Front Load Washer Gasket Replacement
 0:00:48
LG frontload washer, quick door seal removal
 0:00:16
LG front load door seal/clean this during maintenance
 0:13:08
✨ LG WASHER - EASY DOOR BOOT - REPLACEMENT Through Door Opening ✨
Комментарии