filmov
tv
EEVblog #558 - Beta Layout DIY SMD Thermal Reflow Oven

Показать описание
Dave plays around with converting a toaster oven into a surface mount SMD reflow oven with a beginner kit and controller from Beta Layout.
Includes basic calibration and thermal profiling of the oven.
Also a look at an example PCB from PCB-Pool, and reflow of an example board with lead-free solder paste.
And using an Agilent bluetooth multimeter to remote log the temperature.
Guest appearance by Sagan!
EEVblog Main Web Site:
EEVblog Amazon Store:
Donations:
Projects:
Electronics Info Wiki:
 0:55:27
EEVblog #558 - Beta Layout DIY SMD Thermal Reflow Oven
 0:27:09
EEVblog #168 - How To Set Up An Electronics Lab
 0:24:26
EEVblog #279 - How NOT To Blow Up Your Oscilloscope!
 0:23:48
EEVblog #562 - More SMD Oven Reflow
 0:56:54
EEVblog #239 - PCB Design For Manufacture Part 2
 0:35:52
EEVblog #556 - Mailbag
 0:32:13
EEVblog #559 - Auction Score
 0:39:56
EEVblog #186 - Soldering Tutorial Part 3 - Surface Mount
 0:34:12
EEVblog #561 - Mailbag
 0:12:54
EEVblog #527 - Altium Entry Level PCB Tool Rant
 0:50:46
EEVblog #127 - PCB Design For Manufacture Tutorial - Part 1
 0:59:18
EEVblog #1216 - PCB Layout + FPGA Deep Dive
 0:07:02
EEVblog #59 - Back to the Future Flux Capacitor T-Shirt Tanty
 2:13:23
LIVE KiCAD 5 PCB Design
 0:55:19
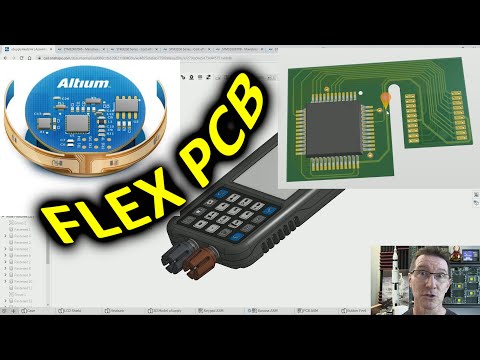
EEVblog #1262 - Designing a Flex PCB + uSupply Update
 0:25:56
EEVblog #553 - Mailbag
 0:34:16
EEVblog #446 - Dumpster Diving Samsung Plasma TV
 0:31:00
EEVblog #415 - SMD Stencil Reflow Soldering Tutorial
 0:10:11
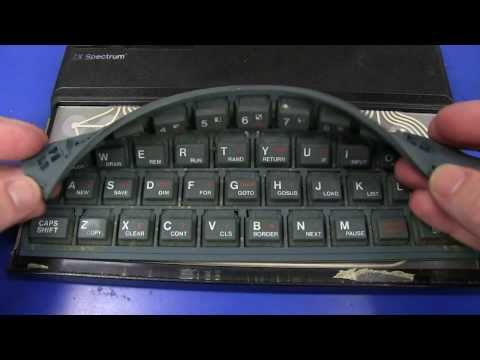
EEVblog #557 - Retro Sinclair ZX Spectrum Computer Teardown
 0:08:35
eevBLAB #1 - The EEVblog Is Hiring
 0:24:52
EEVblog #688 - How To Rework Solder SMD Chips - BTTF Time Circuits Repair!
 0:14:59
EEVblog #622 - How To See Through Objects With A Thermal Camera
 0:15:46
EEVblog #547 - Dumpster Phone Teardown
 0:33:35
EEVblog #651 - Mailbag
Комментарии