filmov
tv
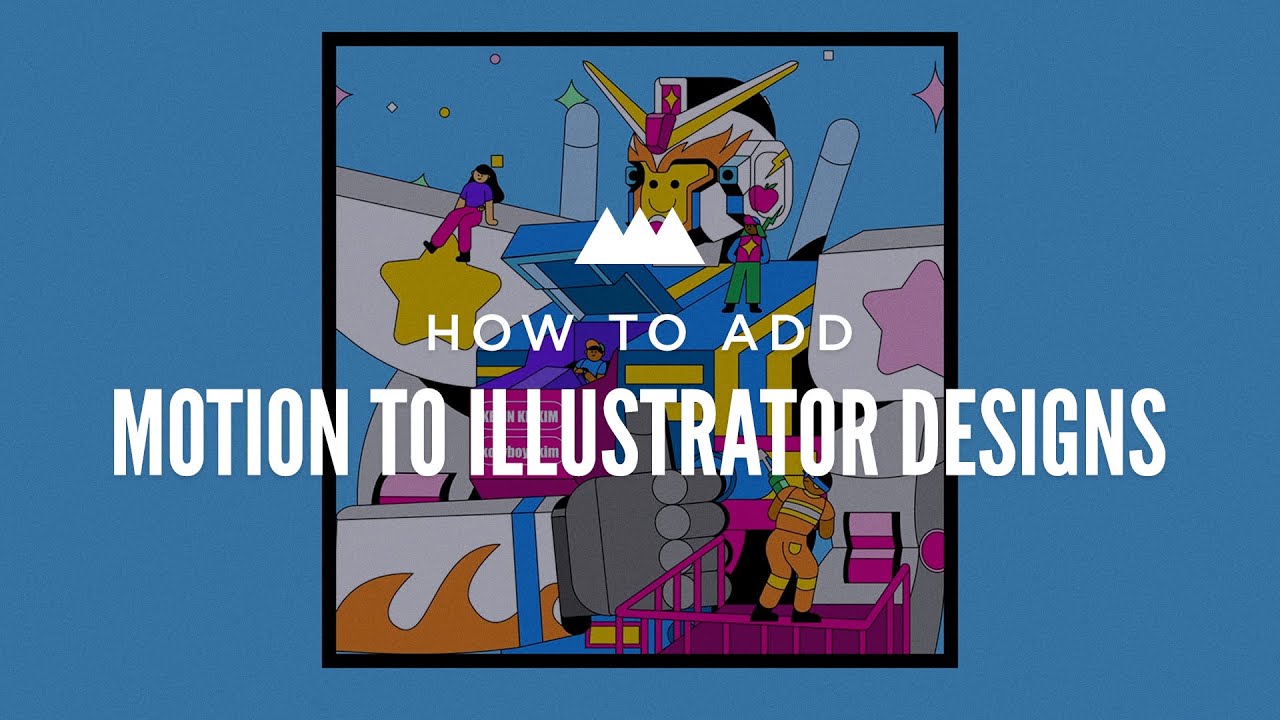
How to Turn Illustrator Designs into Motion Masterpieces
Показать описание
Have you ever wanted to take your awesome Illustrator designs and add a little motion? While the app is amazing for vector-based artwork, and Adobe software works well together, there are a few key steps to bring your files into After Effects.
In this tutorial, freelance artist Emonee LaRussa is going to show you how to take gorgeous vector artwork and add a little motion!
~ - ~ - ~ - ~ - ~ - ~ -
🎓INTERACTIVE ONLINE CLASSES 🎓
🧭FREE 10-DAY INTRO COURSE 🧭
🚴♀️FOLLOW US FOR MORE LEARNZ 🚴🏾♂️
---------------------------------------------------------------------
Partial, Auto-Generated Transcript Below 👇
Emonee LaRussa (00:00): Have you ever wanted to take your awesome illustrator designs and add a little bit emotion to it? Well, today we're going to pull some Disney princess magic and bring these inanimate objects to life.
Emonee LaRussa (00:18): My name is Emonee LaRussa. I make two time Emmy award winning motion, graphics, artists, and director. I predominantly make music visuals for artists like Kanye west big Sean, Lil NAS X, and more. So I'm always making illustrations or empowering illustrators to design the visuals for these scenes. So today I'm going to be showing you some tips and tricks on how I turn illustrator designs. It's a really cool animation in after effects. In this video, you will learn how to analyze and break down a scene to really bring your animation to the next level. Converting illustrator files into easy editable layers and some do's. And don'ts that I've learned before we begin, make sure you download the project files in the description below. So you can follow along. This tutorial is going to be extremely helpful if you're an illustrator that is looking at anime, your designs, or if you're collaborating with another illustrators designs. So let's hop right into step one.
Emonee LaRussa (01:14): For me, this is the most important step when creating an animation that many times is overlooked. I'm a very visual learner. So I always get a pen and paper to just jot down my ideas and how I plan to execute the animation from the design that was created. So the big thing here is learning how to analyze your scene to make it really pop and cohesive. This super awesome, amazing illustration was created by Kevin K H Kim. I've worked with him so many times and he's absolutely a phenomenal worker and he was gracious enough to provide us this illustration as an example. So if you guys end up using this illustration, definitely tag him. He's super awesome. And he deserves all the flowers. He could get my first initial idea when looking at this character is maybe giving him a thumbs up. So I'm going to write it down on my paper.
Emonee LaRussa (02:01): Robot gives thumbs up, but now that I have that down, what does that mean for the scene? If a robot gives the thumbs up, then that must mean that his arm moves. And if his arm moves, then a shoulder must move. And if his shoulder moves and this little character on the shoulder would move to the goal here is to really break down the movement, understanding the cause and effect before you even start animating. There's so many elements to this that could really take this design to the next level. But if we aren't connecting the motions together, it's really not going to look like a cohesive piece. Once I have my character animation written down, I also want to break down the environment. I think environment in animations are so underrated and I've seen so many pieces that could have been taken to the next level.
 0:01:29
Convert PNG or JPG to Vector - Adobe Illustrator tutorial
 0:09:43
Adobe Illustrator for Beginners: Get Started in 10 Minutes
 0:06:08
How To Vector Any Photo With Illustrator (In 5 Minutes Or Less!)
 0:00:46
Convert image into vector shape in Adobe Illustrator
 0:06:03
Convert Any Photo Into Vector Graphics! (Photoshop & Illustrator Tutorial)
 0:00:39
Convert a Low Resolution Logo or Art into High Resolution illustrator tutorial - Graphic design
 0:06:59
EASY Character Illustration in Adobe Illustrator! 🎨 #illustrator #digitalart #illustration
 0:08:18
Illustrator Tutorial: Create a Vector Logo from a Rough Sketch
 0:00:23
Custom Illustrator Brushes #illustratortips #illustratortutorial #screenprintermike
 0:15:30
Adobe Illustrator Tutorial: Create a Vector Logo from a Sketch in 2024!
 0:08:11
How to VECTORIZE ANYTHING using Adobe Photoshop and Adobe Illustrator
 0:00:32
Convert text to vector path in Illustrator
 0:01:22
How to Convert JPG image to a vector in Illustrator 2020
 0:11:09
Adobe Illustrator Tutorial: Create a Vector Pizza from Sketch (HD)
 0:08:48
Convert Drawings Into VECTOR Graphics • Illustrator & Procreate Tutorial
 0:31:04
Adobe Illustrator for Beginners - Sketch to Vector Tutorial
 0:03:42
🤙 Turn photos into vector illustrations with Adobe Illustrator iPad
 0:06:25
How I turn My Procreate Drawings Into Vector Graphics Using Adobe Illustrator
 0:00:51
How to Make a Linocut Look with Adobe Illustrator | Adobe Creative Cloud
 0:15:21
Adobe Illustrator Tutorial- Create a Bubble Tea Vector Step by Step
 0:00:25
Drawing process in Adobe Illustrator ✍️✨
 0:19:34
How To Vectorize Images Using Adobe Illustrator - Tutorial For Beginners
 0:11:24
How to Turn Illustrator Designs into Motion Masterpieces
 0:06:18
Make Minimal Line Art Design in Adobe Illustrator
Комментарии