filmov
tv
How to Build a PID Controlled Toaster Oven | Full Guide | Round 2

Показать описание
This is an updated video on how to turn your toaster oven into a PID controlled tempering oven! With a little time and effort I was able to get this oven to hold an extremely consistent temperature with this simple PID control box.
✅Wiring Diagram:
✅Items:
✅Notable How To Videos and Reviews:
**************************************************
**************************************************
#knifemaker
#knifemaking
#redbeardops
0:35 Motivation for Rebuild
2:48 Components Needed
3:54 Setup Project Box
4:21 Mounting SSR & other Panel Components
7:55 Wiring the PID
13:15 Full Wiring Overview
14:10 Tuning Strategy, Tips, & Results
**********************************************************
The information provided on this channel is for entertainment purposes only. Any action you as the viewer takes upon the information on this channel is strictly at your own risk, and I will not be liable for any losses, damages, or personal injuries in connection with the use of this content (including injuries, damages, or losses sustained while you were trying to emulate the actions and projects on this channel). Attempting to emulate any of the actions or projects put forth by this channel should not be done without training and even then, at your own risk.
 0:17:44
How to Build a PID Controlled Toaster Oven | Full Guide | Round 2
 0:14:36
How to Wire and Configure a PID Temperature Controller - Cerakote Oven
 0:00:19
Balancer - plate balancing a ball with PID controller, resistive panel and servos, arduino
 0:12:30
PID temperature controller DIY Arduino
 0:29:51
Arduino PID Controller - From Scratch!
 0:05:08
How to build a DIY PID temperature controller box with a DIN rail and SSR
 0:06:36
Building a PID Controller with Your Computer
 0:20:02
BUILDING A 240 VOLT 20 AMP PID CONTROLLER STEP BY STEP PART 1
 0:01:14
Watch this video to build business credit!
 0:07:50
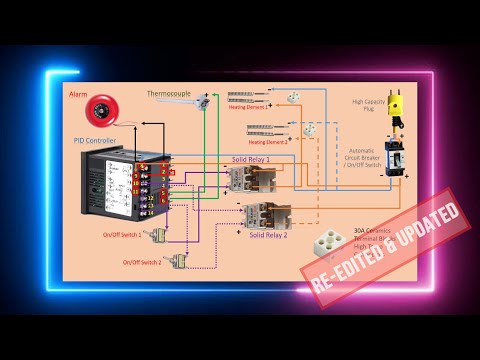
HOW TO WIRE PID FOR SINGLE OR MULTIPLE HEATING ELEMENTS | RE-EDITED & UPDATED
 0:03:53
PID controller demonstration
 0:10:02
I made a SUPER FAST Line Follower Robot Using PID!
 0:16:25
PID brushless motor control tutorial
 0:04:24
How to build a PID SSR BBQ TEMPERATURE CONTROLLER
 0:13:07
PIDs Simplified
 0:04:07
PID Control: Arduino Self-Balancing Robot [💥SUBSCRIBE💥]
 0:13:13
PID Balance+Ball | full explanation & tuning
 0:06:47
Stormworks B&R l PID Guide for new players
 0:11:06
E64 Still Works and brewing first time using a PID controller
 0:08:38
12 | Program a PID controller to stabilize a drone
 0:04:41
Controlling Self Driving Cars
 0:06:54
How to code your Line follower robot with PID control and working code!
 0:13:45
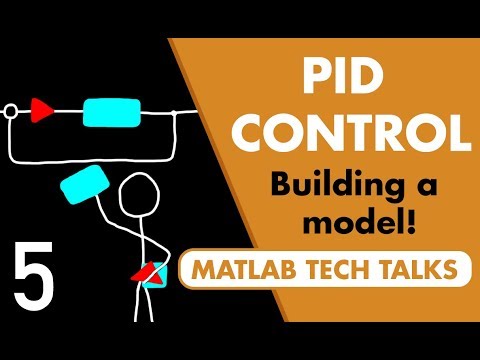
3 Ways to Build a Model for Control System Design | Understanding PID Control, Part 5
 0:04:03
How to build drone | PID
Комментарии