filmov
tv
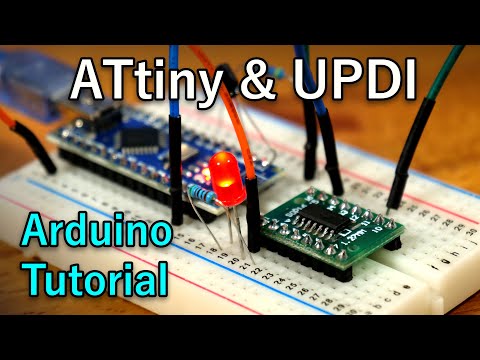
Programming the new ATtiny from Arduino using UPDI [Beginner Tutorial]

Показать описание
This tutorial shows how to make a cheap and simple UPDI Programmer and upload a sketch to the new ATtiny micro controller series. The programmer is made from an old Arduino Nano and requires only two additional passive components. The megaTinyCore library provides an Arduino core to start developing. A short blink sketch demonstration should provide a good start for every beginner in this matter.
Links to the github projects:
Boards package url:
Links to the parts (affiliate links):
Arduino nano clone ($2):
Electrolytic Capacitors 12Values (120pcs $1.60):
Metal Film Resistors 30 Values (600pcs $2.65):
ATTiny ($0.65):
SOP16 SSOP16 Break Out Board (20pcs $2):
SOP16 Programming Adapter ($2.20 shipped):
5mm LEDs (different colors 100pcs for ~$1):
Breadboard Set (~$3.50):
My camera and lens (4k 60fps):
plz share :-)
Check out my Tindie store to get some of my creations:
Consider supporting my lab on Patreon for some extras and frequent updates:
I'm also thankful for any donation on PayPal:
Twitter: @bitluni
reddit: r/bitluni
#electronics #diy #tutorial
 0:07:59
Programming the new ATtiny from Arduino using UPDI [Beginner Tutorial]
 0:09:47
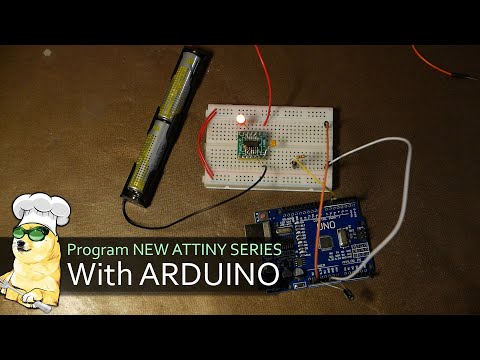
Programming the new ATTINY series with Arduino!
 0:14:34
477 Use the very attractive new ATTINY chips for your projects
 0:14:50
Make a UPDI Programmer for the Arduino ATTiny
 0:03:09
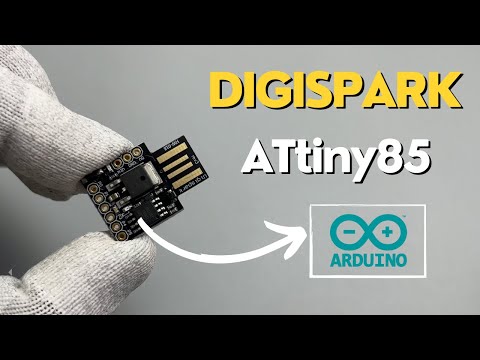
Digispark ATtiny85 with Arduino 2.0: How to program?
 0:14:25
Bare-Metal MCU #9 - Review; ATTiny85 from scratch
 0:10:09
How to Program an ATtiny with Arduino (Up to Date)
 0:06:41
UPDI Programmer using Arduino Uno for ATTiny 0-Series 1-Series etc
 0:55:33
Getting Started with the tinyAVR 1-series Microcontroller
 0:15:44
Good bye Arduino? Welcome ATtiny 1-Series!! UPDI --geil!!
 0:05:42
Electronic Basics #3: Programming an Attiny+Homemade Arduino Shield
 0:07:35
Program the ATTINY85 with Arduino 1.8.18 (2022)
 0:05:00
Now You Can Program any Kind of IC With Arduino, (AVR, STM, P-IC)
 0:00:16
Amazing arduino project | Check description to get free money.
 0:00:07
Programming an Attiny 412 board over a UPDI.
 0:01:08
New AVR® ATtiny MCUs Increase System Throughput & Lower Power Consumption in Embedded Applicatio...
 0:00:25
It can program every freaking thing. #arduino #avr #attiny #updi
 0:53:02
How to use the Atmel ATTINY10 Microcontroller
 0:00:25
ATtiny 85 IR REMOTE CONTROL||ROOM AUTOMATION|Smallest Arduino
 0:09:15
Smallest and cheapest microcontroller - tutorial
 0:05:30
ATtiny85 - Programming in C & Assembly
 0:01:00
Attiny en pocas palabras #shorts #electronica #arduino
 0:06:23
#52 Programming ATTiny Microcontrollers using Arduino IDE | ATTiny13 ATTiny25 ATTiny45 ATTiny85
 0:18:32
Programming ATtiny85/84 with Arduino Uno (ATTinyCore)
Комментарии