filmov
tv
Individually Addressable LED Strips for Beginners

Показать описание
Using individually addressable LED strips with WLED and a QuinLED Dig Uno controller, no soldering required!
Hardware you'll need:
Hardware you'll need:
 0:14:42
LED Strips, what's the difference? WS2811, WS2812B, 2812Eco, WS2813, WS2815, SK6812, SK9822.
 0:11:14
Individually Addressable LED Strips for Beginners
 0:19:47
Watch this before buying LEDs
 0:01:31
Individually addressable LED Strip Light Kit
 0:13:33
2024 - How to Set Up And Control Addressable LEDs - The ULTIMATE Beginners Guide!
 0:04:46
ADDRESSABLE led strip vs DIRECT led strip
 0:13:11
I’m Never Buying LEDs Again! EASY DIY WLED!
 0:00:34
TM1814 RGBW Pixel Addressable Digital LED Strips Engineering Project
 0:00:16
BC-204 Art-net DMX Mardix Control SPI Digital LED Strips
 0:01:14
Individually Addressable RGB LED Strip for PC, 5V WS2812B Digital Led
 0:09:43
Getting Started with Individually Addressable LED Strips - Everything You Need to Know!
 0:13:33
How To Use Addressable RGB WS2812B LED Strips With a Raspberry Pi Single Board Computer
 0:17:54
LED Strip Projects: Top 5 Tips and Top 5 FAILS to AVOID!
 0:00:37
APA102 2020 4mm Individually Addressable RGB LED Strips & Superlightingled
 0:00:16
Online Programmable Arduino Individually Addressable LED strip
 0:00:40
addressable white color led strip white color
 0:00:36
Narrowest APA102 LED Strips & Individually Addressable RGB & Superlightingled
 0:00:26
Decorate Your Retail Store With Addressable White Flowing LED Strip Lights - superlightingled
 0:09:31
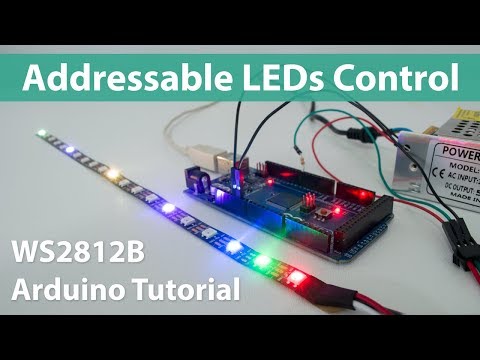
How To Control WS2812B Individually Addressable LEDs using Arduino
 0:00:39
New 120LEDs/m 4MM 2020 RGB Individually Addressable LED Strip Light
 0:02:49
The newest SMD2020 individually addressable led strip light? How to buy it?
 0:00:45
what is ws2812b led strip
 0:12:26
BEGINNERS Guide to Individually Addressable RGB LED Programming with Arduino
 0:00:36
RT1809/WS2815 DC12V addressable led strip for Indoor decorations
Комментарии