filmov
tv
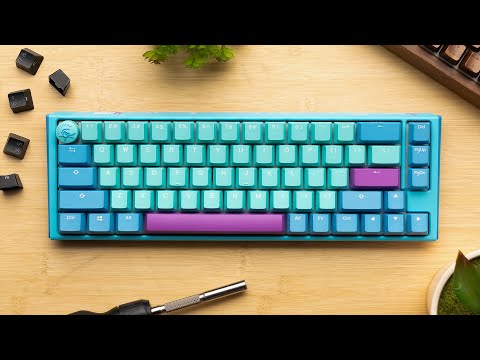
Design Your Own Keyboard!

Показать описание
Go from zero to hero by following along as I design a PCB for a custom keyboard. Follow along as I prepare a gerber file to order boards from PCBWay! The detailed walkthrough contains everything you need to know to create a custom keyboard PCB using Ergogen and KiCad.
Links:
🪛Soldering Essentials!
Tooling up with these links helps me out at no extra cost to you. Thanks! 🙏
Heat Proof Mat:
Soldering Iron Kit:
Lead Free Solder 0.6 (for sockets and switches):
Lead Free Solder 0.3 (for smaller work):
Flux Pen:
--------------------------------------------------------------------------
Details on my 16 key layout:
Or how about 34?
Or if you're feeling totally excessive, 36:
--------------------------------------------------------------------------
Contents:
0:00 Intro
1:18 My Custom Keyboard Format
1:52 Ergogen Basics
7:24 Installing Ergogen Locally
8:08 Outlines
11:34 Creating A KiCad File
13:10 Switch Footprints and Nets
14:42 Controller Footprint
15:11 Keycap Outlines
16:05 Additional Footprints
20:03 Bind Values
22:29 Routing
32:37 Adding Artwork
38:40 Uploading to PCBWay
 0:17:53
How to Build your FIRST Custom Keyboard (In 2024)
 0:25:08
Build your own Mechanical Keyboard… the RIGHT Way
 0:11:47
Should You Build Your Own Keyboard?
 0:13:06
How to build your FIRST custom keyboard! (ON A BUDGET)
 0:41:04
Design Your Own Keyboard!
 0:23:56
How to Design a Custom Mechanical Keyboard
 0:14:25
DIY Macro Pad Keyboard Build from Scratch with Custom PCB and Mechanical Switches
 0:21:52
I Built My Dream Keyboard from Absolute Scratch
 0:09:34
8BitDo Keyboard Review: A uniquely expandable gaming keyboard with retro aesthetics
 0:23:18
How to Build Your FIRST Custom Keyboard... (in 2023)
 0:08:01
How to Build a Custom Keyboard From Scratch | Part 1 Layout and Design
 0:15:34
I Wish I Had Known This Before I Bought My First Custom Mechanical Keyboard | Beginners Guide
 0:16:12
How to Build a Mechanical Keyboard | Simple Step-by-Step Guide | MODE Sonnet
 0:20:19
How to Design Mechanical Keyboard PCBs with Kicad
 0:16:13
I Built a Keyboard from Wish.com
 0:07:53
How I Built & Fully Customized My Cozy Mechanical Keyboard
 0:14:03
How to (Kinda) Create ANY Keyboard
 0:13:00
My brother's keyboard broke, so I built him a new one
 0:15:29
Building A Custom Keyboard is FUN and EASY... (On a Budget)
 0:16:11
I Tried Building a CUSTOM Mechanical Keyboard: Everything I Learned
 0:06:08
Building My First Ever Custom Keyboard
 0:11:16
I built a $30 keyboard using ONLY AliExpress - (GMK 67)
 0:22:01
How to Build a Handwired Keyboard
 0:17:42
How to build your FIRST custom keyboard! (BUDGET FRIENDLY)
Комментарии