filmov
tv
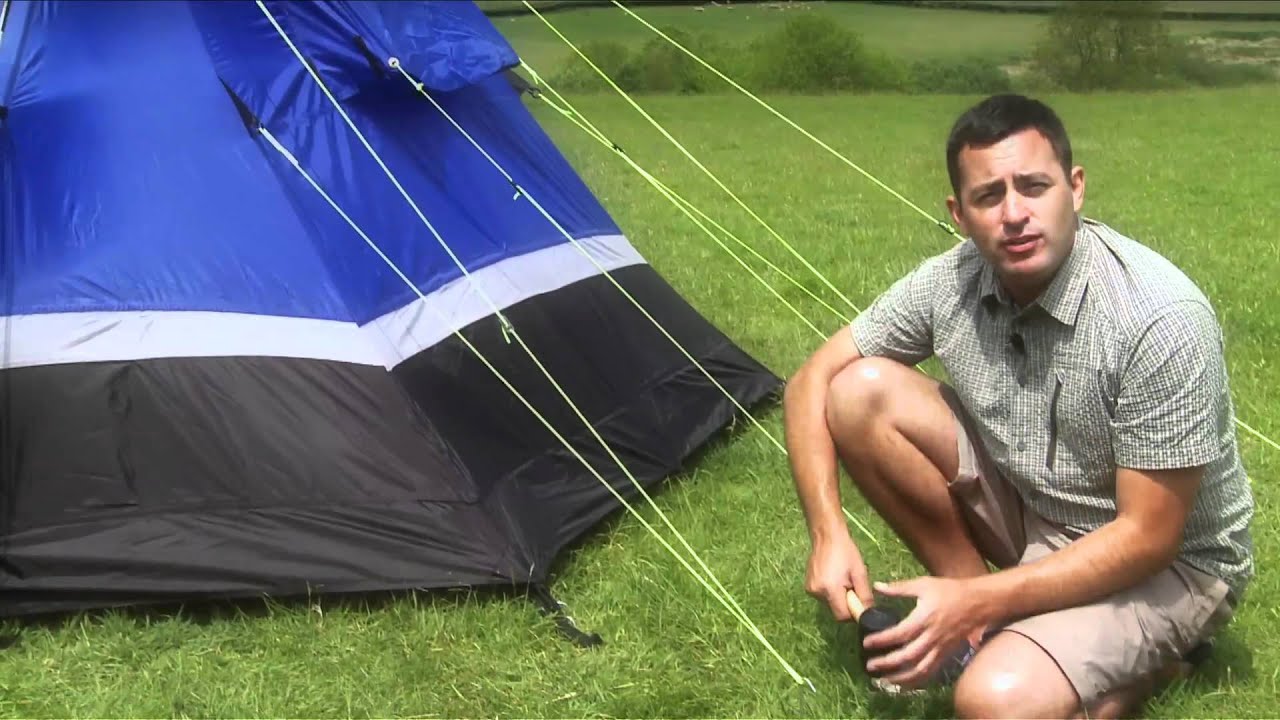
How To Pitch Your New Tent - GO Outdoors
Показать описание
Pitching your new tent can be an intimidating prospect when you don't know how. But here are a few tips and pointers we'll show you that building your new home from home is actually pretty easy.
Most tents these days are the tunnel type where the poles all run in a line, these are the simplest type to pitch so here's how you do it.
It's essential that before you hit the road for your camping holiday that you check that the tent is complete -- sometimes they come in multiple bags. So a practice pitch in the garden is the best idea. It will also mean then when you head to the campsite you'll already be an expert!
Firstly get everyone involved, the more hands the better. And don't rush - slow and methodical will win the day!.
Lay the tent out making sure you know where everything is. Outer, inner, poles, pegs
The poles may be different lengths but will be colour coded -- with one section different to the others this will match with a tab on the tent itself. There'll also be a big bag of pegs. I usually put a handful in my back pocket so I've got them when I need them.
This tent is tunnel style with a sewn in groundsheet which is often the case -- to check what type of tent you have please have a look on our website or pop in store. This is the Zenobia 6 but the principals can be applied to all sewn in tunnel tents.
Have a look at where you want the front entrance of your tent to be. There's nothing like a nice view in the morning. If you're in a campsite that doesn't have specific pitches, look for a dry, flat spot that ideally isn't under trees.
Peg out each corner then start slipping the poles through their sleeves, this is a much easier job with two of you, pulling the tent fabric back over the pole as you push it through. Follow this process for all your poles matching the coloured section with the coloured tabs.
Un zip the doors otherwise you'll create a vacuum inside the tent making it hard to get up. Pop the pin in one end and start to lift the tent up with one of you on each side. If you're stuggling and have a spare pair of hands sometimes it can help to stand inside the tent and lift the fabric. Remember it should be quite easy so if there is resistance don't force it as this can cause damage.. The pin will now go in the other end and your halfway there.
Simply repeat this process with the remaining poles. The tent might need a bit of a re shuffle to get it all straight, just make sure everything looks parallel.
Now the guylines, these are vital for keeping the tent stable in the wind. Even if you turn up on the campsite on a beautiful still evening, make sure every guyline is used, you never know when a bit of wind might pick up, you really don't want to be out in your pyjamas in the middle of the night!
The guylines should be pegged out at the natural angle by which they are attached to the tent. Resist the urge to pull them tight as you'll distort the tent and they can be adjusted later. Bang the pegs in at about 45degress to get maximum resistance, if you hit a rock, just pull it out and have another go.
It's a good idea to stick the bedrooms in whilst one of you is doing the guylines, these are dead easy once you've found the coloured clip follow the seams hooking it on as you go.
Your tent is now up so it's time to light the barbeque!
Dome tents with cross poles are put up in a similar way but a little more care needs to be taken when threading the poles through and you're more likely to need someone inside the tent pushing the poles up.
If you have a tent without a sewn in groundsheet the technique is slightly different as you put the poles in, then concertina the tent up from one end -- like this.
 0:05:13
How to Pitch your Startup in 3 Minutes
 0:02:32
HOW TO START A PITCH OR PRESENTATION
 0:08:28
How to Pitch your IDEA using a Powerful Sales Technique?
 0:13:18
What investors ACTUALLY want to see in your PITCH DECK.
 0:11:25
Startup Investors On How To Pitch Like A Pro | CNBC
 0:03:28
How to Pitch a TV Show Idea — TV Writing & Development: Ep6
 0:08:03
The Perfect Elevator Pitch - Best Examples and Templates
 0:01:20
What the Best Pitch Decks Have in Common with Mike Vernal (Sequoia Capital)
 0:44:14
Pitching Your Way to Success!
 0:08:20
Learn How to Sell from Mark Cuban’s INCREDIBLE Sales Pitch
 0:02:06
How to pitch your idea or proposal
 0:01:13
TEDx Southbank 1 Minute Pitch Winner Joseph Knox Wheeler
 0:03:44
One Shark Calls This the 'Best Pitch Ever' - Shark Tank
 0:07:53
How To Create A KILLER 30 Second Elevator Pitch (4 SIMPLE STEPS)
 0:02:43
How To Create A Killer Elevator Pitch
 0:11:00
6 EPIC TIPS to make your STARTUP PITCH presentation STAND OUT!
 0:02:54
How to Pitch a TV Show | Tips for New Producers
 0:04:32
Patreon's Founder On How To Structure Your Pitch To Investors | Forbes
 0:28:09
How to give the perfect pitch - with TedX speech coach David Beckett - Young Creators Summit 2016
 0:01:51
My 1 Minute Sales Pitch
 0:03:52
How To Pitch Your New Tent - GO Outdoors
 0:00:38
The 5 minute sales pitch
 0:01:01
2014 Elevator Pitch Winner, University of Dayton Business Plan Competition
 0:03:49
How Not To Pitch Your New Business | Enterprice
Комментарии