filmov
tv
Modify Existing STL files easily using TinkerCAD

Показать описание
Intro: 0:01
What is TinkerCAD?: 0:37
Importing STL: 1:42
Isolating objects: 3:00
Subtracting from objects: 8:13
Adding to complex curved objects: 9:10
Outro: 12:28
End card: 12:34
In this video I cover how I modify existing STL files. I use TinkerCAD which is a free cloud based CAD solution available from AutoDesk. All you have to do is sign up with an email and your good to go with storage for your models and a way to share them if you choose to. You don’t have too and you can keep your models private which is another bonus to the TinkerCAD work space.
I try to explain my process on how I bring in existing STL files for remixes and my own projects. This is nice when you need to modify a specific type of model someone has done already that is almost perfect for your situation…but…it’s just a little bit off. For some reason you need a hole bigger or smaller, you may need to adjust the mount of a specific thing. This works really well for short projects where you need only slight manipulation of a pre-existing STL. TinkerCAD also works great for beginners because it is a visual based solution to CAD. This has been great for me because I am a visual leaner by nature and this fits my style of progression.
I first go over how to import the STL into TinkerCAD then how to remove and modify certain objects from the STL while keeping dimensional accuracy. This technique also applies to cutting STL’s in half or preserving dimensions of a given model if you need to hack it up to print a large work piece. The work flow in TinkerCAD is very fast and makes quick work of small modifications that you just don’t know if they will produce what you expect.
I also explain how I use duplicate object to mate different work pieces with complex edges. This is especially useful when you have a rounded surface that has a thin profile. You can use this technique to make sure the backside of your thin profile does not have any protrusions and there is still a solid connection at the front of the rounded surface.
Hopefully this helped you out! If it did please consider subscribing, we’d love to have ya!
Keep ur amps up and ur filament dry!
E
Music provided by Spike
 0:12:59
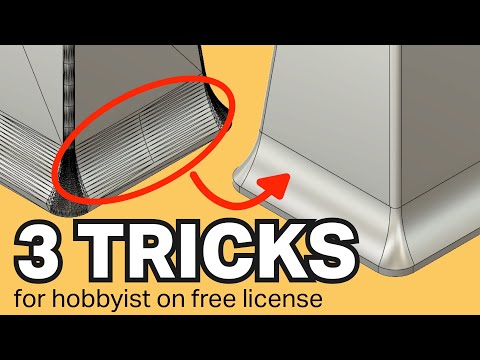
Modify Existing STL files easily using TinkerCAD
 0:02:26
How to Modify an STL with Blender (Quick and Easy)
 0:01:27
How to Import and Edit STL Files in Fusion 360
 0:09:29
Easily use Tinkercad Modify or Remake a Thingiverse STL File!
 0:13:50
How to modify an STL or mesh - 3D design for 3D printing pt7
 0:21:15
Two Easy Ways to Edit STL Files For 3D Printing
 0:03:56
FreeCAD for Beginners pt.3 - Importing and Editing .STL Files
 0:02:04
FreeCAD How To Edit STL Tutorial
 11:54:57
Easy Python session 331
 0:14:19
Import and Edit STL Files in Fusion 360 2024
 0:12:47
Modify an STL using Tinkercad! Fantastic, Free, & FAST! What will you make?
 0:07:06
How to Import and Edit STL Files in Fusion 360
 0:04:59
How to Open and Modify STL Files in Blender
 0:05:02
Editing STL files THE EASY WAY
 0:19:54
Easily Customize 3D Models Using TinkerCAD - Modify .stl Files for 3D Printing - Beginner Tutorial
 0:07:38
✅How to edit/modify STL Files in FreeCAD💯
 0:18:39
How can I change STL file in TinkerCAD
 0:14:46
How to import and edit STL files in Blender
 0:07:22
How to Remix STL files from Thingiverse
 0:24:10
How to modify STL files with Tinkercad - split, cut and combine any STL design from thingiverse etc
 0:20:02
Modifying STL files in Blender
 0:08:29
Easily Modify STL files with SelfCAD
 0:18:35
More STL file editing. How to customize files from Thingiverse for free using Fusion360 Step-by-step
 0:07:32
Easily Remove & Change a Name Tinkercad Thingiverse STL File Tips
Комментарии