filmov
tv
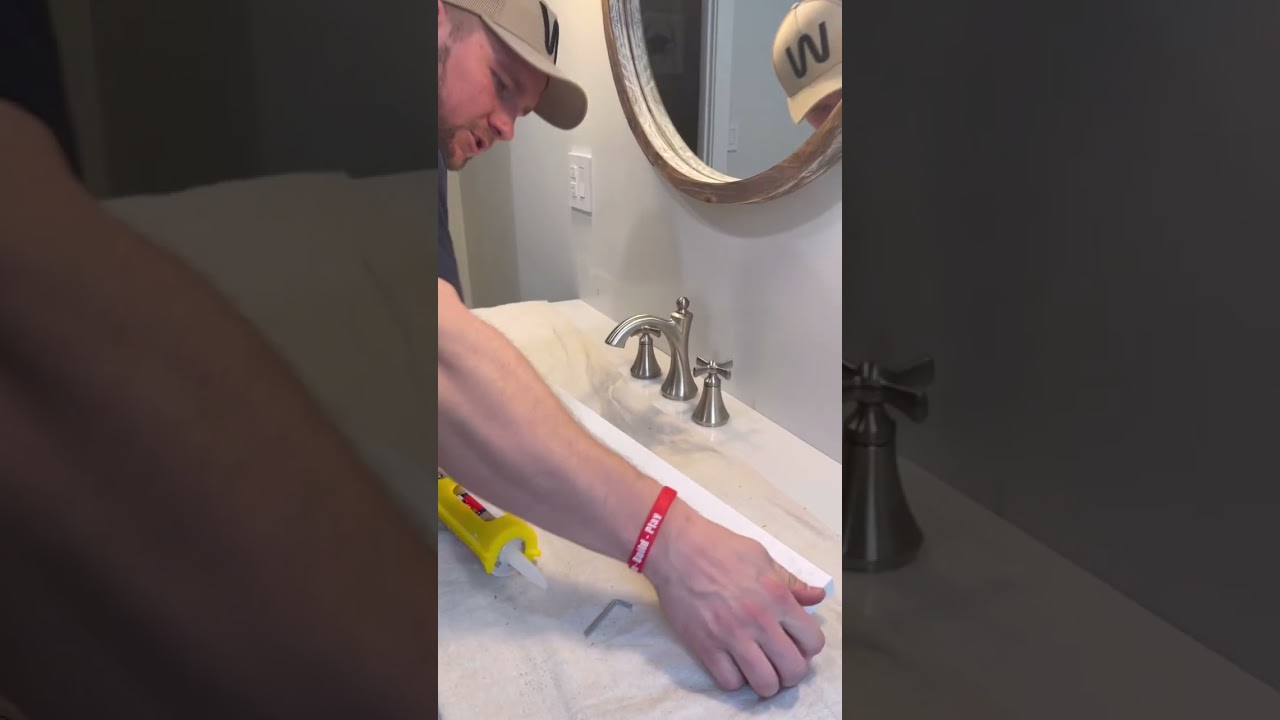
Best way to install vanity backsplash. #diy #youtubeshorts #diyshorts
Показать описание
 0:03:56
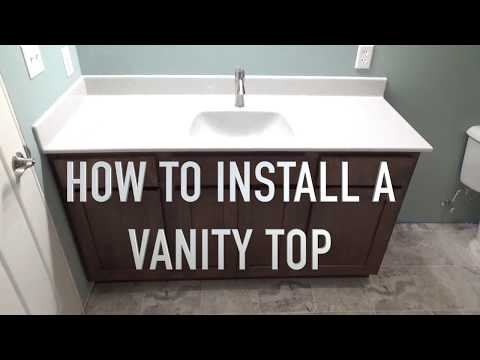
How To Install a Vanity Countertop
 0:02:17
How to Install a Vanity Top | Menards
 0:03:21
How To Install a Bathroom Vanity
 0:02:44
How To Install A Bathroom Vanity
 0:09:50
How to Remove & Replace a Vanity Top | Easy Bathroom Sink Remodel
 0:10:54
How To Replace Install Vanity Top Easy Simple Bathroom Countertop
 0:00:26
Installing a #vanity, Here's How
 0:00:59
Best way to install vanity backsplash. #diy #youtubeshorts #diyshorts
 0:15:41
ASMR Organize My Makeup Vanity With Me & Chatting
 0:14:31
Tips and Tricks to Installing a Bath Vanity and Countertop
 0:20:32
How To Install a Bathroom Vanity
 0:08:27
Replacing Bathroom Vanity | Easy DIY Job!
 0:08:15
DIY Floating Vanity [How to Make a Floating Vanity and Attach a Vessel Sink]
 0:04:19
How To Install A Bathroom Vanity - DIY At Bunnings
 0:02:25
How to Install a Vanity Top - Onyx Sink Top
 0:12:09
How to remove and install bathroom vanity - DIY
 0:10:15
Floating Vanity Installation | Wall Mount Strong
 0:00:37
Install a bathroom vanity
 0:14:29
How to Install a Bathroom Vanity with Shelving | Avoiding Mistakes
 0:00:59
How to Install Wall-Mounted Vanity or Floating Vanity | Moreno Bath
 0:10:33
DRESSER into BATHROOM VANITY | Vessel Sink Vanity
 0:02:40
how to remove a bathroom vanity | bathroom remodel
 0:23:29
How to fit a bathroom vanity unit & basin STEP BY STEP with CHAPTERS!
 0:14:19
How to Install a Wall Hung Vanity | Mitre 10 Easy As DIY
Комментарии