filmov
tv
3D Printing for Woodworking || Multifunctional Edge Guide

Показать описание
3D printed Edge Guide designed in Rhino3d with grasshopper printed with PLA. It can be used in 3 different ways: with router table and two difefrent types of bits with bearing on top and bottom. Has 10 templates with difefrent radius and 45 degree cut ranging between 10 and 60mm radius.
3d printers used :
Camera gear:
#woodworking
#DIY
#3dprinting
#ender3v2
#sidewinderx1
#artilleryx1
3d printers used :
Camera gear:
#woodworking
#DIY
#3dprinting
#ender3v2
#sidewinderx1
#artilleryx1
 0:08:23
10 AMAZING Woodworking Prints That Justify a 3D Printer
 0:08:39
3d Printing For Woodworkers / 3D Printers Solve Problems In The Workshop / Improve Your Workflow
 0:11:53
3D Printing For Woodworking Workshop With Budget Friendly 3D Printer Longer LK5 Pro | Free Download
 0:13:52
3D Printing for Woodworkers - Beginners Guide
 0:11:55
10 Things Every Woodworker Needs To 3D Print!
 0:09:06
10 Things Every Woodworker Needs To 3D Print!
 0:08:52
EASY shop organization with a 3d printer
 0:22:30
3D Print Tools Instead of Buying Them
 0:21:42
28(ish) 3D Printed Tools That Are ACTUALLY Useful!
 0:15:38
12 more 3D printed tools you need for your workshop
 0:08:32
Top 5 Amazing DIY Equipment || 3D Printed
 0:09:47
3D Printed Tools #5 - Useful and Functional 3D Prints
 0:16:59
12 3D printed tools you need for your workshop
 0:06:41
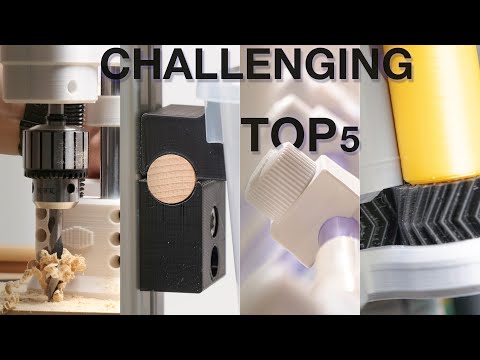
Challenging Woodworking with 3D Printing: Best Projects of 2023
 0:23:02
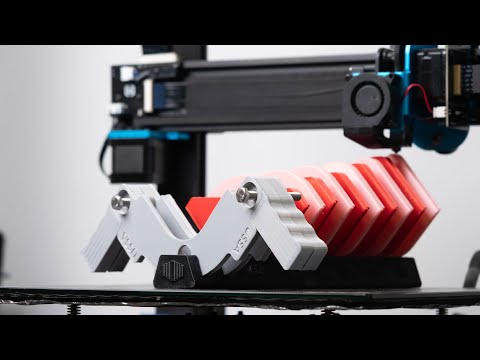
The Future of Woodworking is NOT What You Think!
 0:10:02
3D Printing for Woodworking || Multifunctional Edge Guide
 0:04:52
Top 10 3d printing projects for the woodworking workshop
 0:15:06
I tried this massive 3d printer so you don't have to
 0:09:29
Why you should have a 3D printer for your woodshop
 0:18:08
How I Brought my Dream to Life || From Idea to Kickstarter
 0:12:25
The Secret Tool Every Modern Woodworking Shop Needs: 3D Printers
 0:07:41
3D Printed Furniture || Top 5
 0:06:24
5 Awesome 3D PRINTS for WOODWORKING // TheTranq
 0:09:02
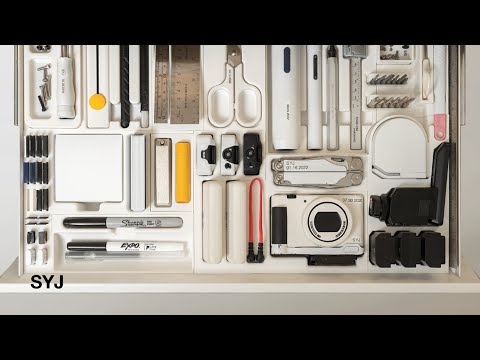
Organizing my Drawer with 3D Printing
Комментарии