filmov
tv
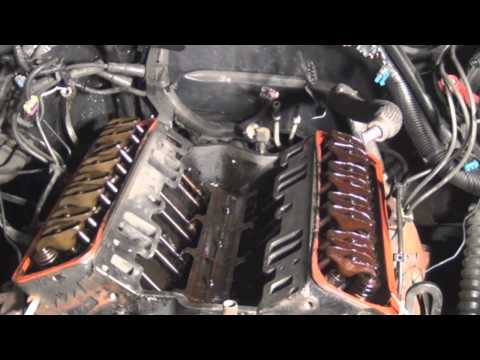
How to Replace Intake Gasket Chevy C/K1500 1988-2000

Показать описание
Gaskets provide a secure seal between engine components, and the intake manifold gasket is no different. The intake manifold for the Chevy K1500 also has water passages for coolant, so a secure gasket is especially important. This video shows you how to install a new intake manifold gasket on your 1988-2002 Chevy K1500 Pickup.
This process should be similar on the following vehicles:
1988 Chevrolet K1500 Truck
1989 Chevrolet K1500 Truck
1990 Chevrolet K1500 Truck
1991 Chevrolet K1500 Truck
1992 Chevrolet K1500 Truck
1993 Chevrolet K1500 Truck
1994 Chevrolet K1500 Truck
1995 Chevrolet K1500 Truck
1996 Chevrolet K1500 Truck
1997 Chevrolet K1500 Truck
1998 Chevrolet K1500 Truck
1999 Chevrolet K1500 Truck
Tools you will need:
• Pocket Screwdriver
• 16mm Wrench
• Air Blow Gun
• Vacuum
• 5/8 Inch Spark Plug Socket
• 1-1/16 Inch Wrench
• Brake Parts Cleaner
• Marker / Writing Utensil
• Painter's Tape
• RTV
• Sandpaper
• Sanding Block
Check out our playlist:
⚠ DISCLAIMER:
While TRQ strives to make the information provided in this video as accurate as possible, it makes no claims, promises, or guarantees about the accuracy, completeness or applicability of the content. No information contained in this video shall create any expressed or implied warranty or guarantee of any particular result. All do-it-yourself projects entail some risk. It is the sole responsibility of the viewer to assume this risk. TRQ is not responsible or liable for any loss damage (including, but not limited to, actual, consequential, or punitive), liability, claim, or any other injury or cause related to or resulting from any information posted in this video.
 0:03:51
How to Replace a Intake Manifold Gasket in Your Car
 0:21:52
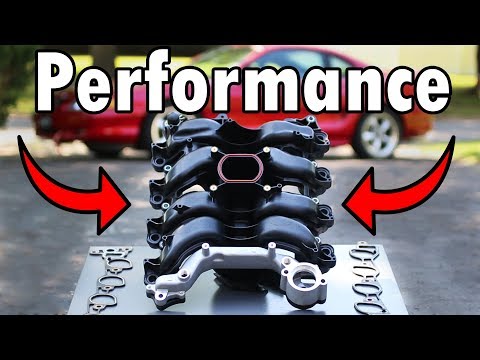
How to Install a Performance Intake Manifold and Replace Gaskets (Dyno PROOF)
 0:16:29
INTAKE GASKET REPLACEMENT ON A CHEVY SMALL BLOCK
 0:11:40
How to Replace Intake Manifold 2003-2008 Toyota Corolla
 0:08:52
How to install intake manifold on a small block Chevy
 0:53:12
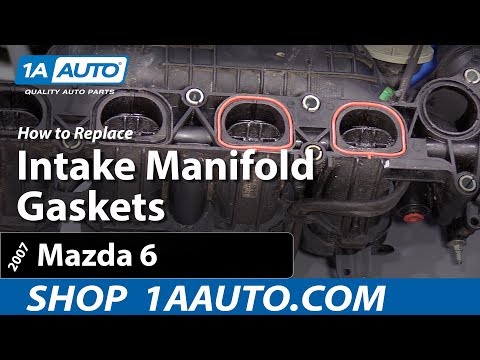
How To Replace Intake Manifold Gaskets 02-07 Mazda 6
 0:08:59
302 Ford Intake Gasket Replacement. Remove/Replace intake gasket
 0:37:51
How to Replace Intake Gasket Chevy C/K1500 1988-2000
 0:08:09
Did I Wait Too Long To Install A Catch Can?
 0:02:39
Symptoms of a Bad Intake Manifold Gasket Leaking and when Replacement is Necessary
 0:02:34
Pro Products SBC Intake Manifold Installation
 0:31:05
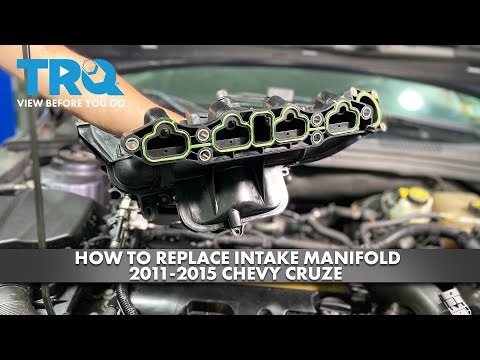
How to Replace Intake Manifold 2011-2015 Chevy Cruze
 0:54:54
How to Replace Intake Gasket Kit 2011-2018 Ram
 1:39:20
How to Replace Intake Manifold Gaskets 09-19 Ram 1500
 0:26:37
How to Replace Intake Manifold Gasket Set 2007-2013 Chevrolet Silverado 1500
 0:18:21
How to Install an Intake Manifold - Roadkill Extra
 0:04:07
Part lll: installing intake gaskets and high rise intake on our 600hp pump gas sbc
 0:18:14
How to Replace Intake Gasket 10-16 Cadillac SRX
 0:02:32
Replace Intake Manifold Gasket - Toyota Corolla / Matrix / Vibe
 0:09:13
Cure Heat Soak - Intake Block Off Plate
 0:37:09
How to Replace Intake Manifold 1997-2003 Ford F-150
 0:41:00
How to Replace Intake Gasket 05-16 Toyota RAV4
 0:43:47
How to Replace Intake Manifold 98-07 Ford Crown Victoria
 0:11:01
Intake Manifold and Gasket Preparation and Installation
Комментарии