filmov
tv
How to Easily Swap Faces in Photoshop

Показать описание
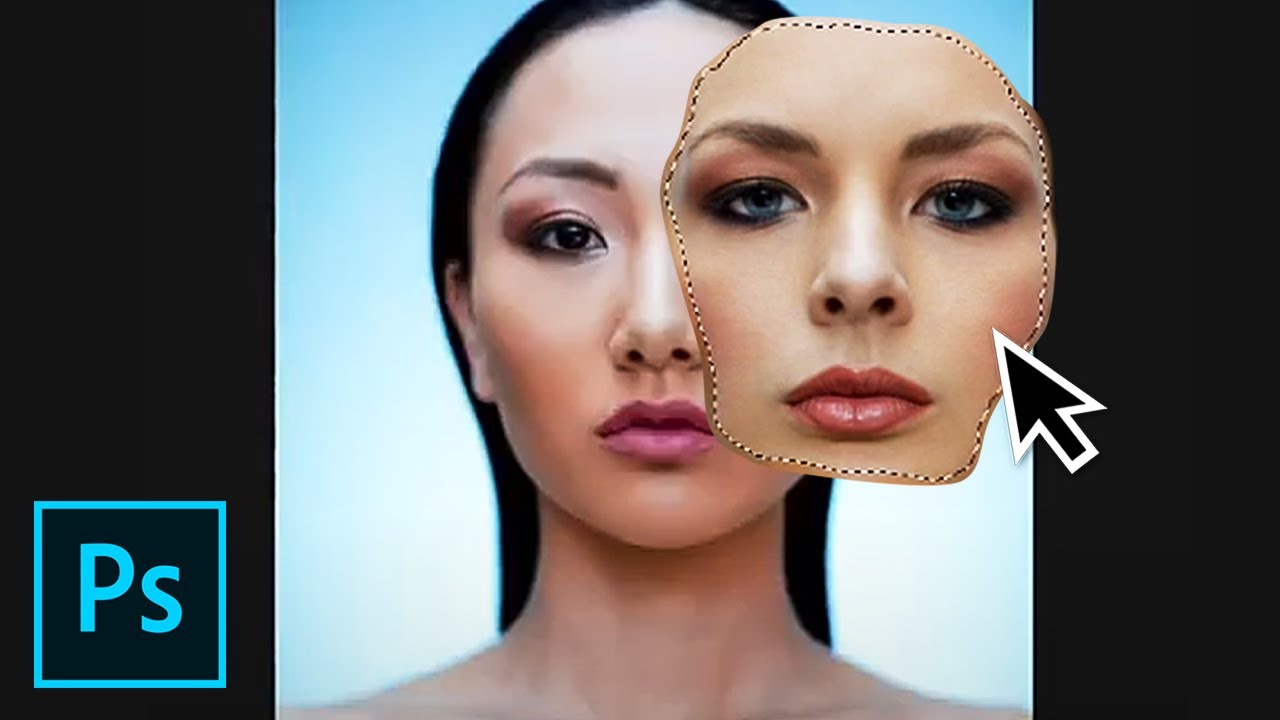
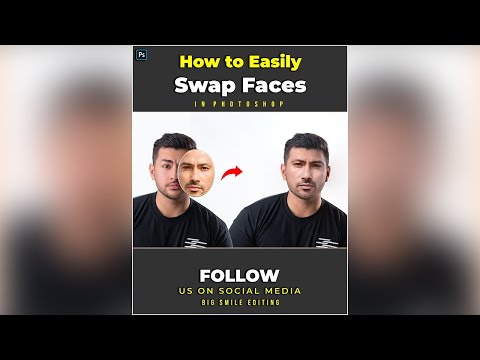
In this tutorial, you will learn How to Swap Faces in Photoshop.
In this tutorial we’ll show you the general way of swapping a face and using auto blend layers feature.
First, remember that faceswapping works best if you’re using photos where faces are looking in the same direction and orientation.
We’ve already opened both the source photo and the target photo. We’ll use the lasso tool to select the source face. Let’s copy this and paste it on the target file. Resize and position it to where the real face of the target photo is using free transform tool: CMD+T
When done, double click on the image to exit free transform tool. You can also make lower the layer opacity to make it easier to match the new face to the target face’s eyes and mouth. When done bring the opacity back up.
Now to match the new face’s colors to the target photo! Hold CMD and click on the face layer thumbnail. This will create a marquee selection around the face. Now go to image - Adjustments - Match Color. Under source select the name of the document that we’re working in, and select the background layer below. The reason for creating a marquee selection is so that Photoshop matches the colors using that part of the background. You can play with the settings to get a better color match.
Now to finally blend in the body and the face. Let’s duplicate the background layer and call it Body. Disable the background layer.
Let’s select the face again by holding CMD and clicking on the thumbnail.
Select the body layer and go to Select - Modify - Contract. Go for a setting that’ll yield a similar example to what we have. This depends on your image size. Click Ok.
Click delete to remove the pixels and press CMD+D to cancel the selection.
Now select the face layer and then hold shift and select the body layer as well and then go to Edit and click Auto Blend Layers. Match the settings to what we have and click Ok. Notice the magic happen!
This may be trickier than what you might be used to in apps like Snapchat, but while those are quick fun ways to have a giggle, this is a more professional workflow that can be utilized with high res images.
❓💬 What faces are you planning to swap? Please let us know in the comments.
#HowTech #Photoshop
--------------------------------------------------------------------------------------------------------------
Комментарии
 0:02:45
 0:01:34
 0:01:32
 0:02:07
 0:00:30
 0:10:31
 0:16:35
 0:02:42
 0:00:41
 0:08:12
 0:13:58
 0:04:28
 0:10:18
 0:14:29
 0:09:53
 0:03:11
 0:03:31
 0:18:23
 0:01:16
 0:01:22
 0:01:22
 0:05:28
 0:05:45
 0:01:26