filmov
tv
CAT6 CABLE RUN THROUGH WALL AND ETHERNET JACK INSTALL - HOW TO

Показать описание
Welcome back to The Ultimate Tech Hub. On today's episode we will run an Cat6 Ethernet cable through the wall. Then we will connect that Cat6 ethernet cable to a Cat6 Wall Jack. We will show you how to make it look like a professional installation and it will cost you about $20. If you have any questions about this video please leave them in the comments down below. Thank you for being a part of The Ultimate Tech Hub Team and if you haven't Subscribed yet please do its free. And if you like this video give a thumbs up and share it. Thanks again for watching the Ultimate Tech Hub Channel! As an Amazon Associate I earn from qualified purchases.
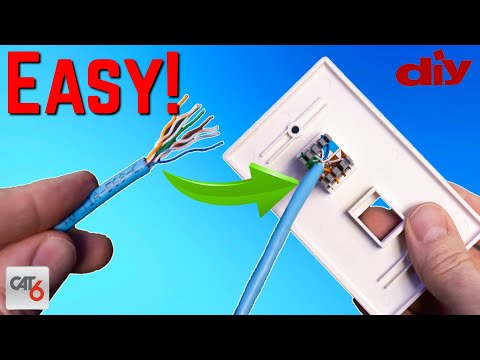
This is the typical procedure to punch the Category 6 network cable on to a Jack. If you are installing an Ethernet network in an office or home, you will need to "terminate" each network wire at the user end with a Category 6 network jack.
Cat6 Wall Jack Installation Steps:
1. Strip back the wire cover with scissors or wire strippers
2. Break-off the portion of the cable jacket to expose wires inside.
3. Check wires to make sure none were cut during the strip
4. Cut off the string
5. Untwist individual wires (sets of colored wires)
6. Push all 8 wires into groove according to the key map
7. Choose either A or B style for wire termination. B is the most common.
8. Use either the plastic insert tool or a Punch-down tool to fully insert the wires into into the Jack.
9. Removes excess wires with scissors
10. Install dust caps on jack ( wire cover )
Hot Selling Portable Charges!
Supplies:
Tools Needed:
FLASH SALE!!!
Best Deals On Layer 2 Managed PoE Switches:
Best Deals On Mesh Wi-Fi Networks:
My Gear:
Or You Can support us on Patreon! 🙂 Thank you!
All Products in our Smart Home Network Tour:
If you want the Ultimate Tech Hub to promote your product(s) or service(s)
or you want to send us something for review or testing please email us below
to request a media kit.
0:00:00 Introduction
0:00:28 The Cat6 Plan
0:01:12 Tools & Supplies
0:02:05 The Installation
 0:14:39
CAT6 CABLE RUN AND CAT6 WALL FISHING - HOW TO - QUICK & EASY!
 0:07:24
CAT6 CABLE RUN THROUGH WALL AND ETHERNET JACK INSTALL - HOW TO
 0:22:51
CAT6 Wall Fishing
 0:24:15
Wall Wire Fishing Master Class: Run Cables in ANY Wall like a Pro!
 0:10:58
Uncommon Tricks to Fish Wire Through Walls and Ceilings Quickly | How To
 0:19:32
Adding New Cat6A Ethernet Network Cable Around the House! Thanks to FS for Sponsoring this Install!
 0:09:13
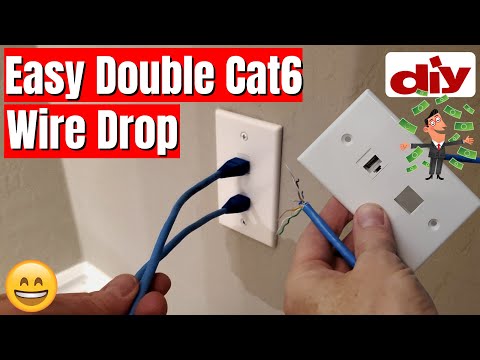
DOUBLE CAT6 PORT INSTALL | CAT6 CABLE RUN THROUGH A WALL - HOW TO
 0:03:37
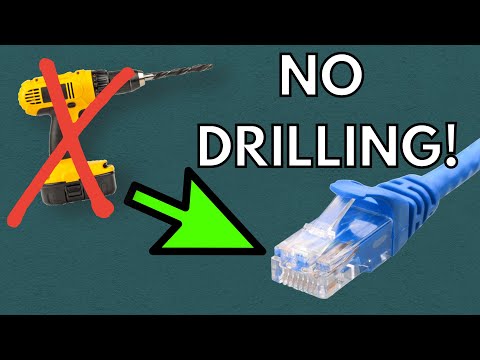
Need to Run Ethernet Without Drilling? Try THIS!
 0:17:00
Wiring Cat 6 Ethernet Ports Through the Attic
 0:06:17
How to Wire Up Ethernet Plugs the EASY WAY! (Cat5e / Cat6 RJ45 Pass Through Connectors)
 0:08:30
Convert Your Coax Into POWERFUL Ethernet
 0:04:14
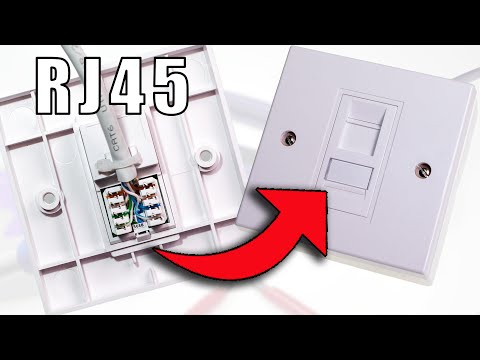
How to Wire Up Ethernet Wall Jacks (Cat5e / Cat6 / Cat7 keystone jack wiring tutorial)
 0:14:48
3 EASY WAYS TO HIDE WIRES CABLES IN WALL & FIND STUDS
 0:14:13
Installing Conduit Makes Running CAT6 Cable... Easier
 0:22:01
No more WiFi: How to wire your house for Internet
 0:02:22
WHERE DOES THE ETHERNET GO? CONNECT CAT6 CABLE TO JACK & NETWORK CABLING EXPLAINED!
 0:09:29
How to Add a Network Jack to a Wall
 0:05:44
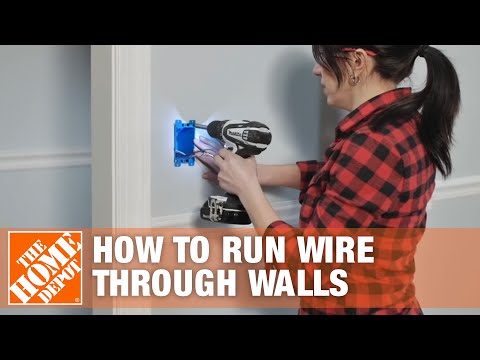
How to Run/Fish Electrical Wire Through Walls & Ceilings | The Home Depot
 0:04:00
CONNECTING CAT6 CABLE TO PLUG | KEYSTONE JACK INSTALL
 0:03:30
Easily Convert A Coaxial Cable Into Ethernet , FAST SPEED 🚀
 0:05:26
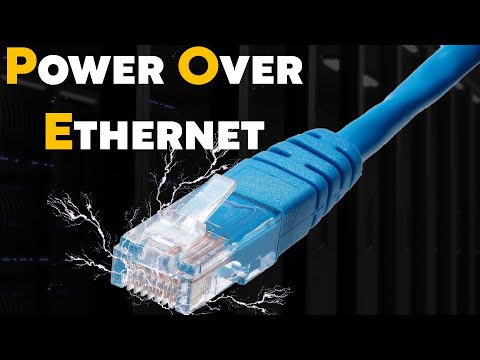
Power Over Ethernet (PoE and PoE+) - in 5 Minutes
 0:09:01
There’s NO WAY this works - Debunking bogus network splitters.
 0:09:26
Unbelievable Trick to Run Wires Through Walls and Fix Drywall - You Won't Believe What Happens ...
 0:08:12
How to Hide cables using the CordMate Management Kit - review and installation
Комментарии