filmov
tv
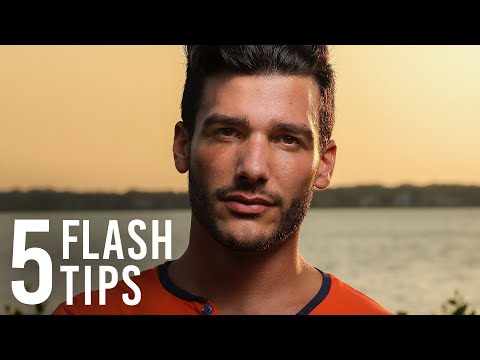
5 Tips for Flash Portrait Photography with Scott Kelby

Показать описание
Professional photographer Scott Kelby shares his flash photography tips to bring your portraiture from amateur to amazing. From camera settings to gear, you’ll learn how to utilize flash both in studio and outdoors! Which do you prefer: indoor or outdoor portraits?
More from Scott Kelby
Similar photography tutorials
Camera gear mentioned
Shop @ B&H:
Subscribe to the B&H Photo YouTube Channel
Follow us on Social Media
#BHDoF #PortraitPhotography #FlashPhotography
 0:07:13
5 Tips for Flash Portrait Photography with Scott Kelby
 0:03:34
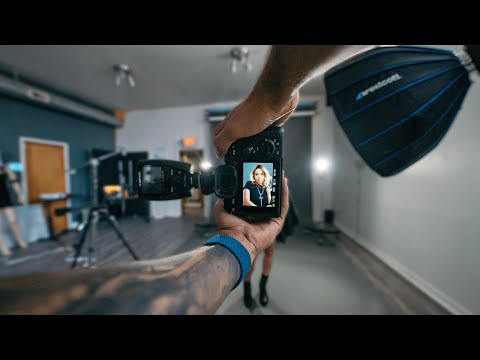
5 Tips for On-Location Flash Portraits
 0:13:57
5 Quick Tips: Starting with Flash Photography
 0:11:14
5 Tips for On-Camera Flash
 0:05:47
YOU ARE USING YOUR FLASH WRONG!
 0:15:01
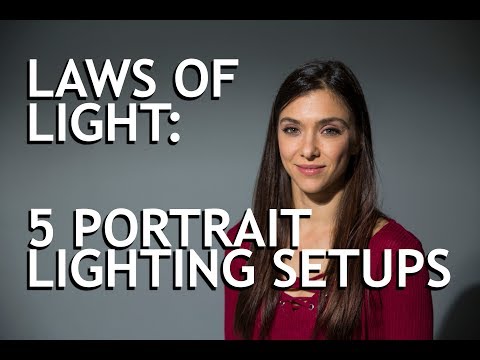
Laws of Light: 5 Portrait Lighting Setups
 0:15:20
5 Off-Camera Flash Techniques Every New Photographer Needs to Know
 0:31:50
Mastering Flash Photography: 5 Lighting Principles for Beginners
 0:13:30
Essential Studio Portrait Photography Tips
 0:11:36
5 Easy Ways To Get Consistent Flash Lighting In Your Portraits
 0:05:39
5 Minute On Camera Flash Tutorial for Receptions, Clubs, and Events
 0:10:41
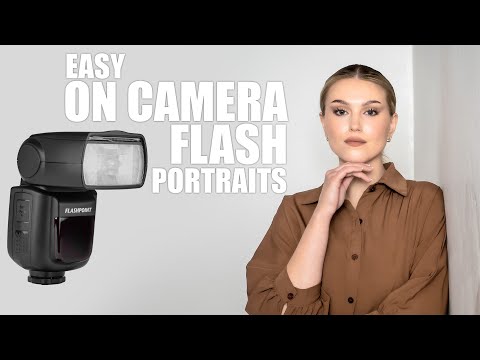
Easy On Camera Flash Portraits | Take and Make Great Photography with Gavin Hoey
 0:17:50
5 Creative Ways to Use On-Camera Flash Photography for Your Next Photo Shoot
 0:08:51
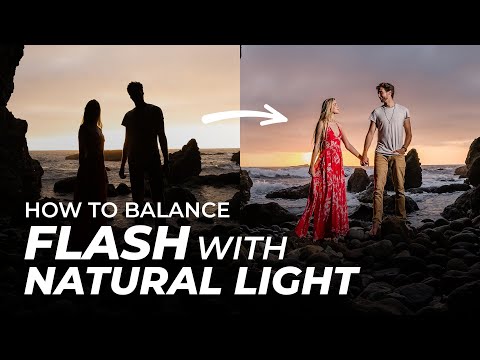
4 Steps for Balancing Flash with Natural Light At The Beach | Master Your Craft
 0:10:13
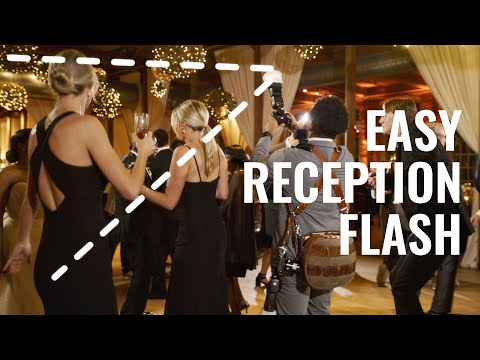
IT'S NOT SCARY!! 5 Reception Flash Photography Tips
 0:14:22
5 EASY STEPS You Need to IMPROVE your FLASH Photography skills. Flash photography for beginners
 0:07:03
How to Create Soft Light with Strobes & Flash Indoors | 5 Tips with Sandra Coan
 0:10:03
FLASH PHOTOGRAPHY FOR BEGINNERS: Speedlight Settings & Modes Explained (GET TO KNOW YOUR FLASH)
 0:05:17
5 Minutes to show how I setup my Off Camera Flash!!!
 0:09:16
Event Photography: How to Use Flash and Make it Look Natural!
 0:05:06
Mix Flash and Ambient Light To Create Stunning Portraits
 0:05:23
HOW TO USE: Fill Flash (Outdoor Portrait Photography Tutorial)
 0:11:15
How to Shoot With Direct Flash for Edgy Portraits | Master Your Craft
 0:06:11
The POWER of Off Camera Flash Photography (vs using available light)
Комментарии