filmov
tv
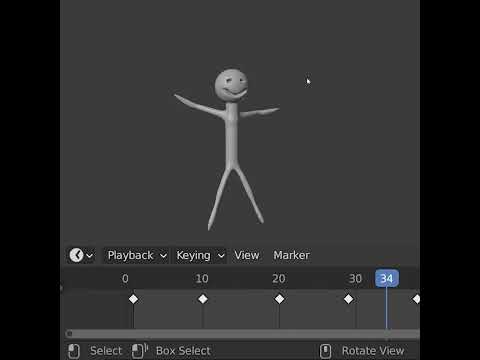
The QUICKEST way to RIG your Characters! Blender 3D Tutorial

Показать описание
Learn how to RIG your character’s HIPS…with NO weight painting in this Blender 3D tutorial! By only adding a few extra bones to your armature, you can automatically assign weights to your mesh and it’ll be ready to animate!
I have wasted many hours trying to perfectly weight paint this difficult joint, and now I save so much time! And I now use this on all of my 3D characters!
This tutorial uses free CGI VFX software Blender so anyone can try!
If you have any questions leave them in the comments below! If this online tutorial helps don't forget to LIKE and SUBSCRIBE to see more content!
Feel free to follow my other social media pages too!
 0:09:02
The QUICKEST way to RIG your Characters! Blender 3D Tutorial
 0:00:33
Character Rigging in 60 Seconds #short
 0:06:58
Amazingly EASY Way To Rig Characters in Blender 4.1
 0:00:59
Create a Character Rig in Blender in 1 Minute!
 0:02:00
Blender - How to Rig a character the fastest way - Quickie Tuts #04
 0:00:36
Rig and Animate a 3D Character in Under a Minute - Easy Blender Tutorial
 0:10:41
How to Rig and Animate in BLENDER!
 0:01:00
Learn Blender Rigging and Animation in 1 Minute!
 0:19:25
Walkcycle with Variations in Blender | The Fastest Method #walkcycle #walkcycletutorial
 0:04:49
The EASIEST Carp Fishing rig to tie
 0:00:34
Blender Rigging Tutorial for Beginners — Add & Move Bones Fast!
 0:34:03
The EASIEST way to rig a face?? Mantis Rigging Nodes does Shape Keys!
 0:00:10
DIY RIG FISHING AND SET FISHING BAIT #fishing #fishingknot #tutorial
 0:00:32
How To Get Rid Of A Backlash Quickly And Effectively #Shorts
 0:00:32
Fastest Way to String Weed Eater
 0:12:42
Rigging Ballyhoo: How To Rig A Skirted Ballyhoo The Quick Way
 0:00:15
5 Best Bass Fishing Lures for Beginners!
 0:00:16
Rust JUST Made Oil Rig Easier To Take! 😱
 0:00:17
After Effects DUIK Angela Easy Tail Rig #shorts #aftereffects #tutorial
 0:00:32
How To PUT BRAIDED Fishing LINE On A Baitcaster❗️(EASY)
 0:01:00
How to rig a drop shot for largemouth bass #fishing #bassfishing #fishingtips #largemouthbass
 0:00:31
Fishing Tips: Rigging a soft plastic lure on a jighead
 0:00:14
Simple and Effective Catfish Rig
 0:01:22
Dropper Rig - How to tie a Paternoster Rig
Комментарии