filmov
tv
How to Change an Excel Sheet from Read Only

Показать описание
You can easily change your own created Excel sheet from Read-only mode. But, if you want to convert an Excel sheet from Read-only mode that is created by others then you may face some limitation issue. In this video, we will learn how to change an Excel sheet from Read-only mode. Let's follow these steps.
1. Open an Excel sheet that you have created with a Read-only mode. Click on the File menu at the top left in Excel.
2. Click on the Open from the menu list. Go to the file-saved location on your computer.
3. Select an Excel file, and then click on the open button.
4. If an Excel sheet is password protected, then you must have the password of this file. Type your password in the Password text box and then click on the OK button.
5. If the password window prompts again then type the password again in the box, and click on the OK button.
6. An alert box will appear which is asking you to open this file as read-only? Click on the Yes button.
7. The file will open as read-only, and you will notice Read-Only text along with the file name.
8. Let’s try to write something on this Excel sheet.
9. Click on the File menu at the top, and then click on the Save As.
10. In the Save As window, click on the Tools drop arrow, and then click on the General Options…
11. Uncheck the checkbox of Read-only recommended, and then click on the OK button.
12. Click on the Save button.
13. In the confirmation box, click on the Yes button to replace the file name.
14. Close the Excel application, and reopen the workbook which I just have changed from Read-only.
15. See, this time we didn’t receive any alert message of Read-only.
Hope this was easy. Have a nice day!
Please subscribe to our channel.
Content in this video is provided on an "as is" basis with no express or implied warranties whatsoever. Any reference of any third party logos, brand names, trademarks, services marks, trade names, trade dress and copyrights shall not imply any affiliation to such third parties, unless expressly specified.
 0:03:43
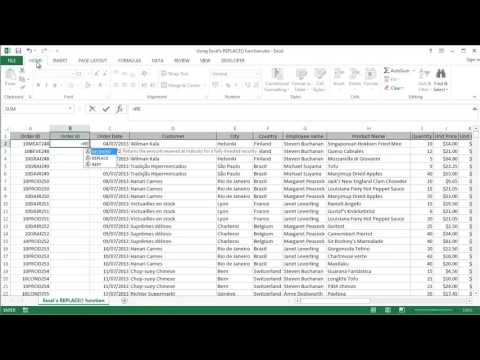
Microsoft Excel 2016 - Using the REPLACE() Function
 0:00:45
How to replace dots with commas in Excel
 0:00:55
Quick Way To Change Text Case in Excel Without Formula - Excel Tutorials
 0:00:18
How to Change Excel Column Name
 0:00:56
How to Calculate Percent Change in Excel
 0:01:24
How to Change Language in Excel
 0:05:42
How to Change a Theme and Make it the Default in Excel
 0:01:03
How to Convert Measurements in Microsoft Excel
 0:00:14
3 Important things change your life | #powerpoint #excel #word #free #education
 0:01:15
Change only the year component of a date in Microsoft Excel
 0:01:29
How to Change the Decimal Separator in Excel (including the Thousands Separator)
 0:01:27
How to increase cell size in excel
 0:01:16
How to Swap Columns / Rows in Excel | Joe The Excel Geek
 0:03:16
How to Change Negative Numbers to Positive in Excel
 0:02:38
How to Change Date Format in Excel (the Simplest Way)
 0:01:22
How to change from exponential to number format in Excel
 0:00:40
Excel Move Columns (Swap) - 1 Minute (2020)
 0:01:50
How to Change Excel's Column Name : Using Microsoft Excel
 0:03:24
How To Switch First and Last Name in Excel Column - Swap Last and First Name in Excel
 0:03:30
How to Change Display Language in Excel
 0:00:30
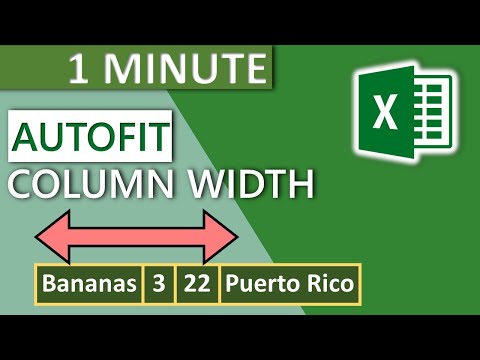
Excel Column Autofit Width (2020) - 1 MINUTE
 0:01:35
How to reset excel 2016 back to default settings
 0:00:34
How to change Excel 2007 Cell Size
 0:00:34
How to Set a Password to an Excel File
Комментарии