filmov
tv
Make Your Own Game Console For $100 With This Mini PC!

Показать описание
In this video I show you how you can get a HP Elite Desk G2 Mini PC and turn it into your own retro game console.
To get more information on this PC, click the link below!
If the G2 isn't available the G3 is 100% comparable
In this video I just used the provided SSD that comes preinstalled in this PC but if you wanted to upgrade to an SSD with a larger capacity you could upgrade to one of these SSD options...
512GB SSD
1TB SSD
2TB SSD
4TB SSD
Additional Items Needed To Follow This Process...
SABRENT USB 3.0 to SSD / 2.5 Inch SATA I/II/III Hard Drive Adapter (EC-SSHD) (to connect the SSD to my PC to flash Batocera to the SSD)
DisplayPort to HDMI Cable
Screwdriver Set
To see additional products that could be used with this setup, check out my Amazon Storefront
To learn how to set up screen scraper on Batocera, click the link below...
To See how to setup Batocera image in detail
Setup Nintendo Switch on Batocera 37
Improve PS2's Performance on Batocera
How To Remotely Access Your Batocera Files & Add Games In Detail
if you enjoyed this video, please leave a THUMBS UP on the video!
SUBSCRIBE to stay up to date on all future videos!
#pcgaming #gaming #gamer
 0:06:44
Designing my own Game Console
 0:17:12
Build your OWN retro game console with a Raspberry Pi!
 0:32:33
Make Your Own Game Console For $100 With This Mini PC!
 0:10:37
I designed a game console that is already obsolete.
 0:11:25
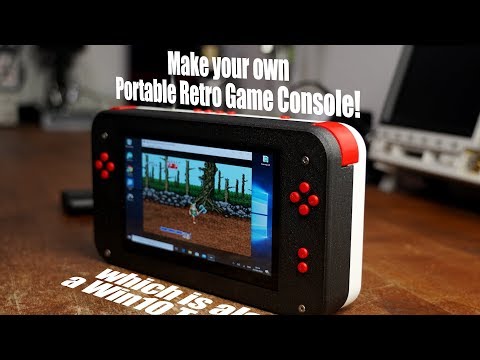
Make your own Portable Retro Game Console!......which is also a Win10 Tablet!
 0:17:07
Building the Ultimate Retro Gaming Console | FULL STEP BY STEP TUTORIAL
 0:03:29
The GameShell - A Build-It-Yourself gaming device | Beat Building a gadget
 0:17:46
Build a Retro Gaming Console with a Raspberry Pi 5
 0:33:17
Create Your Own Loaded Retro Console From A Repurposed PC For Under $128 on Amazon
 0:00:59
Apple made a GAME CONSOLE!?
 0:09:03
DIY AMOLED Handheld for Under $100
 0:16:37
Make This Into A Retro Game Console For JUST $77 | Plays XBOX PS2 Switch N64 GameCube & More!
 0:16:41
DIY Switch for Filthy Pirates
 0:00:59
How I built an Android Console
 0:21:32
The Everything Console Mk2 - DIY Retro Emulation Game Console
 0:22:27
Turn a USB Flash Drive into a Portable Gaming 'System'!
 0:31:20
Make A Loaded Plug & Play Game Drive Yourself For Less Than $50!
 0:07:50
DIY Raspberry Pi Zero Handheld Game Console (Part 1)
 0:13:07
Thousands of Retro Games in Your Pocket with this DIY Emulator!
 0:21:39
This is NOT a Nintendo Switch
 0:08:49
You Can Make Your Own Custom Handheld In This Game
 0:24:56
Every Game Console in ONE — (PS5, XBOX, Nintendo Switch and Gaming PC) — ORIGIN BIG O V3
 0:21:10
Building a Portable Nintendo 64
 0:09:22
Why Waste Money?! FREE Retro Emulation Setup For 2023!
Комментарии