filmov
tv
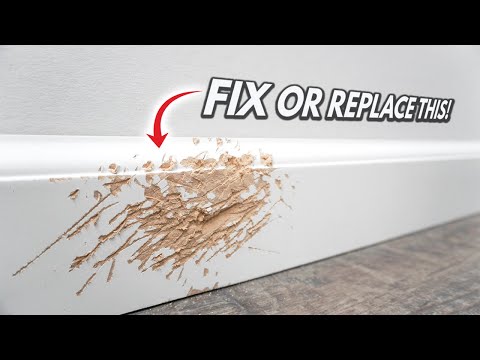
How To Fix Damaged Baseboard, Crown Moulding And Trim Like A Pro! DIY Tips & Tricks For Beginners!

Показать описание
ITEMS I USED:
SHOP MY ONLINE AMAZON STORE AND CHECK OUT ALL THE TOOLS I USE!
On This episode I'll be showing you how to fix damaged baseboard, crown moulding and trim like a pro! This are 3 Easy DIY methods and Tips and tricks, step by step, on how to fix and replace those heavily damaged baseboard trim and will also work and apply on crown moulding, door casing or any type of trim! Stay tuned and check out my own personal method that I created to help you save money and time!
DO YOU HAVE QUESTIONS ON YOUR HOME REPAIR OR DIY PROJECT? GET TIPS, ADVICE AND ANSWERS! BECOME A FIX THIS HOUSE MEMBER!
FOR BUSINESS INQUIRES SEND TO:
FIX THIS HOUSE
P.O. BOX 2511
BREMERTON, WA 98310
UNITED STATES
FOR BUSINESS INQUIRES EMAIL ME AT:
DISCLAIMER:
Videos produced by Fix This House are provided for informational, educational and entertainment purposes only. Please use SAFETY precautions when following the tutorials on these videos. Viewers doing projects at their own home are doing it at their own risk and Fix This House cannot be held liable if they cause damage to their homes or injury. Fix This House cannot claim liability with all applicable laws, rules, codes and regulations for a project. Always stay informed of your local building codes! Happy and SAFE renovating!
DISCLAIMER: This video contains affiliate links, which means that if you click on one of the product links, I’ll receive a small commission.
#baseboards #crownmoulding #Trim
 0:02:49
How to repair damaged baseboards
 0:06:31
The Holy Grail of Baseboard Repair!!!
 0:04:25
The Baseboard Repair Method That Changes Everything!!!
 0:16:24
How To Fix Damaged Baseboard, Crown Moulding And Trim Like A Pro! DIY Tips & Tricks For Beginner...
 0:07:09
How To Repair Water Damaged Baseboard and PREVENT FUTURE DAMAGE!
 0:08:31
How To Repair Damaged Baseboard Corner Miters Like A Pro! DIY Tutorial For Beginners!
 0:07:01
How to remove and replace damaged baseboards
 0:09:22
How To Fix Baseboard With BIG GAPS Or Doesn't Meet Up! Tips And Tricks Tutorial DIY For Beginn...
 0:05:31
How to Fix a Baseboard That A Puppy Chewed Up --- Fast and Cheap!!
 0:00:29
Baseboard Repair
 0:01:00
How To Repair Damaged Baseboard (With Hot Mud).
 0:10:03
How to Repair Broken Trim with Bondo for Wood
 0:01:01
How To Repair Dog Chewed Baseboard/Casing #short #baseboard #handyman #diy #howto
 0:13:17
The Baseboard Caulking Secret Tips And Tricks I Wish I Knew As A DIYer! How To
 0:02:30
How To Remove & Replace Water Damaged Baseboard. #baseboard #bath #baseboard #handyman #howto #d...
 0:10:24
How to repair water damaged baseboard with Bondo
 0:01:49
Repair Damaged or Chewed Wood
 0:29:33
How to Prep and Paint Baseboard Step by Step
 0:08:56
Repair and replace Baseboards! Replace MDF Baseboard with wood. DIY
 0:02:40
How To Replace Water Damaged Baseboard. #homemaintenance #handyman #baseboard #waterdamage #diy
 0:01:25
water damaged baseboards
 0:08:03
Find Out the BEST Filler to Use for Trim Work!
 0:08:04
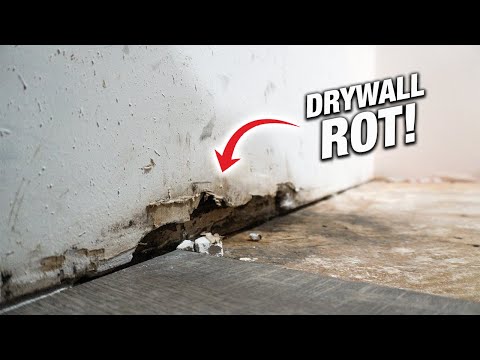
How To Fix Rotten Moldy Drywall From Water Damage! DIY For Beginners!
 0:00:22
Here is the proper way to caulk baseboards. #diy #shorts #youtubeshorts
Комментарии