filmov
tv
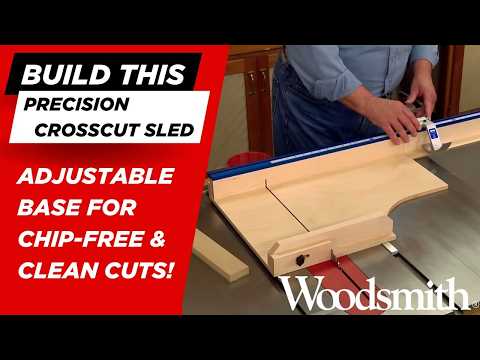
your crosscut sled is way too big

Показать описание
SMALL AND MIGHTY CROSSCUT SLED PLANS:
US & CANADIAN AFFILIATE LINKS
PROJECT PARTS:
DOWELMAX:
DOWELMAX 3/8" Kit:
DOWELMAX 1/2" Expansion:
BLADES:
TOOLS:
BITS:
SUPPLIES
INSTAGRAM:
MUSIC:
Epidemic Sound
Use my referral link and start your free 30-day trial:
US & CANADIAN AFFILIATE LINKS
PROJECT PARTS:
DOWELMAX:
DOWELMAX 3/8" Kit:
DOWELMAX 1/2" Expansion:
BLADES:
TOOLS:
BITS:
SUPPLIES
INSTAGRAM:
MUSIC:
Epidemic Sound
Use my referral link and start your free 30-day trial:
 0:12:59
your crosscut sled is way too big
 0:04:59
The 5-cut method made easy | Squaring a Table Saw Cross-Cut Sled in 5 minutes
 0:10:15
Simple Table Saw Crosscut Sled for Beginners
 0:08:08
The best way to build your next crosscut sled!
 0:16:12
The simplest table saw crosscut sled on YouTube. Essential woodworking shop project.
 0:05:23
Make a miter sled for your table saw. Improved version.
 0:08:09
Maybe the Best Table Saw Crosscut Sled Ever?
 0:16:33
STOP Making Out-Dated Table Saw Sleds, Do This Instead
 0:10:54
Easy! Make Runners for Table Saw Sleds!
 0:09:59
How To Make A Cross Cut Sled | Dead Straight Table Saw Cuts
 0:21:38
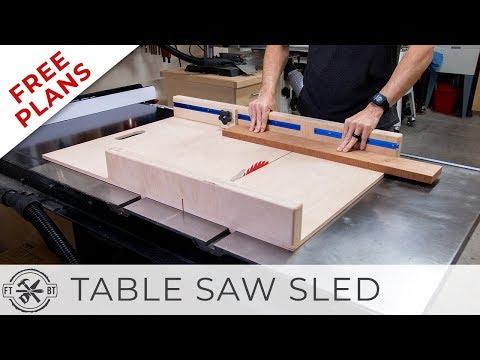
Watch This Before Building a Table Saw Crosscut Sled! (FREE PLANS)
 0:04:38
2 Easy Ways to Square a Cross Cut Sled's Fence
 0:11:36
Simple Table Saw Sled with FREE Plans | DIY Woodworking
 0:12:03
Easy Build Crosscut Sled for The Table Saw / Accurate Speed Sled
 0:13:03
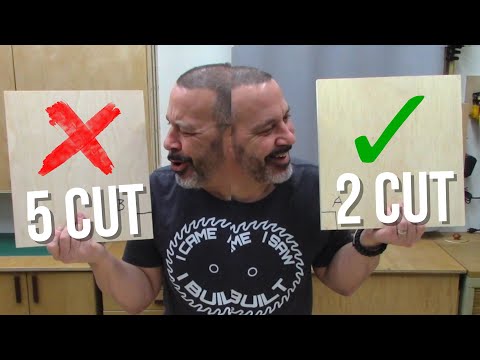
DO NOT use 5 cut method for table saw sled.
 0:20:44
the FLAW with Ultimate crosscut sleds
 0:25:46
How to Build a Table Saw Sled || Table Saw Cross Cut Sled
 0:13:34
Cross-Cut Sled for Contractor Table Saw
 0:14:40
Ultra Square Medium Sized Crosscut Sled
 0:10:51
99% of Beginners Need These 5 Woodworking Jigs!
 0:06:05
6 common things you might be doing wrong with your table saw
 0:21:13
3 Cut Method to a Dead-on Crosscut Sled with Tom McLaughlin
 0:04:16
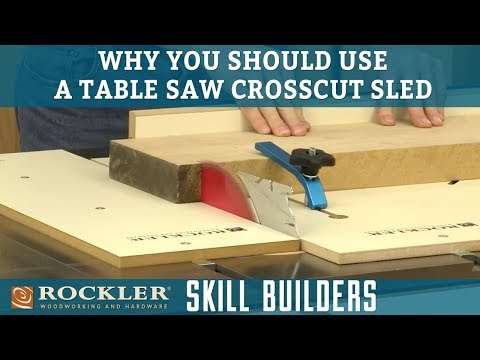
Four Reasons to Use a Table Saw Crosscut Sled | Rockler Skill Builders
 0:22:31
SMALL Cross-Cut Sled with ADJUSTABLE Fence, EXTENSION wing and BEVEL Feature!
Комментарии